Find out how to make individual favours for guests at your wedding, birthday or other celebrations.
When friends and family come together to celebrate special occasions like a wedding, birthday, christening or similar celebrations with you, you might want to say THANK YOU to them and give them a small gift. It will help them to look back on and remember the day. Creative giveaways are a particularly special gift. Although making something yourself takes more time, you’re expressing your appreciation with it.
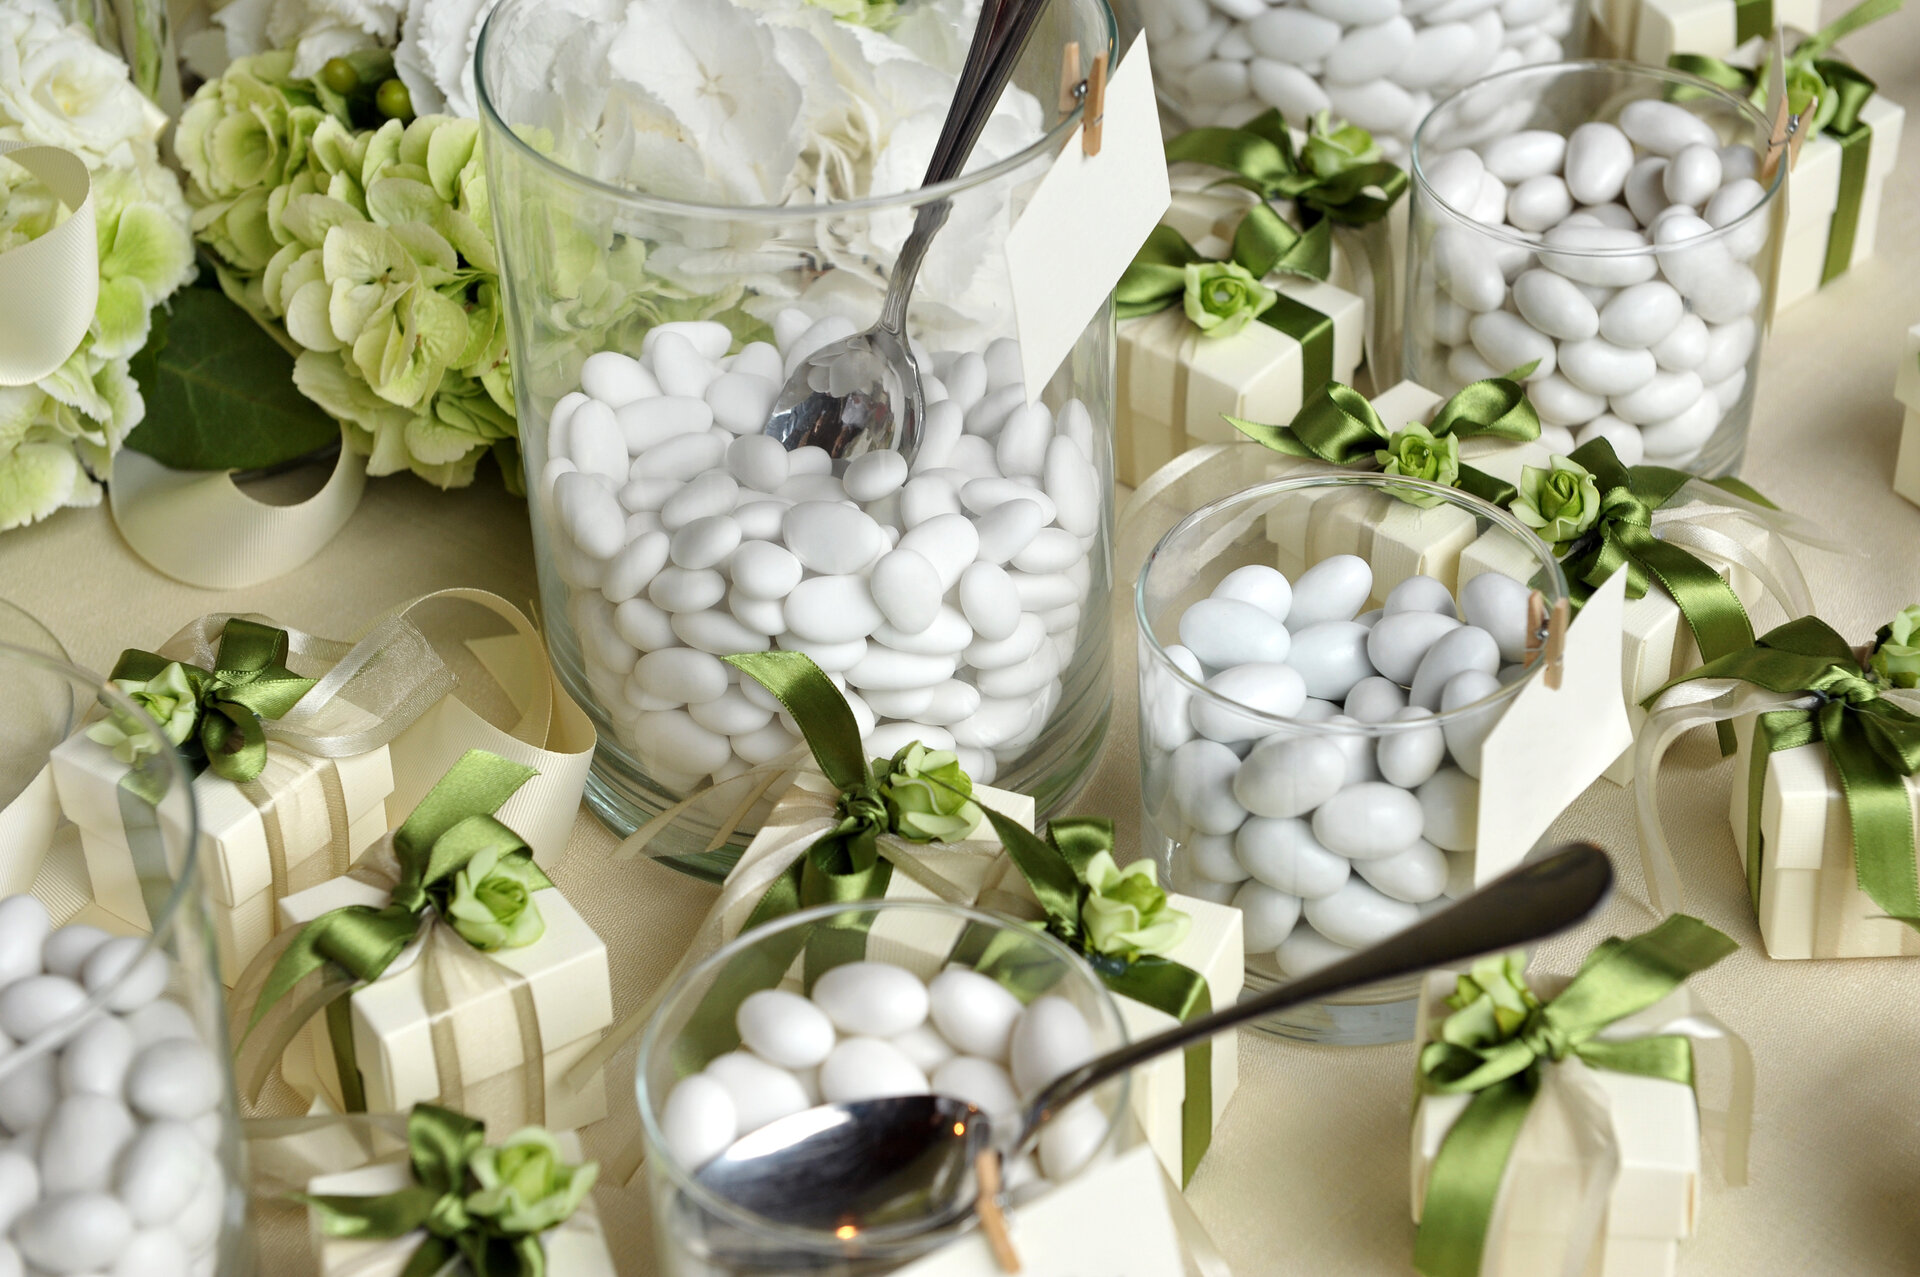
Particularly popular as favours are so-called wedding almonds or other sweets. W show you how to make individual gift bags to wrap your wedding almonds in a creative way.

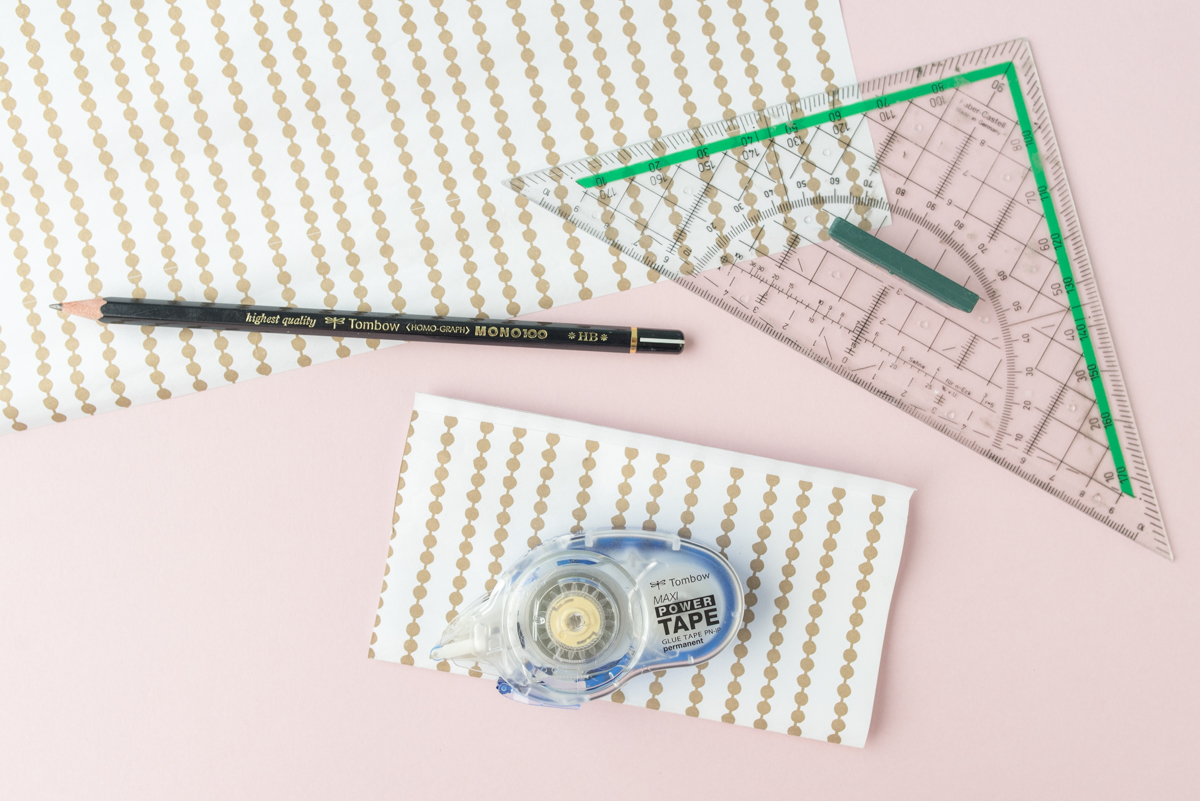
Step 1: Create the basic shape of the bag
To make the basic shape of the bag, draw a 12 x 16cm rectangle on the paper. Fold the paper on the long edge, leaving a strip around 0.5 cm wide at the top. Using the Maxi Power Tape, you can create a glue flap from the leftover strips.
Tip: Glue rollers such as the Maxi Power Tape are always ideal if you need precisely glued edges and the glued surface is not under pressure. You also don’t have to wait too long to carry on with your project.
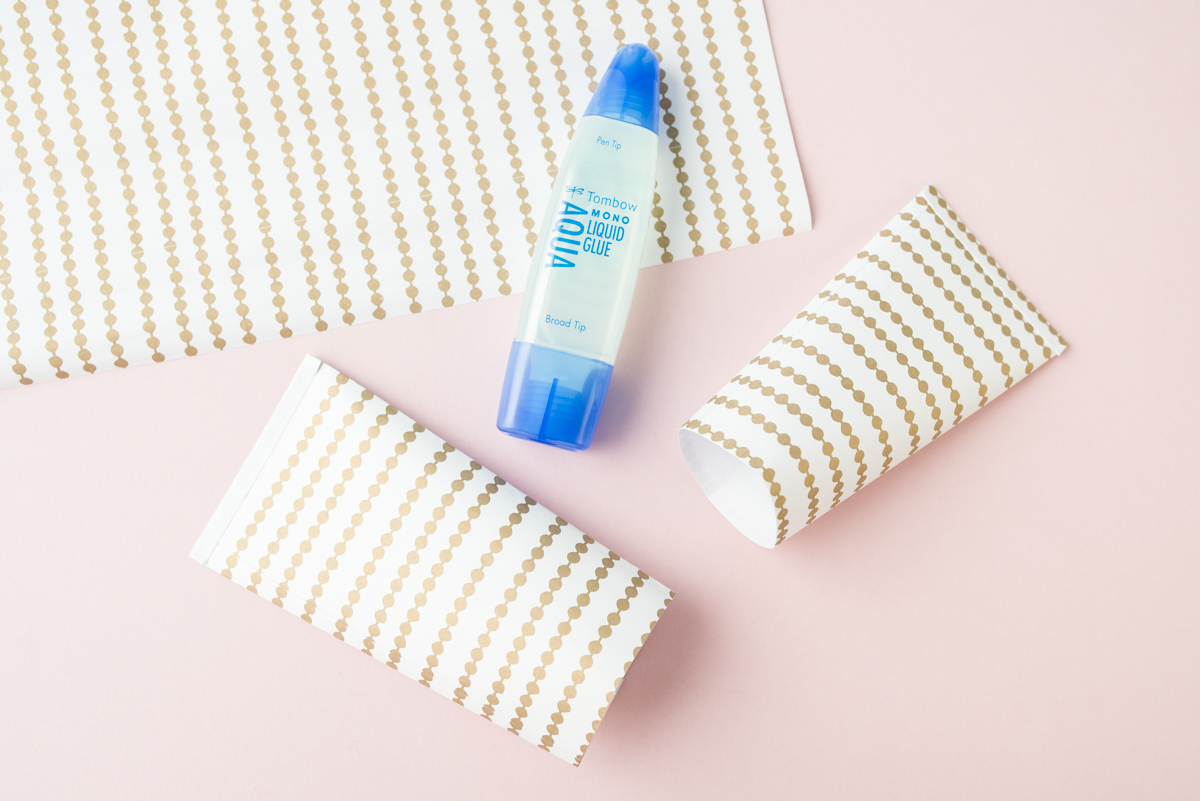
Step 2: Seal the bag on one side
The ends of the bag now need to be sealed. To do this, fold the base of the little bag twice and glue it using MONO AQUA liquid glue.
The MONO AQUA has two tips. You can glue the larger surfaces quickly using the wide one. As it is made of silicone, application is very smooth and the soft material will not cause any wrinkles to form in the paper.
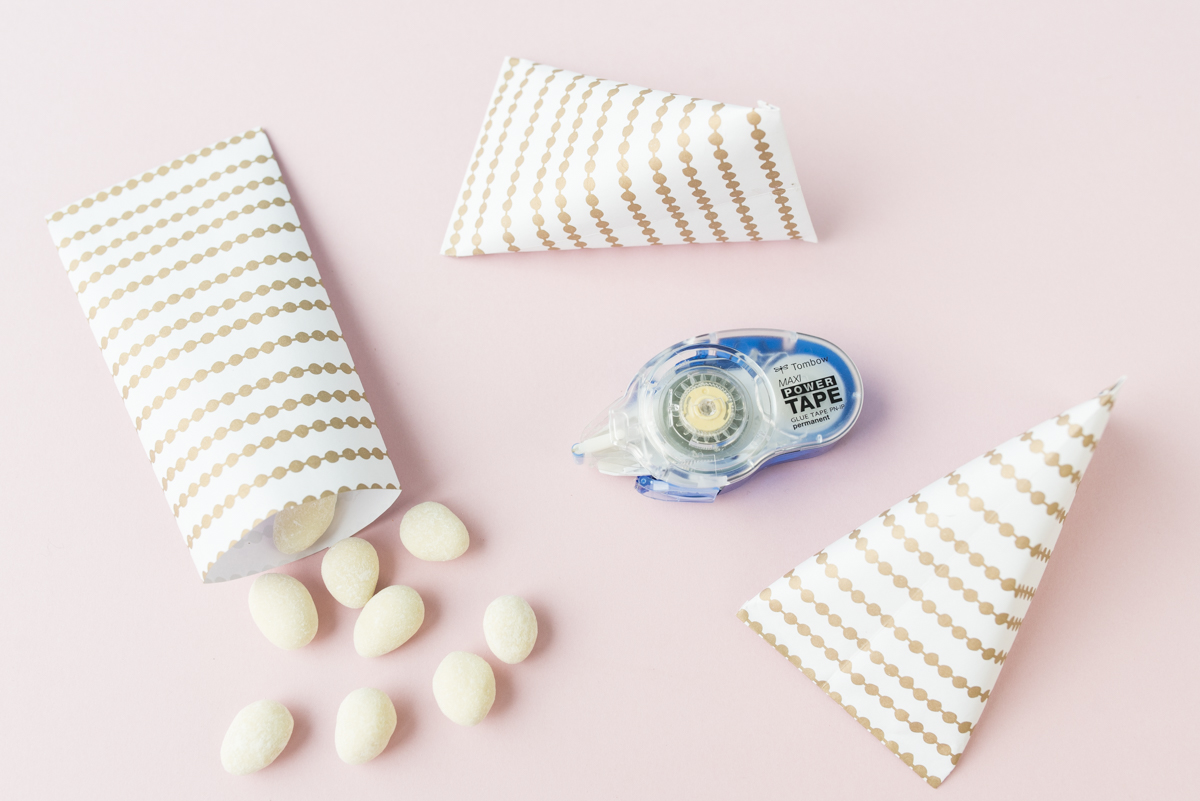
Step 3: Fill and seal
The bag is now ready to be filled! Whether wedding almonds, gummi bears, chocolate drops – whatever you like. But be warned: Do not fill it too full to ensure that you can still close the bag.
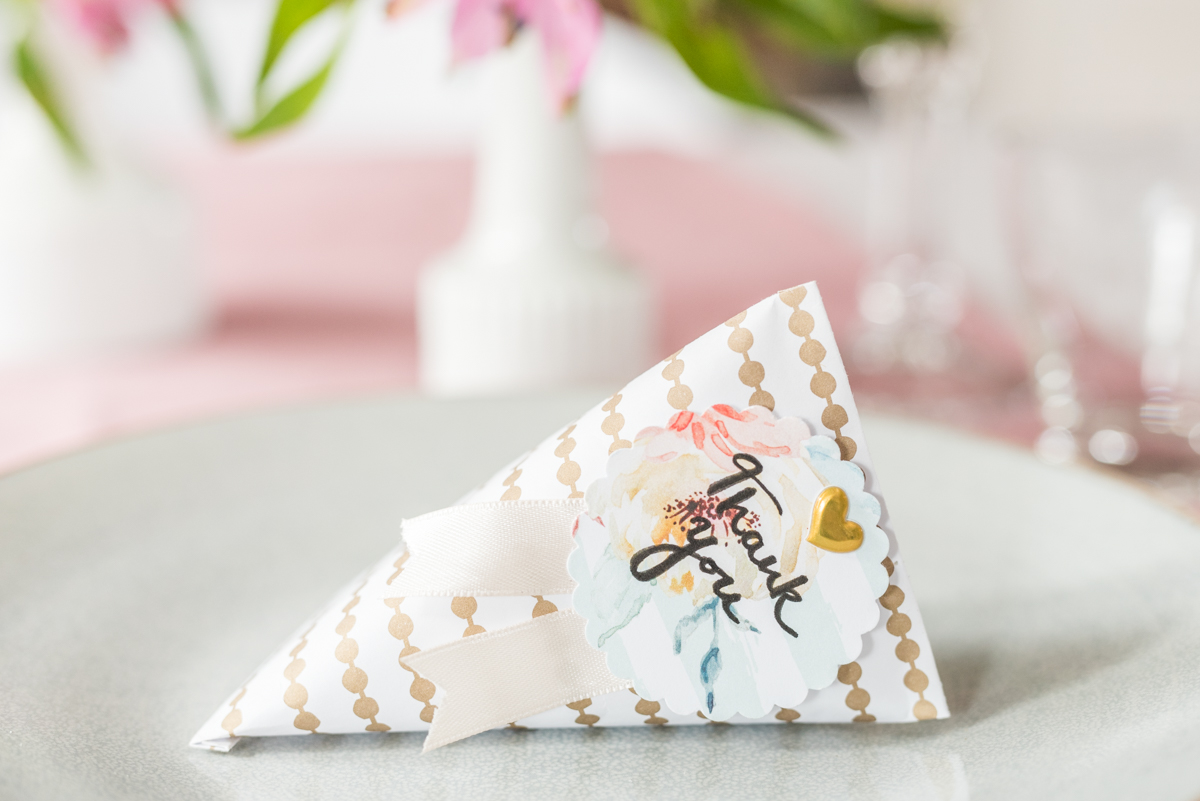
Then fold the filled bag asymmetrically to the base to create a pyramid shape. Seal the bag using MONO AQUA Liquid Glue.
Using the thin tip of the MONO AQUA, you can get particularly fine lines of glue and easily access the corners.
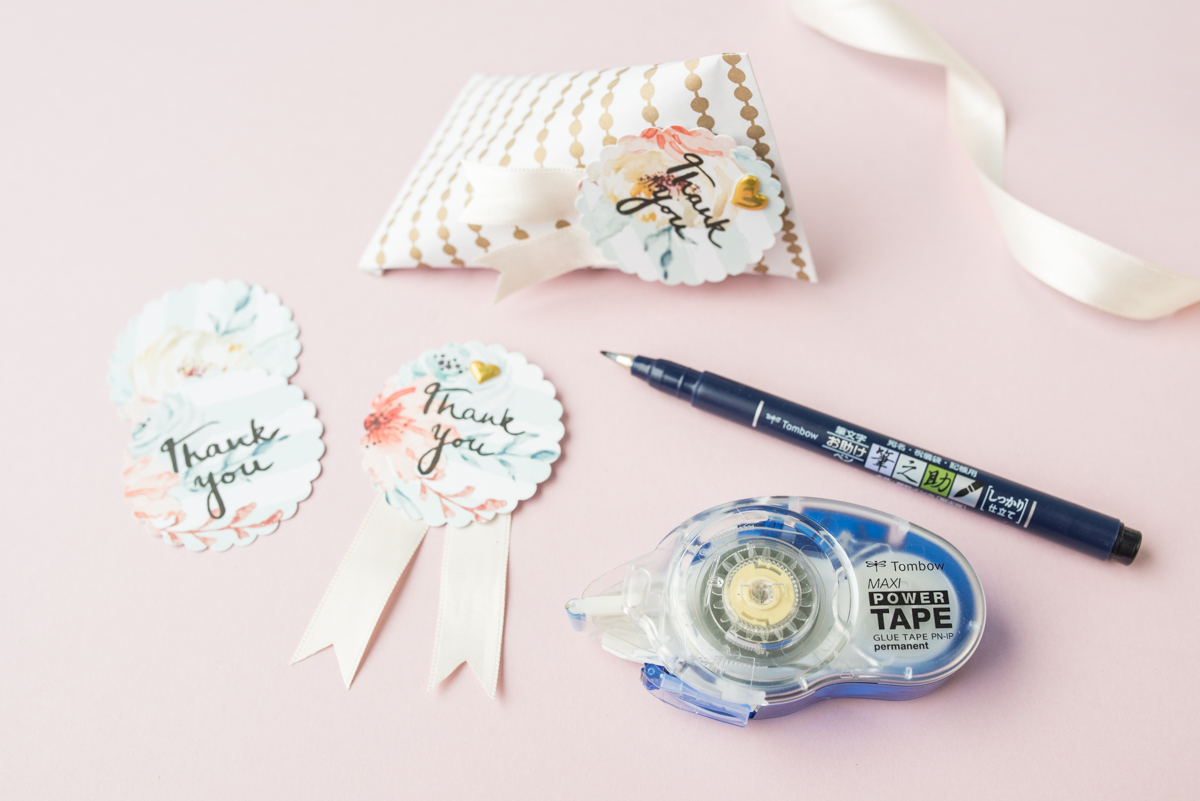
Step 4: Write on the tag
You can now write on the gift tag in Brush Lettering style using the Brush Pen Fudenosuke. To do this, draw the downstrokes (=from top to bottom) with a little more pressure, making the line wider and the upstrokes (=from bottom to top) with a little less pressure, making the line very thin.
On the back, you can glue the gift ribbon using the MONO Maxi Power Tape to make it look like a bow. A heart-shaped sticker is a lovely little finishing touch for the tag.
Tip: You can also punch a gift tag out of the patterned paper yourself or cut one out using zigzag scissors.
Finally, stick the tag to the favour using the Maxi Power Tape.

Leelah Loves
- Katharina Pasternak
Katharina Pasternak is a creative all-rounder. With her distinctive style and great love of detail, Katharina develops ideas related to the themes of DIY, interior, garden and cooking and publishes them on her blog. She also works as a photographer for furnishing magazines and books, as a stylist and as a content creator for companies, as well as for Tombow!


![[Translate to Englisch:] Zwei bunte Osterkarten in Form von aufgeklappten Boxen stehen auf einem Holztisch. Jede Box ist mit gezeichneten Osterhasen in bunten Farben und Papiergras verziert. Auf beiden Karten steht „Frohe Ostern“. Im Vordergrund liegen Filzstifte in Rosa, Blau und Schwarz.](/fileadmin/_processed_/2/5/csm_21_03_PopUpBox_Teaser_bc422137d4.jpg)