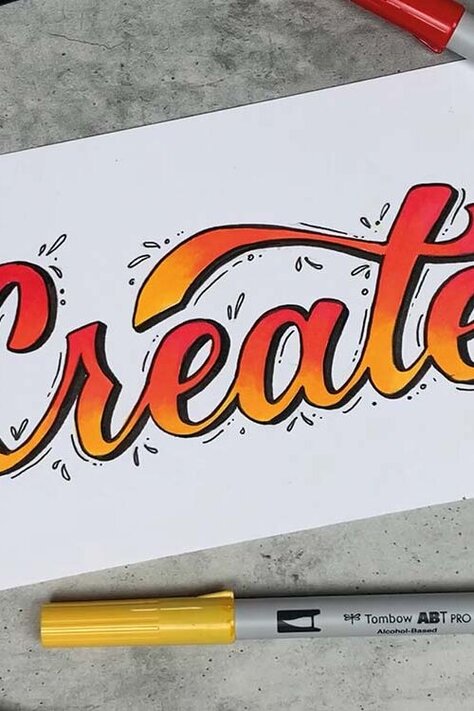
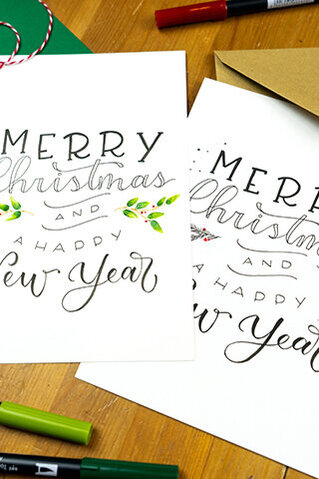
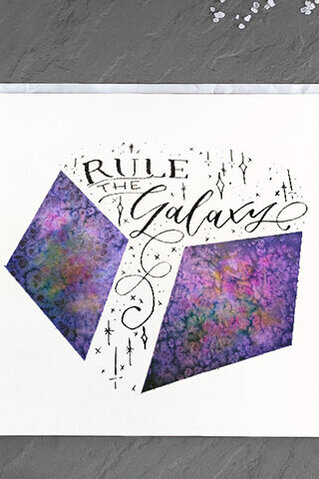
Design customised candles
Especially in the winter months, when the sun goes down early, we retreat more and more into our cosy homes and want to decorate them beautifully.
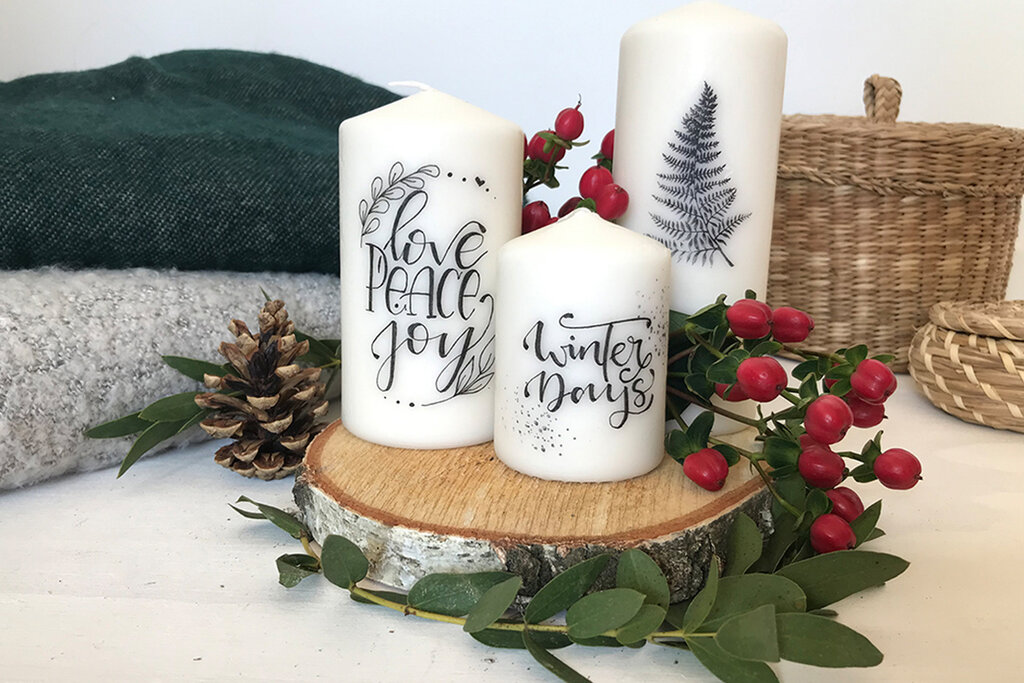
Franzi from dieKunstliebe shows you how to personalise candles and decorate them with stamps. This technique is also perfect for creating four Advent candles.


You will need this material to personalise your candle:
- Pencil, such as the MONO graph mechanical pencil
- Eraser, such as the MONO dustCATCH
- Brush Pen Fudenosuke (hard or soft)
- Clamp or glue such as the MONO PN-MK
- Candle
- Tissue paper
- (hot air) hairdryer
- Baking paper
- scissors
For the stamp version you also need
You still need some of it?
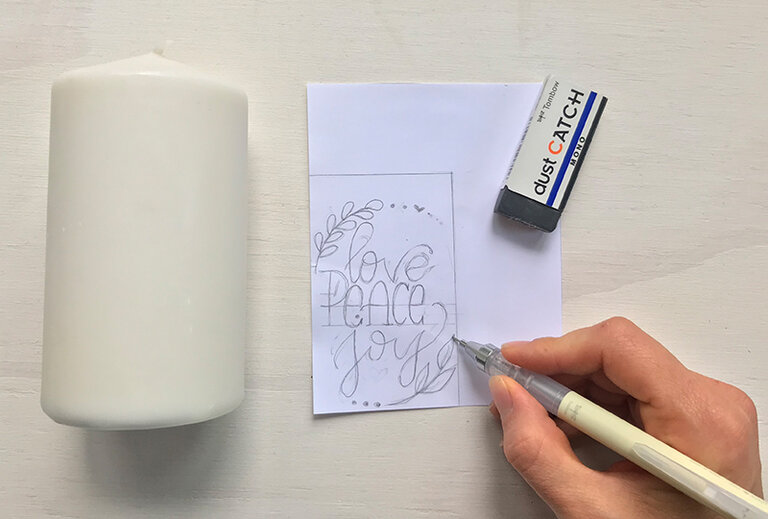
Step 1: Sketching
Draw a sketch of your lettering with a pencil. I like to use the MONO graph for this, as I can use it to accurately sketch out smaller details. If you don't like something, you can easily erase it with the MONO dustCATCH.
My tip: Measure the area of your candle that you want to design and draw it directly as a frame for your sketch. This way, it won't be too big or too small.
Step 2: The lettering
Then trace your lettering sketch with the Fudenosuke brush pen. As an alternative to brush lettering, you can use the MONO drawing pen size 3 and design your template in faux calligraphy style. (You can find more information about faux calligraphy here).
Once you are finished, you can hold the lettering up to your candle and see if you like the size.

Step 3: Transfer the lettering to the tissue paper
Now place your tissue paper over the template with the smooth side facing up. Secure it with a clip or paper tape so that the template does not slip.
Tip: The MONO PN-MK is also suitable for this, as it is removable!
Simply trace your lettering with your Fudenosuke. Once you have finished, cut out your lettering. Make sure that you cut as close as possible to the lettering so that you don't have any superfluous edges.

You can design your candles even more easily with stamps. Choose an ABT Dual Brush Pen in your favourite colour. Apply the colour to the blending palette and pick it up with the stamp as you would with an ink pad. Then stamp the design directly onto the smooth side of the tissue paper.

Step 4: Fixing the tissue paper
Place your tissue paper on your candle with the smooth surface facing upwards. Make sure that the writing is not mirror-inverted. The tissue paper should now fit snugly and without creases. Once you have found the right place, fix it in place by placing baking paper over it. Wrap the baking paper around the candle and secure it tightly with a clip.

Step 5: Blow-dry
To bond the tissue paper to the candle, blow-dry the baking paper in the place of your lettering. The wax melts slightly and bonds with the tissue paper. Make sure that the hairdryer keeps moving so that the wax melts easily and evenly. The lettering will become darker in the areas where the tissue paper bonds with the wax.
My tip: Run your hand and fingers over the candle from time to time to smooth out any unevenness.

Step 6: Leave to cool
Once the entire writing has turned dark in colour, allow the candle to cool briefly and then carefully remove the baking paper from the candle. The tissue paper is now completely fused to the candle. Your personalised DIY project is finished and you have a great Christmas gift for your loved ones.
Done!
Please let us know how helpful this article was for you to copy. Feel free to send us a message if you have any suggestions for improvement or other feedback for us. We read everything, we promise.
PS: We are of course also curious about your result. Feel free to show us your work on Instagram or Facebook and share it with the community.