
Design your own pop-up card for Easter
Although there is currently a light at the end of the horizon, we will most likely still be celebrating Easter with some restrictions. In such times, it's especially important to let others know that you're thinking of them. A pop-up card is perfect for this. When closed, it is flat enough to fit into any envelope. Once you take it out and open it, you get a surprising 3D effect. Birka from "Mit Herz und Schere" shows you step by step how to create such a pop-up card, and at the end of the tutorial, you'll find additional Easter-themed ideas available for free download.


Materials needed for your pop-up card:
For the plain card:
- Heavy paper (over 200/m2) – colored or classic white
- Glue, such as MONO MULTI liquid glue or MONO Maxi Power tape
- A pair of scissors
- Optional: a scoring board
To decorate:
- Watercolor paper for the motifs
- Various ABT Dual Brush Pens, e.g.
- ABT-379
- ABT-373
- ABT-401
- ABT-451
- ABT-676
- ABT-723
- ABT-772
- A paintbrush or water brush
- A pair of scissors
Do you need more of this?
Preparing the Paper
The card will be DIN A6 in size at the end, so that you can send it in a standard C6 envelope.
First of all, you need to cut your paper into two rectangles measuring 10.5 cm × 14.8 cm. If you are using DIN A4 paper, you can simply divide your paper into four pieces.
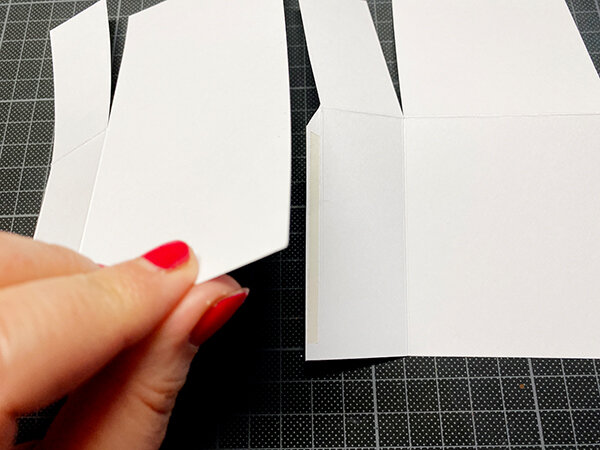
Next, the paper needs to be scored. This means adding clearly defined creases. If you have a scoring board, you can use this to press grooves into the paper, which will make it easier to crease. If not, you can simply make the creases using your hands. Both pieces of paper need to be scored vertically twice, at the 6 cm and 10 cm points. The first piece should be scored horizontally at the 8 cm point and the second piece should be scored horizontally at the same point, but only between the 6 cm and 10.5 cm points. You can see what you should end up with in the picture.
Tip: If you want your card to be a bit more square, these scoring measurements will need to be adjusted.

Step 2
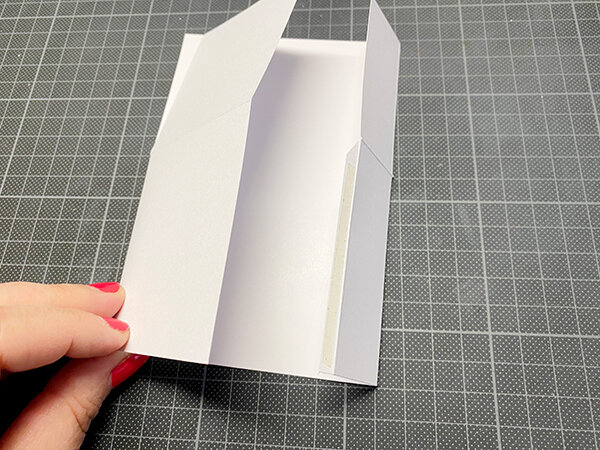
Once the paper is fully scored, cut down along the vertical creases to the middle. We will also remove the narrow piece from the upper edge so that the lower edge becomes a tab.


Step 3
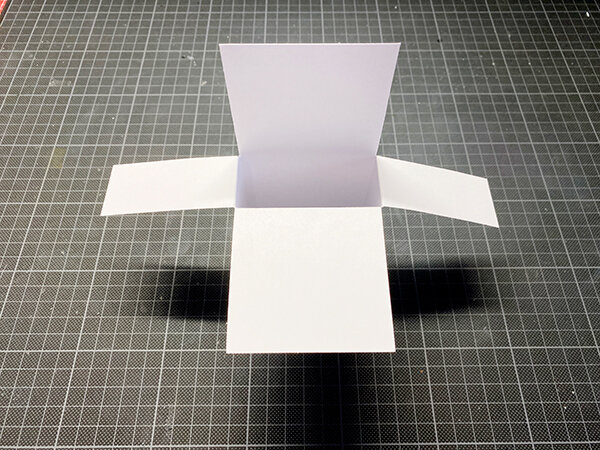
The two parts of the card will be glued together with the help of the tabs. You can either use narrow adhesive tape or the Maxi Power Tape glue roller. If you are using the latter, place some scrap paper underneath, as the width of the Maxi Power Tape (8.4 mm) is wider than the tab in our example. Your card blank is complete.
Side Note: How Do I Score without a Scoring board or Scoring Tool?
The scoring grooves should help you to create a straight crease. Grooves are engraved into the scoring board itself. You trace these with the scoring tool to transfer the grooves to the paper. But what do you do if you don’t have a scoring tool to hand? All you need is a soft surface, a blunt object and a ruler. You can use foam rubber, a paper towel, or a tea towel as a surface, for example. The edge of a protractor or the wrong end of a paintbrush can be used as a blunt object. Just look around at home – you are sure to find something that you can use. The ruler is used as a guide for your crease. Place the sheet of paper on the soft surface and then draw your crease by tracing the blunt object along the edge of the ruler.
You can find more tips and tricks on how to score without a scoring tool on the Liebesfuchs YouTube channel.
Constructing a Pop-Up card with an Easter Design
My Easter card will show a spring meadow, so I have chosen green card for the card blank. You can also use white paper and give your card blank a watercolor background using ABT Dual Brush Pens and a water brush.
For the inside parts, I have decided on two grass layers and a hill layer. The same applies here: either use green and brown paper or color your layers using the watercolor technique.
Cut out the shapes with a pair of scissors or use special paper punches.

The inside parts measure 7.8 cm × 4cm. Now score each side to create a tab 0.9 cm wide. Use the Maxi Power Tape on the lower part of the tabs and place the layers inside your card. Make sure that they stick out a little.

Decoration
To decorate my card, I have transferred the digital templates from my card buddy Reni (kartenwind.jimdofree.com) onto Tombow watercolor paper. As her blog has moved, her freebies are not yet available there. However, if you want to use them you can download them here:
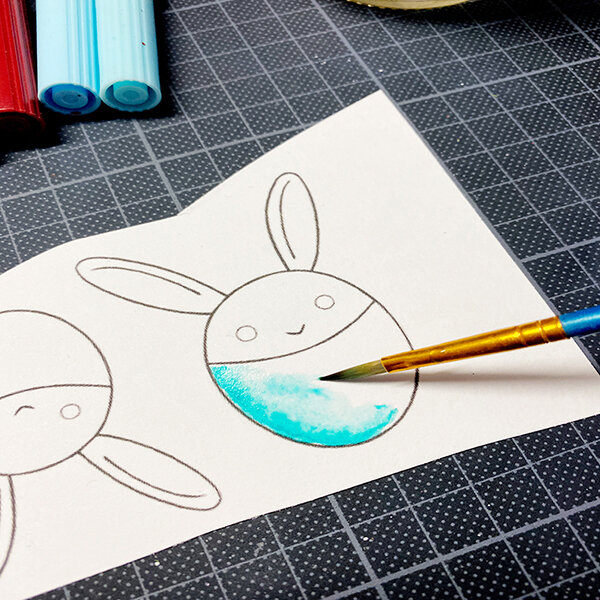
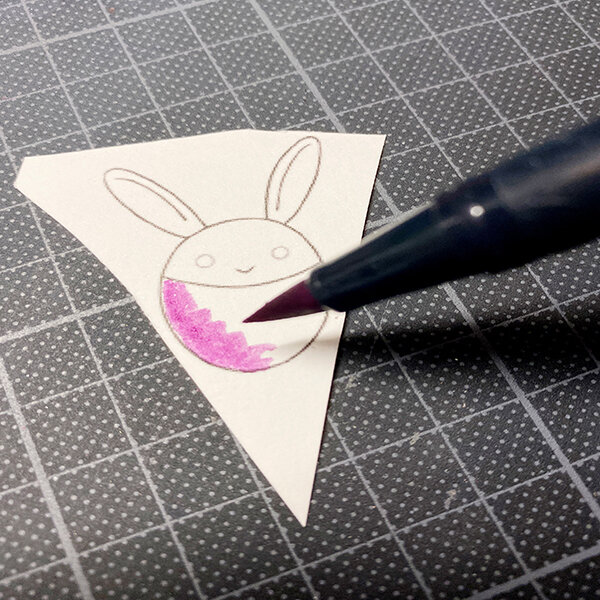
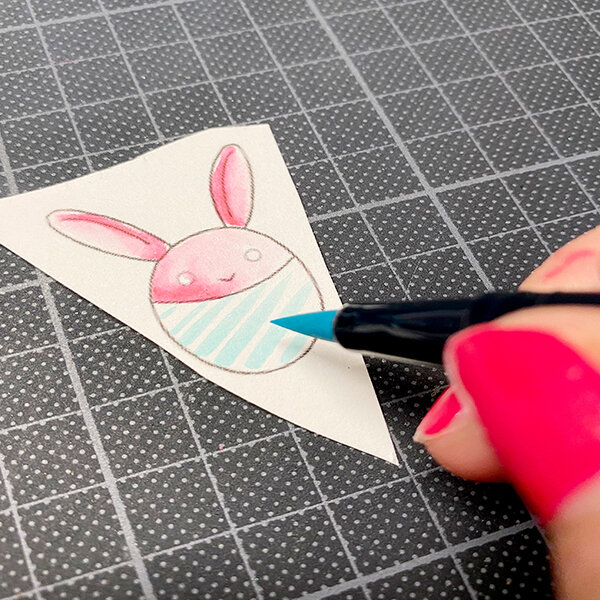
Using the brush tip of an ABT Dual Brush Pen, you can now color in one side of the Easter egg. Thanks to its water-based ink, the color can be diluted with water and then spread over the whole egg. Simply drag the color from left to right using the brush. This will create a darker edge on the left-hand side. Patterns such as stripes and dots are perfect for Easter eggs. Let your creativity run wild!

Easter Greeting
To finish, I’m adding an Easter greeting using the clear stamps from Create A Smile. You can also use our templates and letter the greeting yourself with a Fudenosuke Brush Pen or print it out. Cut the Easter greeting out and glue it to the back wall of the card.

Details
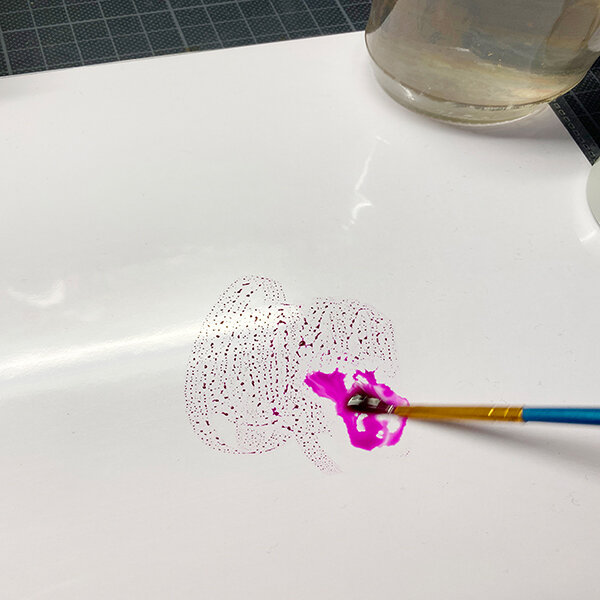
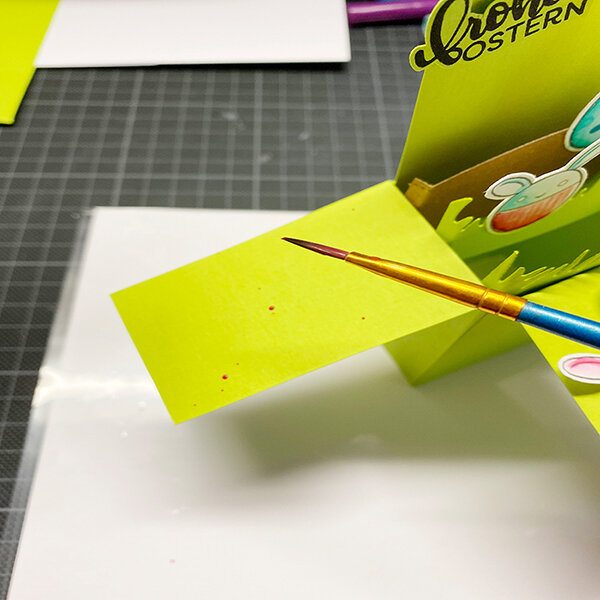
To add a little more pep to the card, I am using my favorite technique: ink splatters. Paint a little ink onto a smooth, wipe-clean surface such as a document wallet or a blending palette using the pens. Then dilute the ink using a brush and a little water. With the ink on your brush, carefully flick some ink splatters onto the outer walls of your card.

Linking to the video streaming service is disabled to protect your privacy. Click here to activate it. By loading the video, you accept the privacy policy of the video streaming service. Further information about the privacy policy can be found here: Vimeo Privacy Policy
