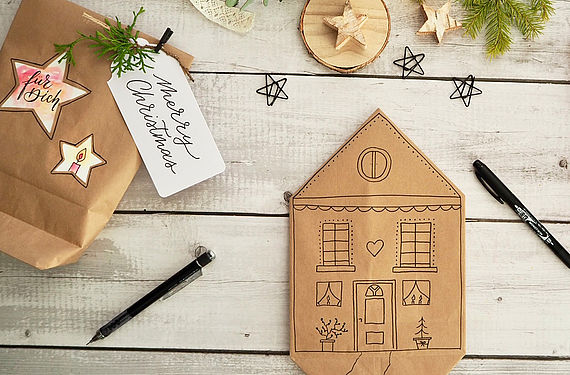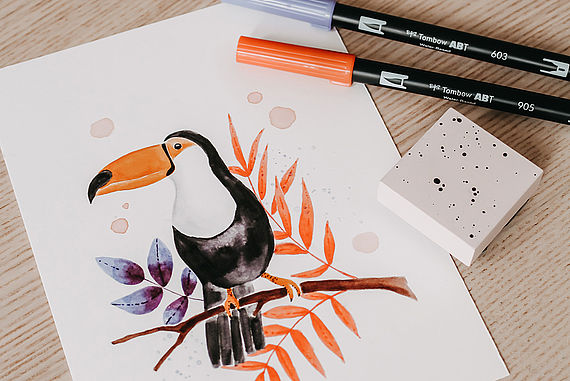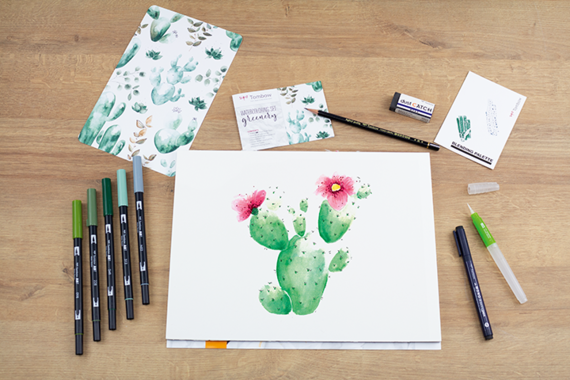
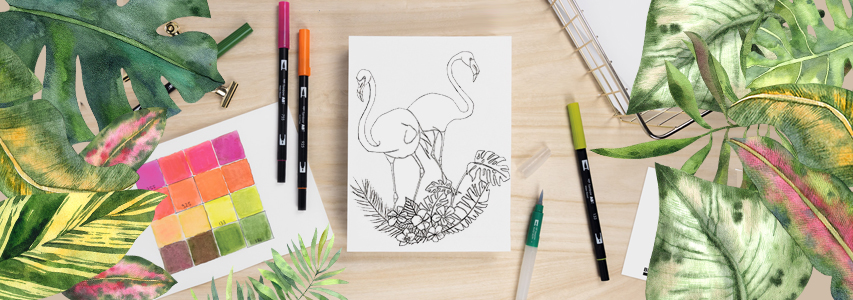
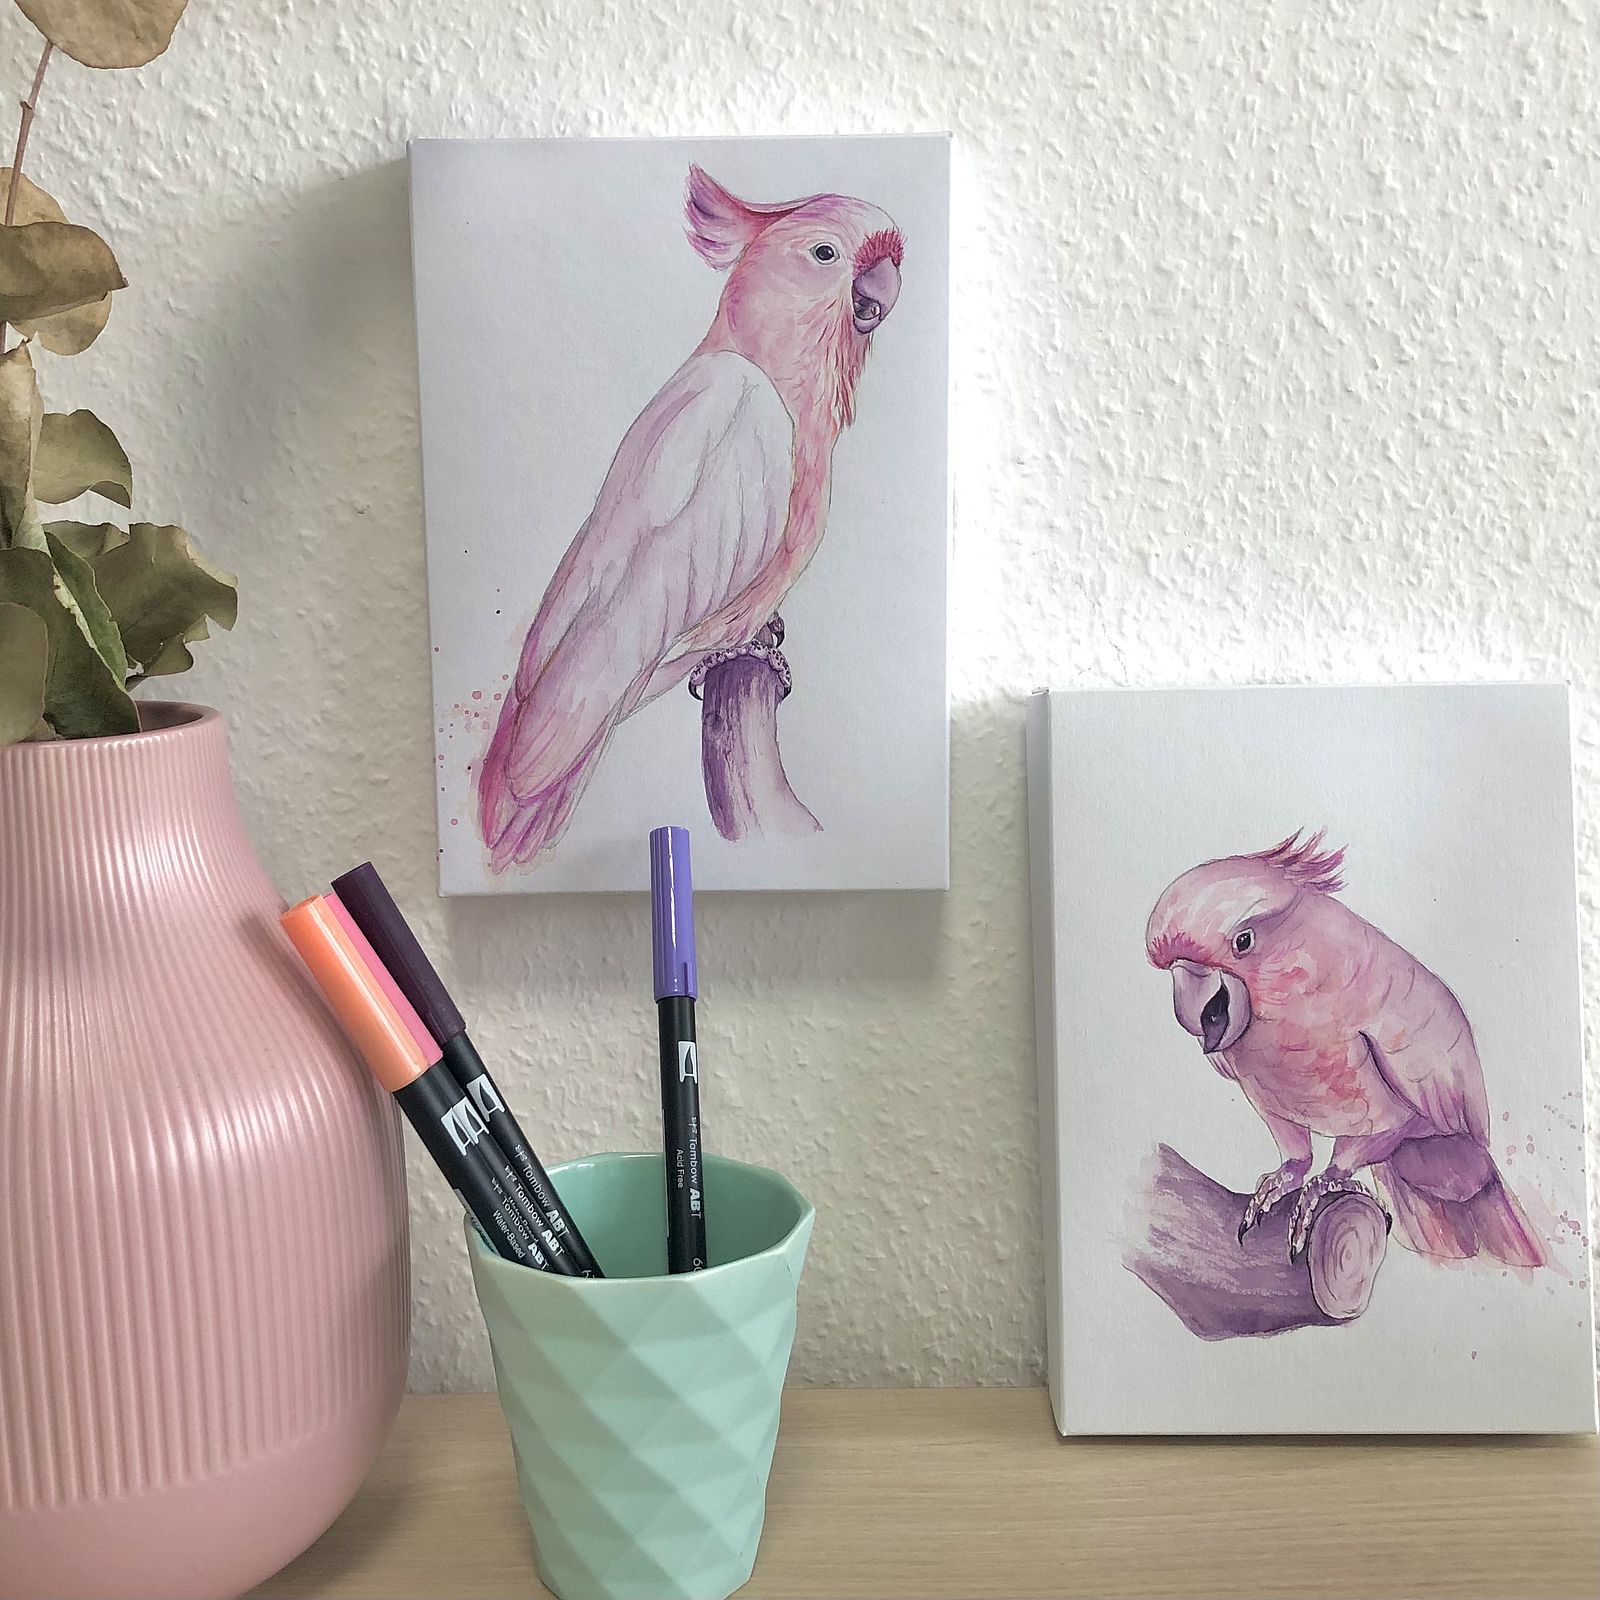
Decorate your home with your hand-drawn bird and the watercolor canvas sets from Tombow.
Have you created a great piece of art that you want to hang up but you don’t have a frame at home? No problem! With our watercolor canvas sets, you’ll have everything you need all in one set. As soon as your artwork is dry, you can fold it and hang it up right away.


To protect your personal data, your connection to the video streaming provider has been blocked. Click to unblock the video streaming provider. By loading the video you accept the video streaming provider’s privacy policy. More information about the video streaming provider’s privacy policy can be found here: Google - Privacy & Terms
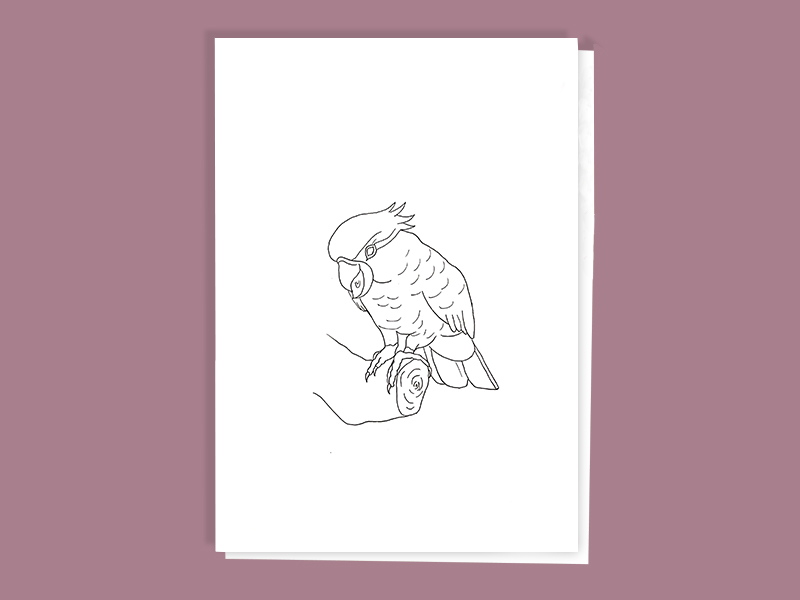
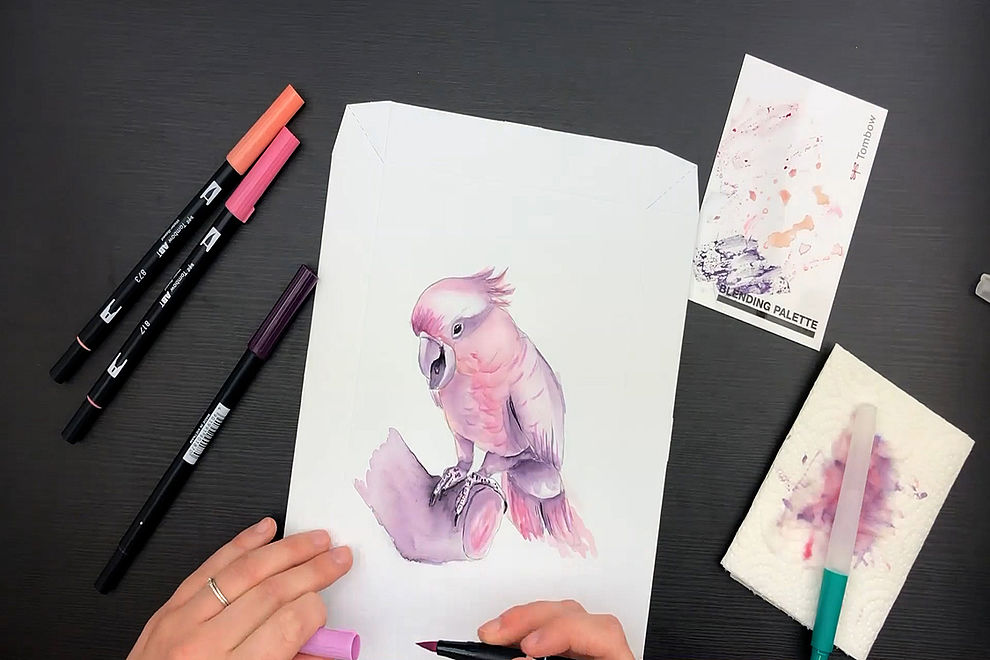
Step 1: Cockatoo
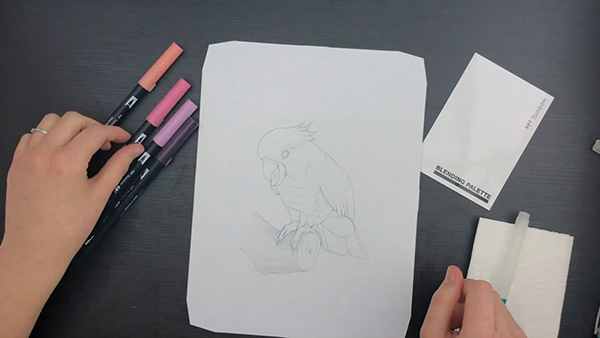
Before we start, the sketch needs to be transferred to the canvas. The best way to do this is by using a soft pencil with a hardness degree of B. You can simply download the template from our site. Are you unsure how to correctly transfer your sketches? No problem! We summarized the process for you step-by-step in this article:
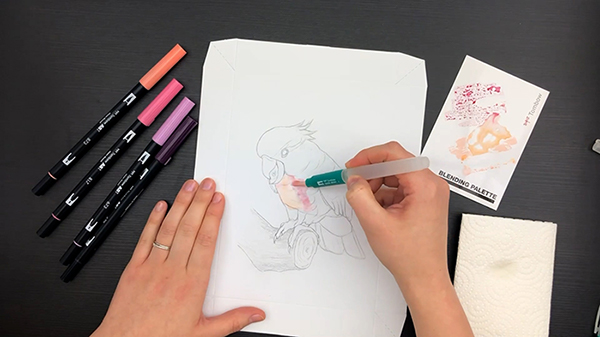
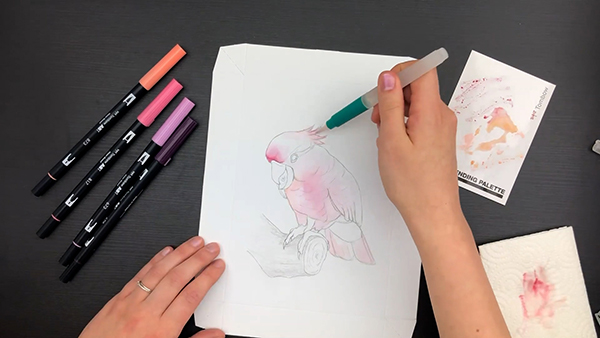
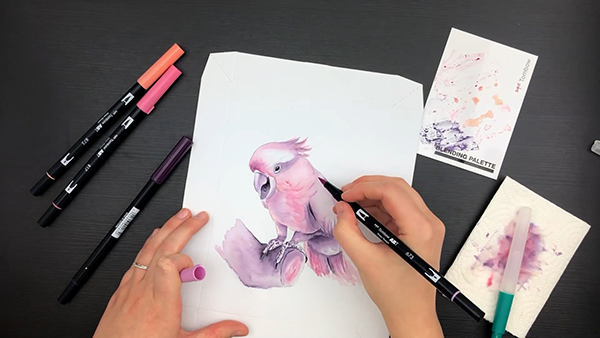
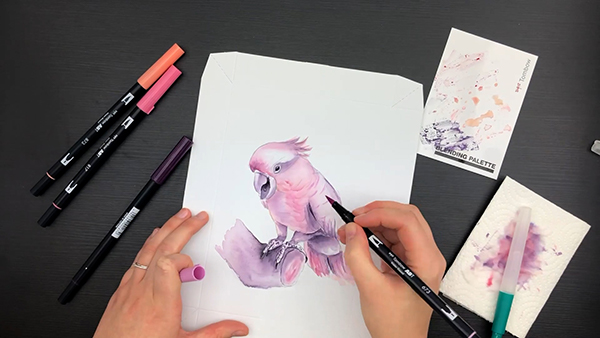
Step 2: Priming the cockatoo
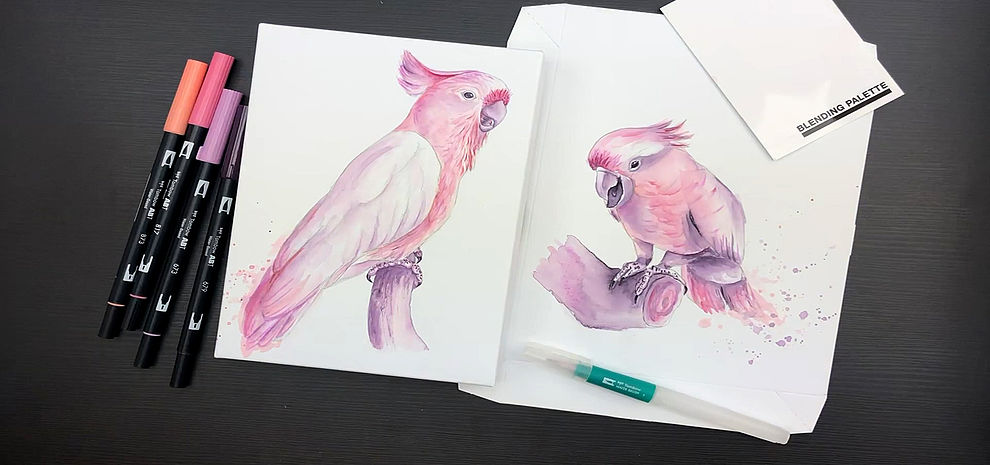
Once you have transferred your sketch to the canvas, you can really get things started. Give the cockatoo its basic colors using the ABT-817 and the ABT-873 Dual Brush Pens. First, apply the two colors next to each other on the blending palette. Then, take your water brush and dip it into the individual colors on the blending palette little by little, absorbing the corresponding color. Afterwards, use this to color the cockatoo. Start at the chest area and slowly work your way out from there.
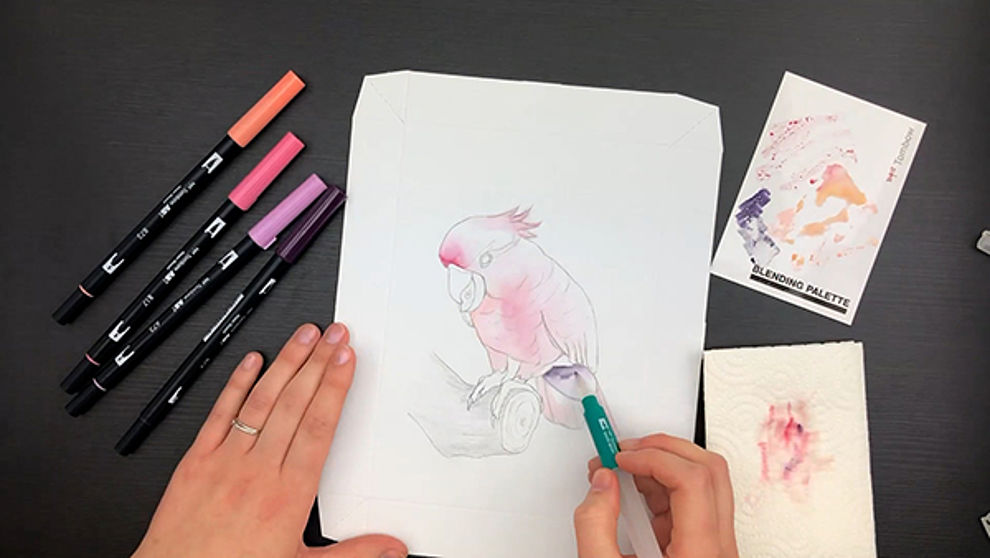
Step 3: Shading
Once the cockatoo has some color, you can give it some shading. Apply the ABT-679 Dual Brush Pen to the blending palette and use the water brush again to absorb the ink. Then, color the eye area, the claws, and the underside of the feathers. This gives the image more depth as well as a more realistic look.

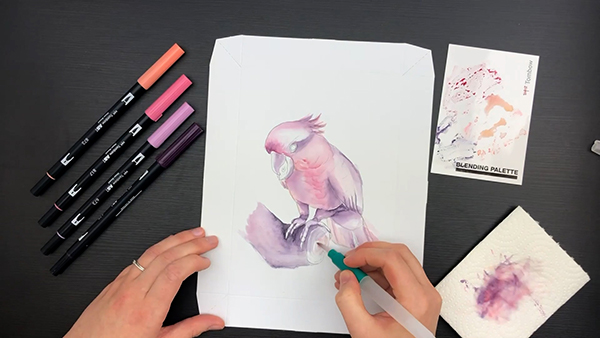
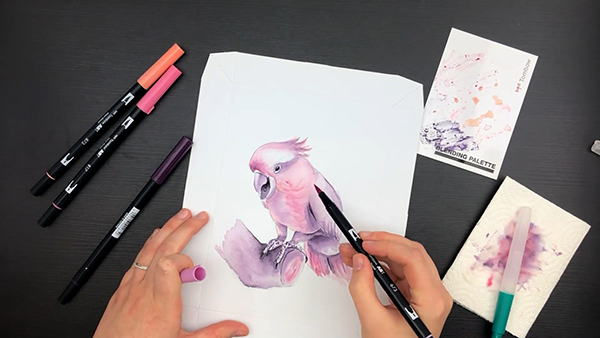
Step 4: Tree trunk
Once the cockatoo has become more and more colorful, switch your efforts to the tree trunk. For this, take the ABT-679 Dual Brush Pen again and begin applying the ink directly under the claws. As you spread the ink, start blending the color more and more. Now absorb the other colors using the water brush and color the tree trunk using them.

Try it out yourself right now and share your Watercoloring Cockatoo with the Tombow family under#tombowinspiration.