In 6 steps you can create your Watercolor Lettering: Your popcorn mood picture "Keep calm and eat popcorn"
Melanie from Süßholz Design loves designing things on paper. She loves to try out various artistic techniques and combine them. In this tutorial, Melanie will show you what you need to watch out for when combining watercolor and lettering and what materials you need. At the end of the step-by-step instructions, you'll have produced a transparent Watercolor Popcorn Illustration with curved lettering. Take a look at the recording on Instagram Live Workshops or follow the step-by-step instructions.

To protect your personal data, your connection to the video streaming provider has been blocked. Click to unblock the video streaming provider. By loading the video you accept the video streaming provider’s privacy policy. More information about the video streaming provider’s privacy policy can be found here: Google - Privacy & Terms
For the preparation:
- Pencil for preliminary drawing like MONO 100 H
- Eraser like MONO light
- Optional: template and 2B or 3B pencil for hatching
For the lettering:
- Various pens like
- Brush PenFudenosuke hard
- Fineliner MONO drawing pen 03
- ABT Dual Brush Pen black
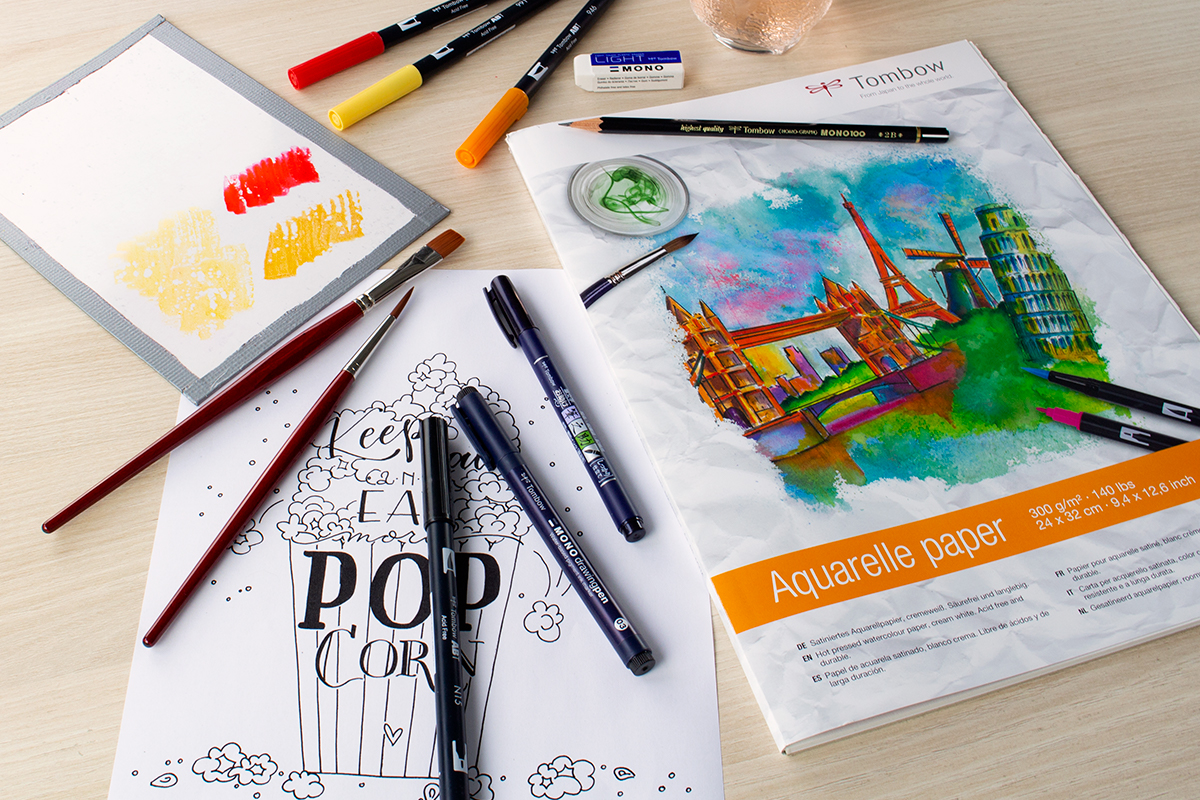
For the watercoloring:
- Water-based Brush Pens such as the ABT Dual Brush Pens for watercoloring in the colors red (856), orange (946) and yellow (991)
- Blending Palette – can be a piece of plastic
- Aquarelle Paper
- Brush – round and flat brush
- Jar with water
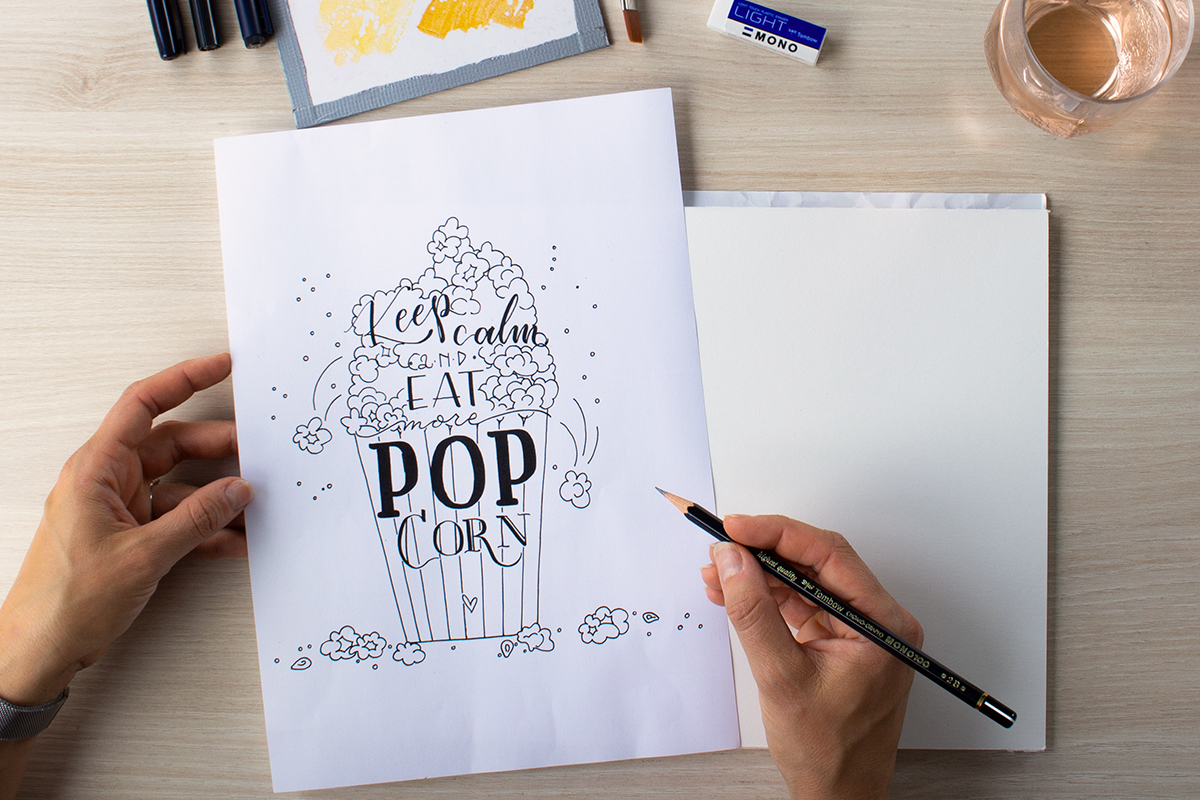
How do you work with templates?
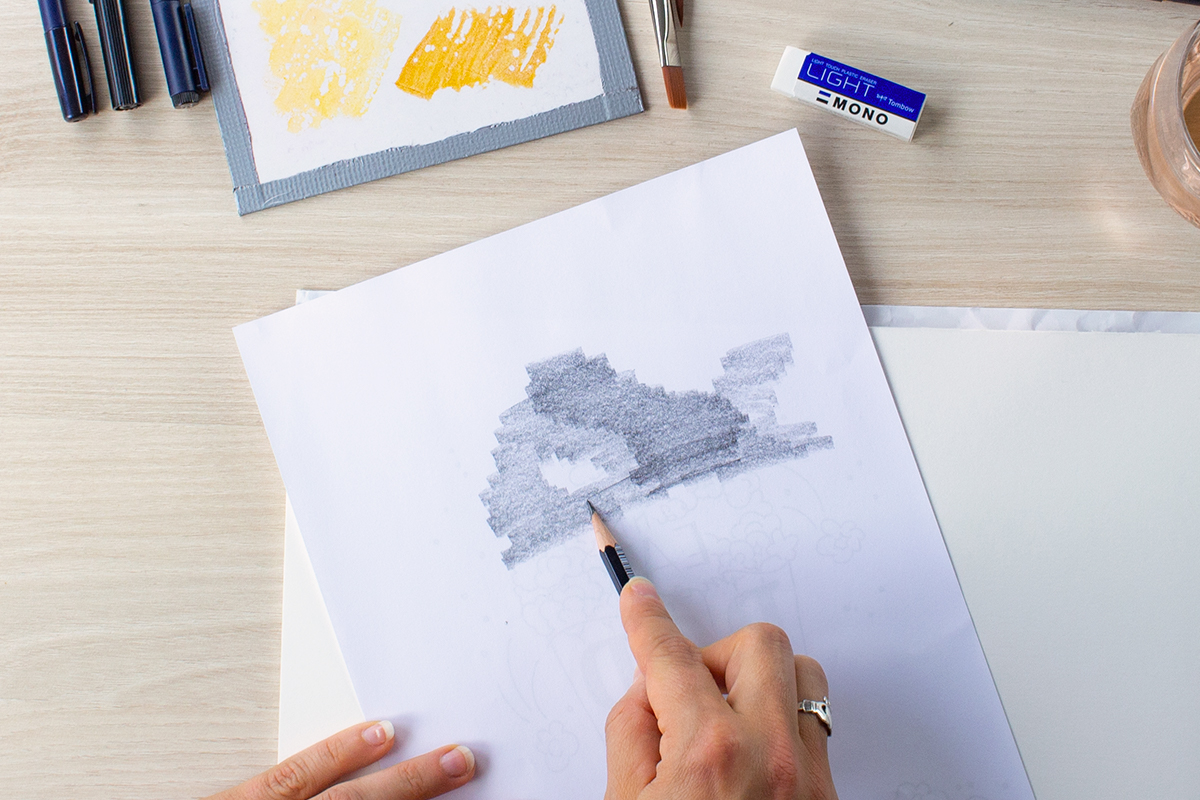
Print the template out and hatch the back side using a soft pencil that contains a lot of graphite such as a pencil in the hardness 2B or 3B.
Tip: If you hold the pencil at an angle, you’ll cover a larger area and be faster.
By the way, the rear part of the MONO 100 has been shaped in such a way that when the pen is held flat (e.g. when hatching) or when it is used heavily, the pen still lies comfortably in the hand due to the soft rounding of the end piece.
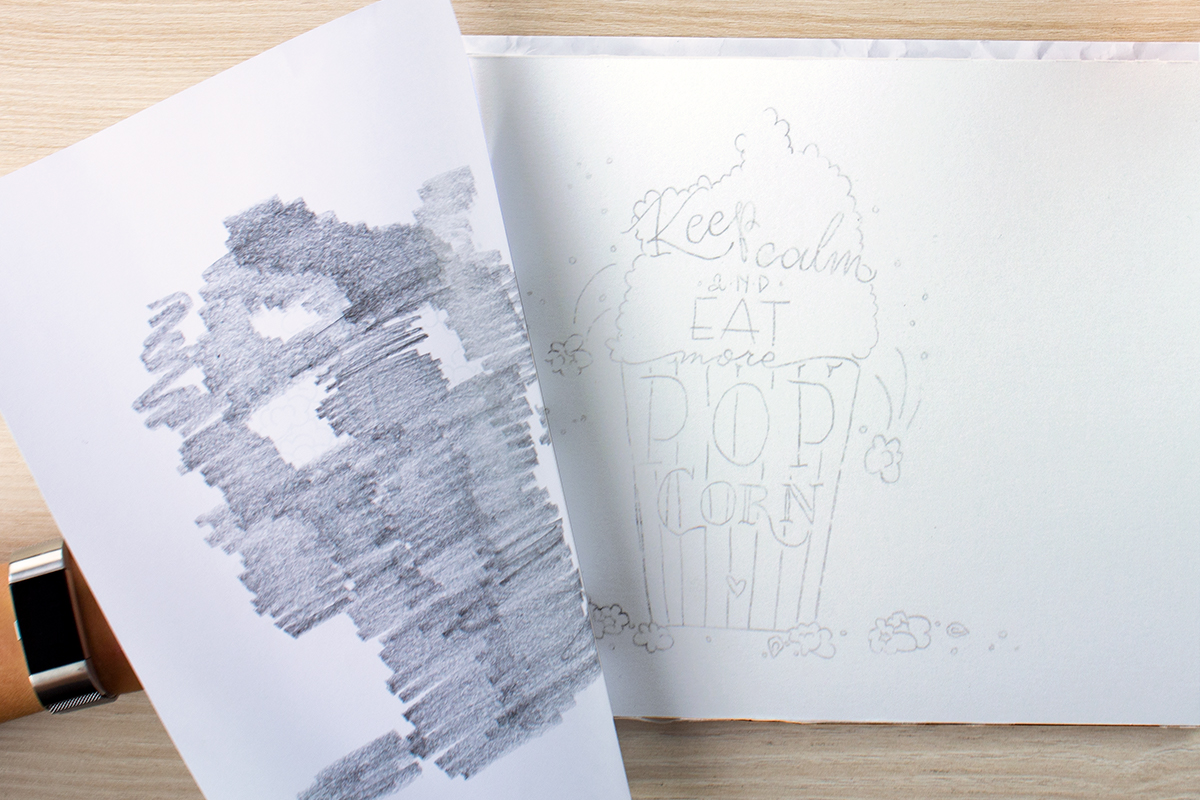
Then place the template with the hatched surface down on the watercolor paper and follow the contours with the pencil. You don’t have to trace every single popcorn. The rough structures are usually sufficient and you can then incorporate your own style. Make sure you don’t exert too much pressure and create annoying grooves in the paper that the water could collect in later.
Tip: Hold one corner of the template and look carefully under it first to see if everything has been transferred.

Step 1:
Transfer the color from the water-based ABT Dual Brush Pens to the Blending Palette. We’re using yellow (ABT-991 Light Ochre), orange (ABT-946 Gold Ochre) and red (ABT-856 Chinese Red).
Tip: If you don't have a Blending Palette to hand, you can use any piece of plastic you have lying around, such as an old overhead projector film, some plastic packaging or a CD case.
Step 2:
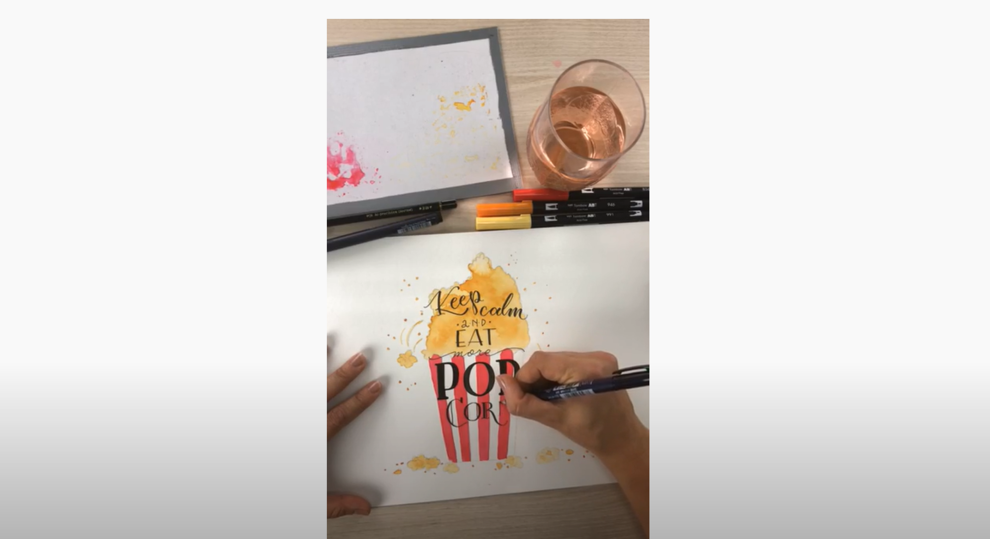
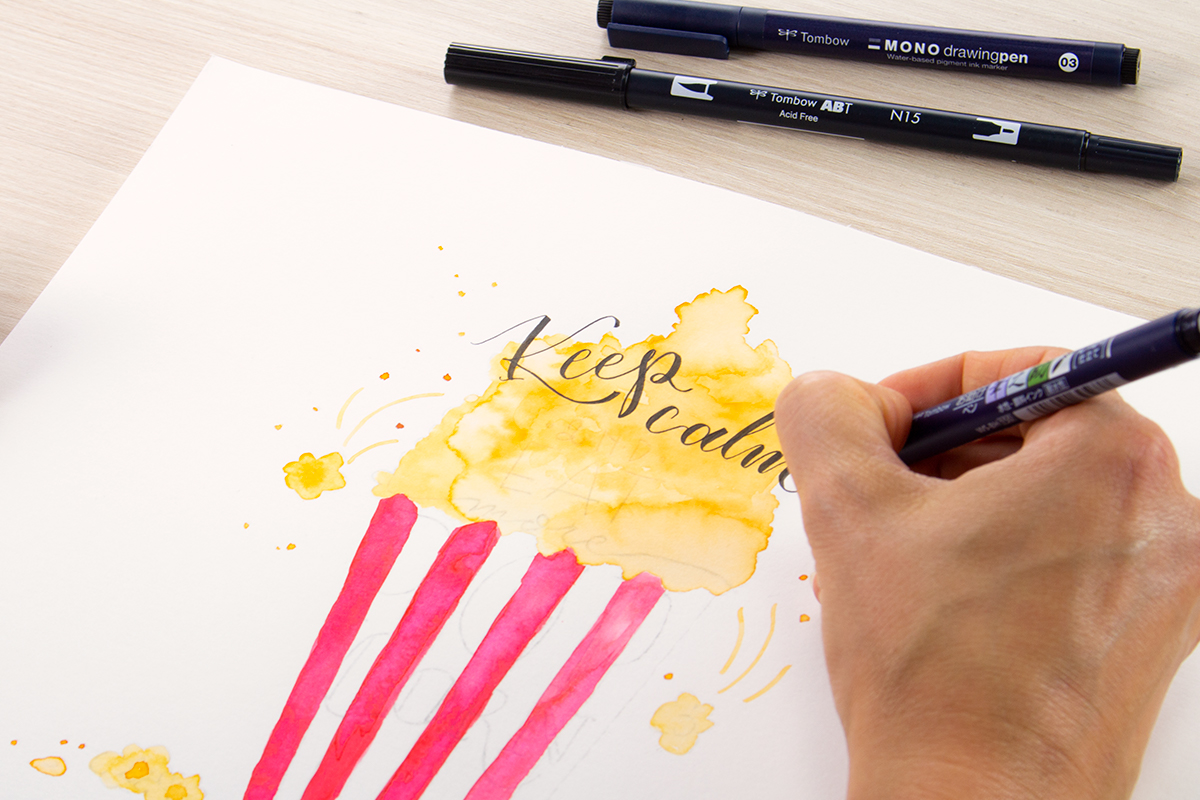
For the popcorn, we’ll be using the wet-in-wet technique. This means that the surface of the popcorn is moistened first using the brush. Then use the brush to take up the yellow color from the Blending Palette and dip it into the water.
Tip: Always wash the brush before you start using the next color. However, don’t dab it on the bottom of the jar. Instead, tap it on the wall of the jar and then wipe it off at the edge.
Take up the second color, the orange, using the brush and dab it onto the surface of the popcorn. If the color is too intense, simply take up a bit more water with the brush and dilute the color again.
Tip: Too much water? Then grab a piece of kitchen roll and dab away the excess water.


Interposed question to Melanie: How do I remove the preliminary pencil sketches?
‘There are two important points to note here. The watercolor needs to be completely dry. Test it beforehand by holding your hand above the watercolor. If it still feels cold, it's probably still wet. Second, use a light rubber eraser like the MONO light. This will absorb little of the watercolor. However, even after the sketch has been transferred, you can erase part of the lines so that only a hint of a sketch is visible. It will then mostly be covered by the watercolor paint’.
Step 5:
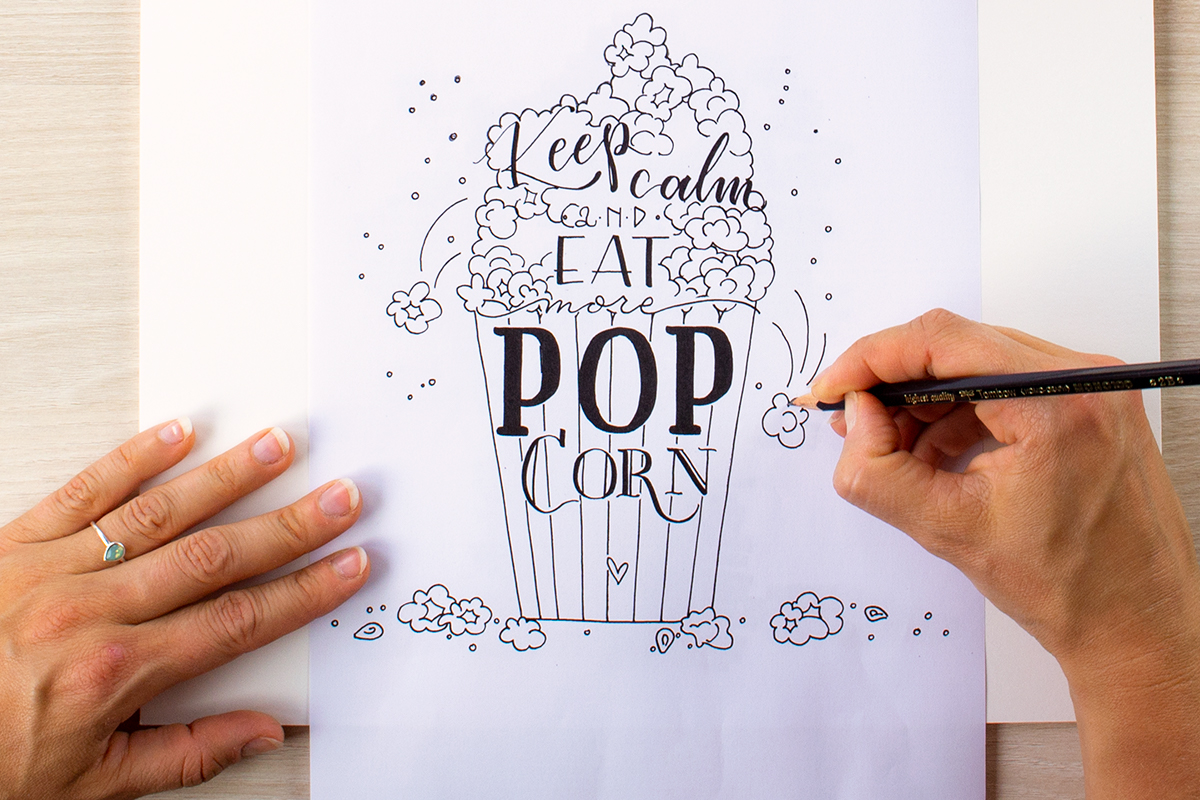
Time for the lettering. For lettering, we use only black pens as these provide the best contrast. Now alternate between the Brush Pen Fudenosuke hard and Fineliner MONO drawing pen line by line. With Brush Lettering, remember to draw the downwards strokes (=from top to bottom) using a bit more pressure and the upwards strokes (=from bottom to top) using a little less pressure and with a thinner stroke.
The “pop” in “popcorn” can be written using the ABT Dual Brush Pen. Its long brush tip is perfectly suited to large letters. The serifs and contours can be corrected and straightened using the thin tip later. You can write the last part of the word “Corn” with the Fudenosuke again using the Brush Lettering technique.
The Tombow aquarelle paper is satin-finished and thus has a smooth surface for aquarelle paper. This is particularly important if you want to add lettering to a watercolor. The smooth surface makes it easier to guide the pen, while the ink application is more consistent than with textured paper and the brush tip of the pen will be protected.