Instagram-Live-Workshop with May&Berry
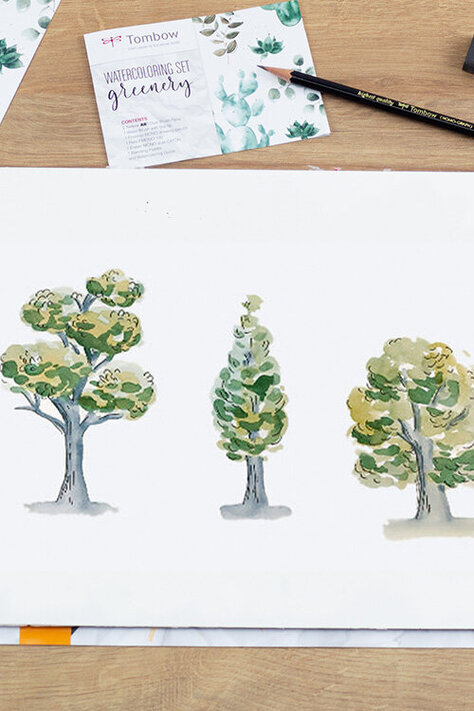
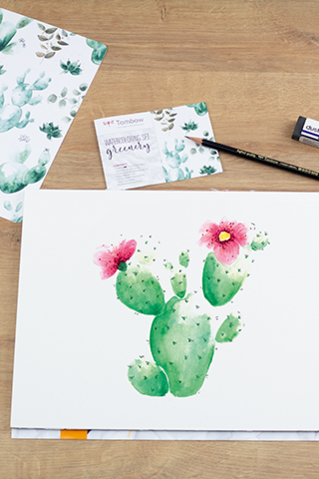
True to the principle #TogetherAtHome, Sue from May & Berry shared her creativity with you on the Instagram livestream! This time the live workshop revolved around the versatility of the Tombow ABT Dual Brush Pens. Most of you are already familiar with the ABT Dual Brush Pen from lettering. However, it is also ideal for watercoloring or stamping.

Linking to the video streaming service is disabled to protect your privacy. Click here to activate it. By loading the video, you accept the privacy policy of the video streaming service. Further information about the privacy policy can be found here: Google - Privacy & Terms

You will need this material for the live workshop:
- ABT Dual Brush Pens in den Farben
- 603 periwinkle
- 679 dark plum
- 873 coral
- 899 redwood
- 905 red
- 946 gold ochre
- N00 blender
- N25 lamp black
- Wassertankpinsel
- Bleistift, wie den MONO Graph Pastell
- Radierer, wie den MONO dust CATCH
- Fineliner, wie den MONO drawing pen in der Stärke 03
- Sprenkel Stempel von May&Berry (erhältlich z.B. bei idee Creativmarkt)
- Aquarellpapier
- Optional: Tukan-Vorlage
Do you need more of this?
Click here

Step 1: Primer for the body
The ABT Dual Brush Pen N25 is used for coloring the body of the toucan. We use the brush tip of the ABT Dual Brush Pen and drag it flat over the paper. Fill in almost the entire area of the body. Only in the middle of the belly can you leave a white spot. You can indicate the tail with a few lines.

Step 2: The watercolor effect
Then you can start to drag the color into the white area using the water brush. You will quickly realize how the pigments dissolve and how easy it is to color everything! Use the water brush to go over the entire colored area to blur it a little.
If you can still see the lines a little, that is perfectly fine. It gives your artwork a certain DIY feel.
Once you color the individual lines of the tail feathers, you must be careful not to color the trunk of the tree.
Tip from Sue: Not only can you blend the color with the water brush, but you can also blend it with the ABT Dual Brush Pen N00 Blender Pen. Since we are using a lot of water in this case, I decided to use the water brush. However, the blender pen has a much finer tip, allowing you to blend very fine details.


Step 3: The beak
We use the ABT Dual Brush Pen 946 color for the beak. It’s very easy to get into the sharp corners of the contours using the tip of the brush. You can leave a white line at the bottom of the beak. You can then apply the color again using the water brush.

Step 4: The tree trunk
We use the Tombow ABT Dual Brush Pen 899 to carefully color a part of the trunk. You don’t have to color the trunk precisely because you will be using the water brush to blend the color. Just try not to draw over the pencil line.
You can now color in the branches completely using the tip of the water brush. You can give the end of the trunk a somewhat angular look. But make sure it still looks natural.

Step 5: The feathers around the eye and claws
For the feathers around the eye and the claws, we use the Tombow ABT Dual Brush Pen 946. Depending on how big your toucan is, you can either use the fine tip of the ABT or, if it is big enough, the brush tip.

Step 6: Complete the toucan
Now fill in the tip of the beak using the ABT Dual Brush Pen N25. You can make this part very dark, as this will increase the contrast. Once you have dissolved the pigments of this area a little using the water brush, you can use them to make a light gray shadow line on the belly of the toucan. You need this line in order to create a contrast between the toucan’s neck and the white sheet of paper.
Then completely clean the water brush so you can use it to taper off this shadow line even softer.
Using the small tip, you can trace the area between the beak and body as well as the eye. Make sure to leave a small white light spot on the eye.


Step 7: The leaves and the stalk of the tree
The leaves are going to be really colorful. Start with the Tombow ABT Dual Brush Pen 905 and the Tombow ABT Dual Brush Pen 873. Use the color 905 to color approximately 1/3rd of the lower half of the leaves, and use 873 to color the rest. Then use the ABT Dual Brush Pen N00 Blender Pen to mix the two colors together. Just drag it over and over again to create a smooth transition. After all the leaves are colored in, you can draw the stem using the fine tip of the ABT Dual Brush Pen 905.
For the leaves on the left side, use the ABT Dual Brush Pen 679 to color 1/3rd and the ABT Dual Brush Pen 603 to color 2/3rds. Then mix the two colors again with the N00 Blender Pen and draw the stem using the fine tip.


Step 8: Details (optional)
To give the illustration a finishing touch, you can add some details. For the leaves, you can add dots and lines with the respective darker color to indicate the leaf veins.

Background:
To decorate the background with individual splotches, you can dab color 873 on the blending palette. It is best to keep the brush tip completely flat so that it doesn’t get strained too much. Then wet them with the water brush and color individual splotches in the background very brightly.
Using the sprinkle stamp, you can add more details to your illustration. Simply drag the brush tip of the ABT Dual Brush Pen in color XXX flatly across the stamp. Then just breathe on the stamp again so that the color is dissolved again and stamp it in the background.


Done!
Let us know how helpful this article was for you. If you have any suggestions for improvement or other feedback, we’d love to hear from you. We promise to read everything.
PS: We're also curious to see your results. Share your work with us on Instagram or Facebook and share it with the community.