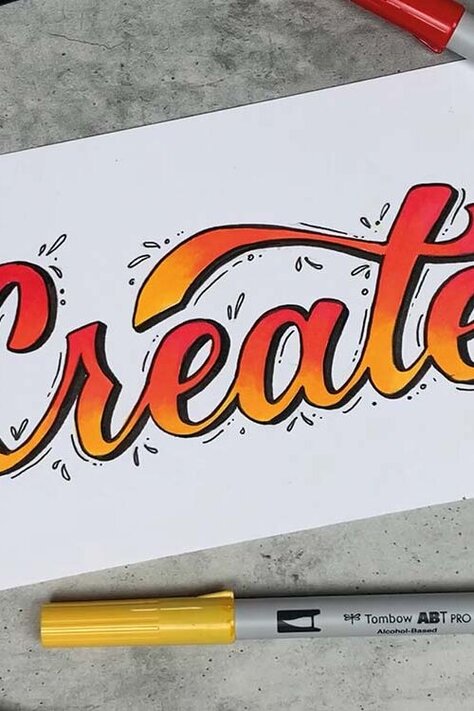
Combination of marker and water-based brush pens
To coincide with Earth Hour on March 26, Ludmila Blum has created a step-by-step tutorial to help you draw your own world map.
But what exactly is Earth Hour?
Earth Hour has been around for 13 years now and was originally launched by the WWF organization and its partners. The idea behind it is simple: all over the world, the lights are switched off for one hour to draw attention to environmental and climate protection.
Want to find out more? Then take a look here.


You will need these materials:
For the paper:
- Template for the world map (download here and print out in the desired format)
- HB pencil such as the MONO 100 for tracing the world map
- An ABT Dual Brush Pen in light blue (e.g. ABT-515, ABT-452, ABT-451, ABT-491)
- A water tank brush or a simple brush and water -
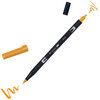
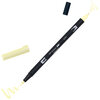
- Alcohol-based Tombow ABT PRO markers in two matching color shades, e.g:
- Blue: ABTP-491 and ABTP-502
- Purple: ABTP-673 and ABTP-680
- Orange: ABTP-933 and ABTP-850
- Yellow:ABTP-090 und ABTP-062
- Peach: ABTP-873 und ABTP-881
- Green: ABTP-131 und ABTP-19
- Brushpens like the Tombow Fudenosuke, possibly in different colours or a fineliner like the MONO drawing pen
Still need some of that?
Step 1: Transfer world map
Your world map does not have to correspond exactly to reality. However, the outlines you can download here will give you a good orientation. Trace them onto your paper with a pencil without applying too much pressure. A light pad is particularly suitable for this, but you can also use a window or a glass table with a bright lamp underneath.

Step 2: Colored border
Choose the darker pencil of each of your color pairs and paint the inner edge of the continents using small, circular movements. Try not to paint over the edge. Change the color from continent to continent.

Step 3: Gentle color gradient
Now choose the matching, lighter color for each continent and paint another, lighter band towards the middle. Lightly paint over part of the already painted area to create a gentle color gradient. You can leave the middle of each continent white or color it in completely.

Tipp
For colors that differ more, it is worth using a little trick to achieve an even smoother color gradient. To do this, press the tip of the lighter pencil into the darker one to absorb some of its color. Then use this mixture to paint in the color transition between light and dark.
Don't worry: it won't damage your pencils and the darker color will come out of the tips.
The transition to the white paper is even smoother with the colorless blender. Use it to paint over the edge in gentle circular movements to thin out the paint application.
When you have finished coloring all the continents, your picture should look something like this:


Step 4: Water flow
Now use the flexible brush tip of the water-based Tombow ABT Brush Pen to trace the outer edge of all the continents. Leave a small gap to the colored continents and only paint about half a centimeter towards the middle of the sea with small, circular movements.


Done!
Let us know how helpful this article was for you when you tried it out. Feel free to send us a message if you have any suggestions for improvement or other feedback for us. We read everything, we promise.
PS: We are of course also curious about your result. Feel free to show us your work on Instagram or Facebook and share it with the community.
The Community