How to draw a flowering cactus with the watercolor sets
Feather-light watercolor illustrations of beautiful bouquets and audacious green foliage. If you are an enthusiastic lover of floral and greenery and have always wanted to try watercolor painting, we have just the right thing for you: Watercolor Sets Floral and Greenery designed by May & Berry. The watercolor and lettering team, Sue and Yasmin, have selected two wonderful color compositions for you with which anyone can learn watercolor painting. To ease the introduction, Sue from May & Berry shows you how you can combine both sets and draw a prickly pear with beautiful flowers. Have a look at the step-by-step guide.

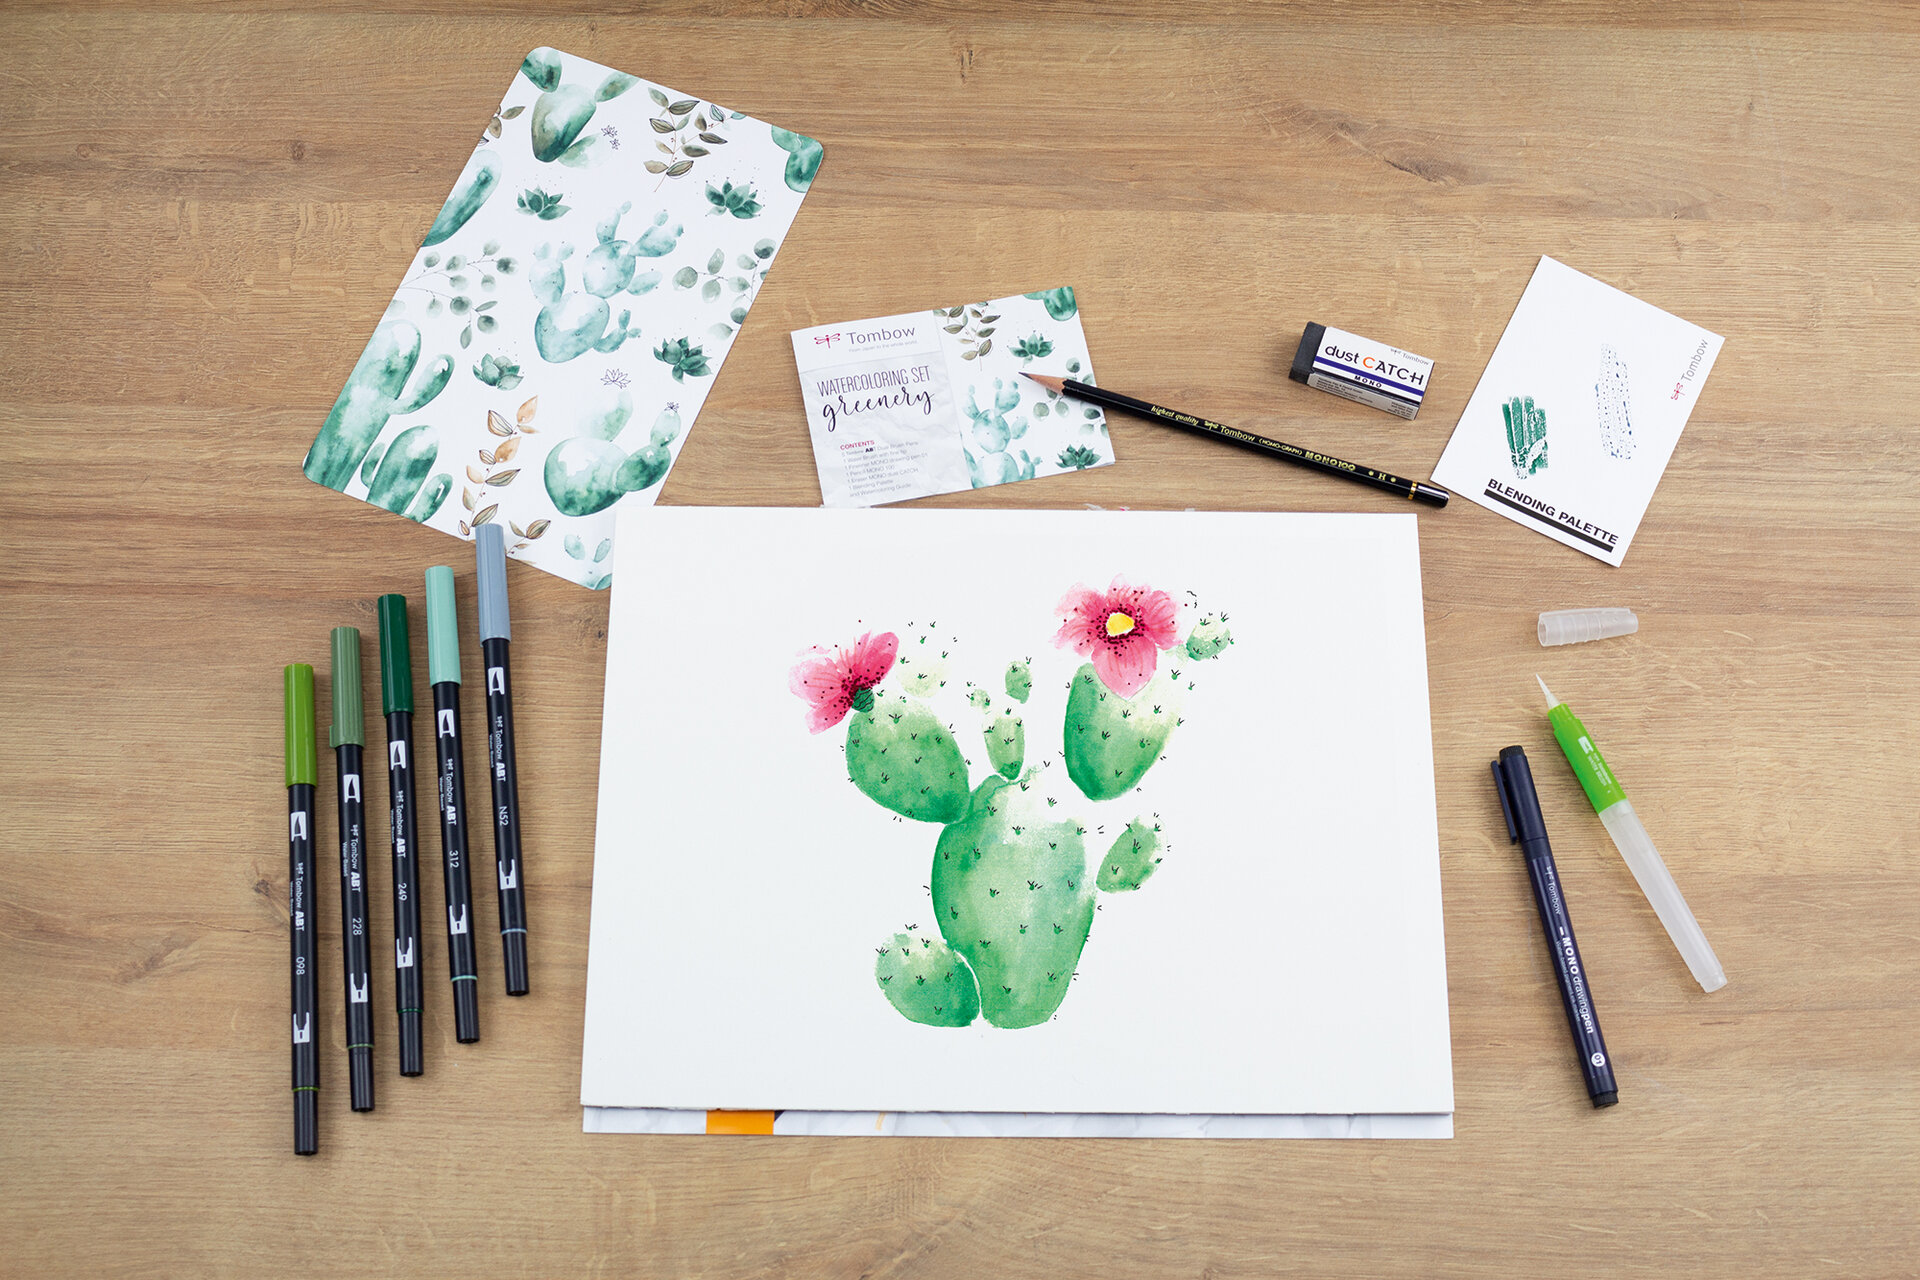
You will need these materials:
For Watercoloring with Brush Pens:
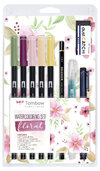
- Watercoloring Set Floral contains: ABT-192, 757, 772, 910, 991; WS-EFL03 (line thickness 0.35 mm); MONO 100 hard (MONO-100-H); MONO dust CATCH (EN-DC); water brush medium (WB-ME-1P); blending palette; instructions
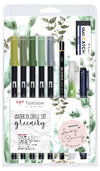
- Watercoloring Set Greenery contains: 1× ABT-098, 228, 249, 312, N52; WS-EFL01 (line thickness 0.24mm); MONO 100 hard (MONO-100-H); MONO dust CATCH (EN-DC); water brush fine (WB-FN-1P); blending palette; instructions
- Water color paper
You still need some of it?
Step 1: The sketching
What is practical about watercolor painting with the Brush Pens is that you can sketch really well. To design the basic shape of the cactus, you draw irregular ovals that can also overlap one another because they have grown in these places.
The two flowers connect to the upper ovals. Here, the middle of the flower is a small circle around which you then draw a few irregular petals. In nature, these are not always precise.
You can then erase a little of the sketch with the dust CATCH eraser so that it still offers you enough orientation.
Not sure you trust yourself with the sketching? Then download Sue’s original outlines here!

Step 2: Apply color - shade and light
You first have to decide where the sun is positioned in your illustration. In our example, it is coming from the top right. We therefore begin to draw out the cactus with a few strokes on the shady side below and to the left. We leave the upper portion white because the sun reflects there and the cactus appears lighter there.
This technique is especially good for beginners compared to going straight to watercolor painting because you can consider in advance where the shade and light will be.
Tip: always work with the flat side of the brush tip so that you are gentle on the tip and can apply more color.

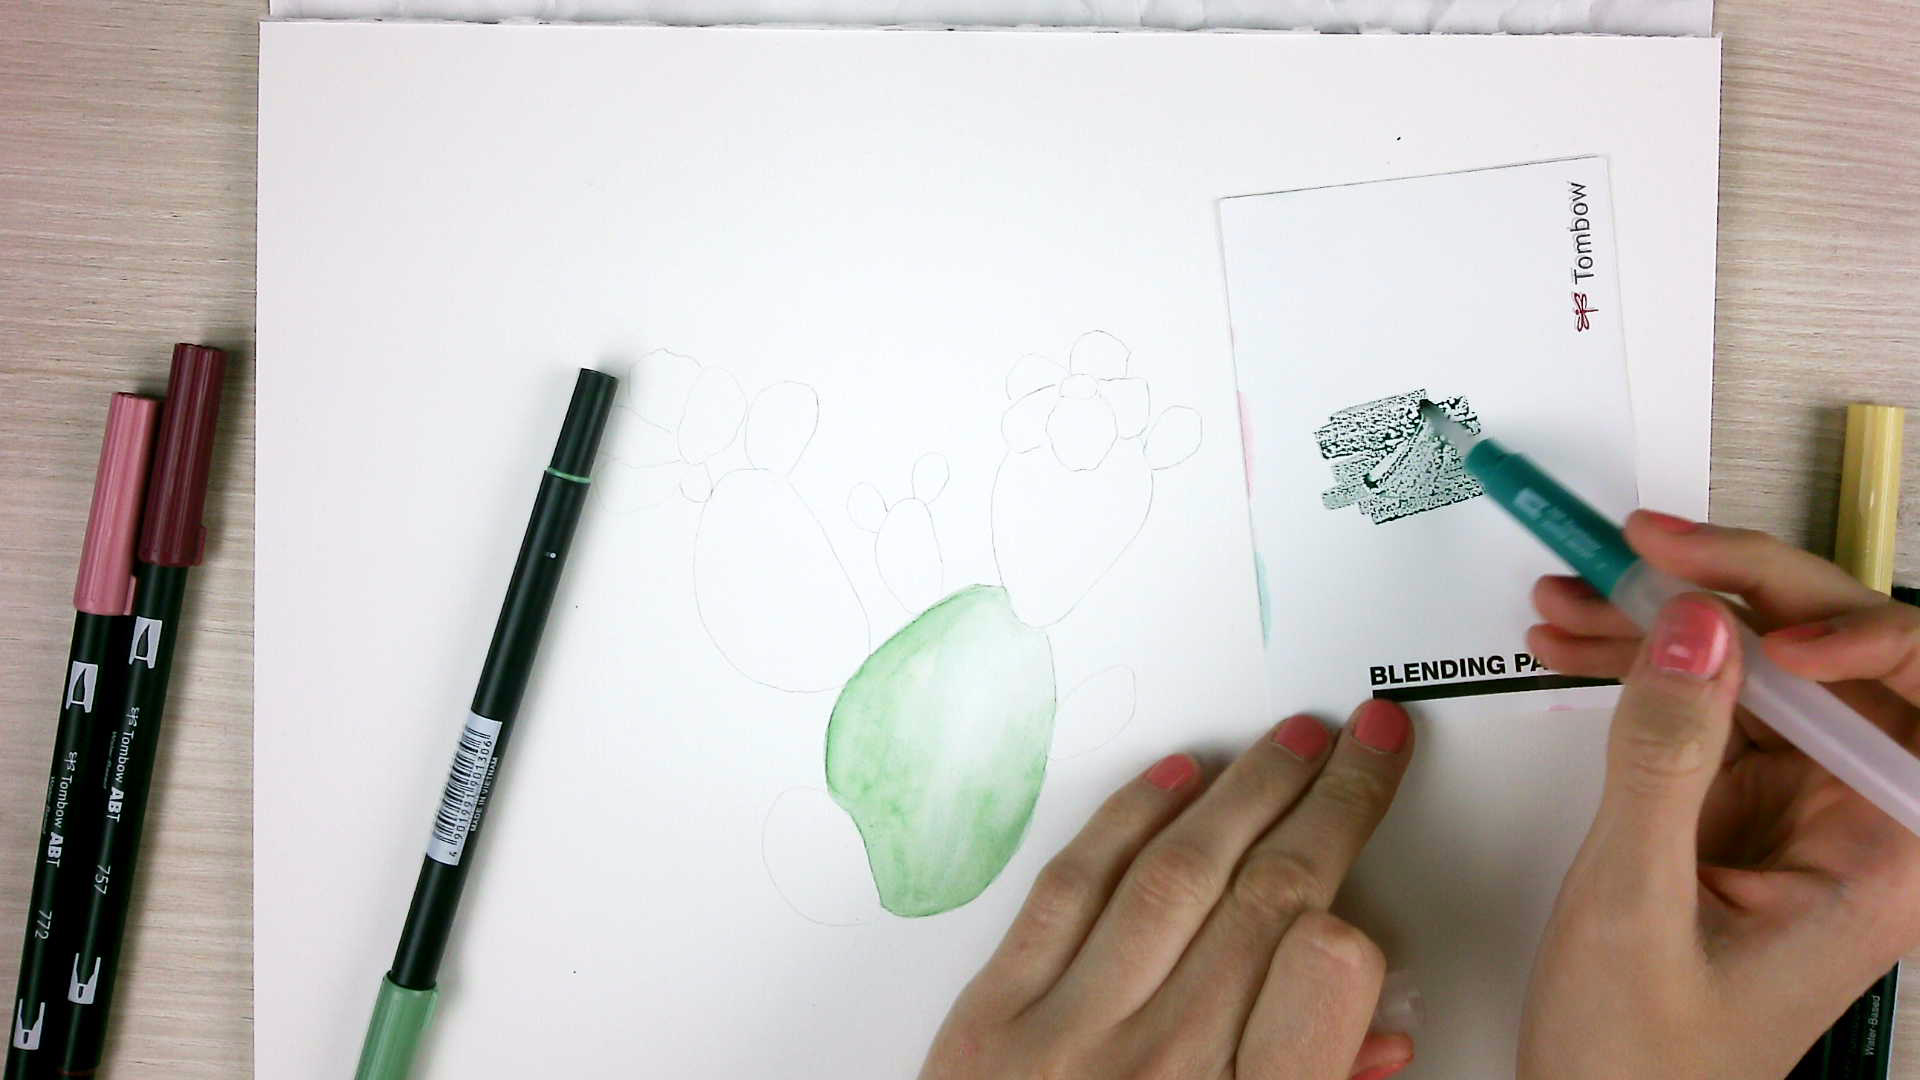
Step 3: Watercoloring
Now you paint the watercolor with the water brush. Sometimes, you also have to paint over the area several times to get the color right. You can pull the color step by step into the white area in strokes or even in small circles.

If you want to make a more intriguing design, add some additional color to your Blending Palette and pick it up with the water brush. This works best if the watercolor paper is still slightly wet. So don’t take too much time over this.
Tip: if you want to clean the water brush, simply wipe it on a paper towel.


Question to May & Berry:
„What is the difference between regular watercolors and ABT Dual Brush Pens?"
Sue: with regular watercolors, you first have to work out how much water you need for how much pigment. This is a huge topic in our workshops.
With the ABT Dual Brush Pens, it is a lot simpler to measure out because the pigments are already dissolved in the water.
In addition, you can calmly apply the color to start with, consider where the shade is in your illustration, and then paint on the watercolor. This makes it easier to control.
The biggest difficulty with regular watercolors is in measuring out the water. With the water brush, this doesn’t happen. Water is constantly provided, meaning that there can never be too much nor too little.
Caution: If you press on the body of the pen, more water flows into the tip.
Step 4: Flowers
It’s now time for the flowers with the colors ABT-757 port red and ABT-772 blush.We mix these on the paper itself.
Apply the blush color to the petal and then dab port red straight onto the petal base.I always start with the light color and spread it to the tip of the petal.I then pull the darker red along a little more.
Once everything has dried, you can color the middle of the flower with 991 light ocher.Because the area is so small, it isn’t painted with watercolor again.
Tip: always leave out one petal when coloring and only fill the remaining petals when the neighboring petals are dry. This means that the colors won’t run into one another and you can still recognize the individual petals later on. In addition, the petals can overlap one another and the lower petal shines through a little, as is also the case in nature.

Step 5: The underrated second tip
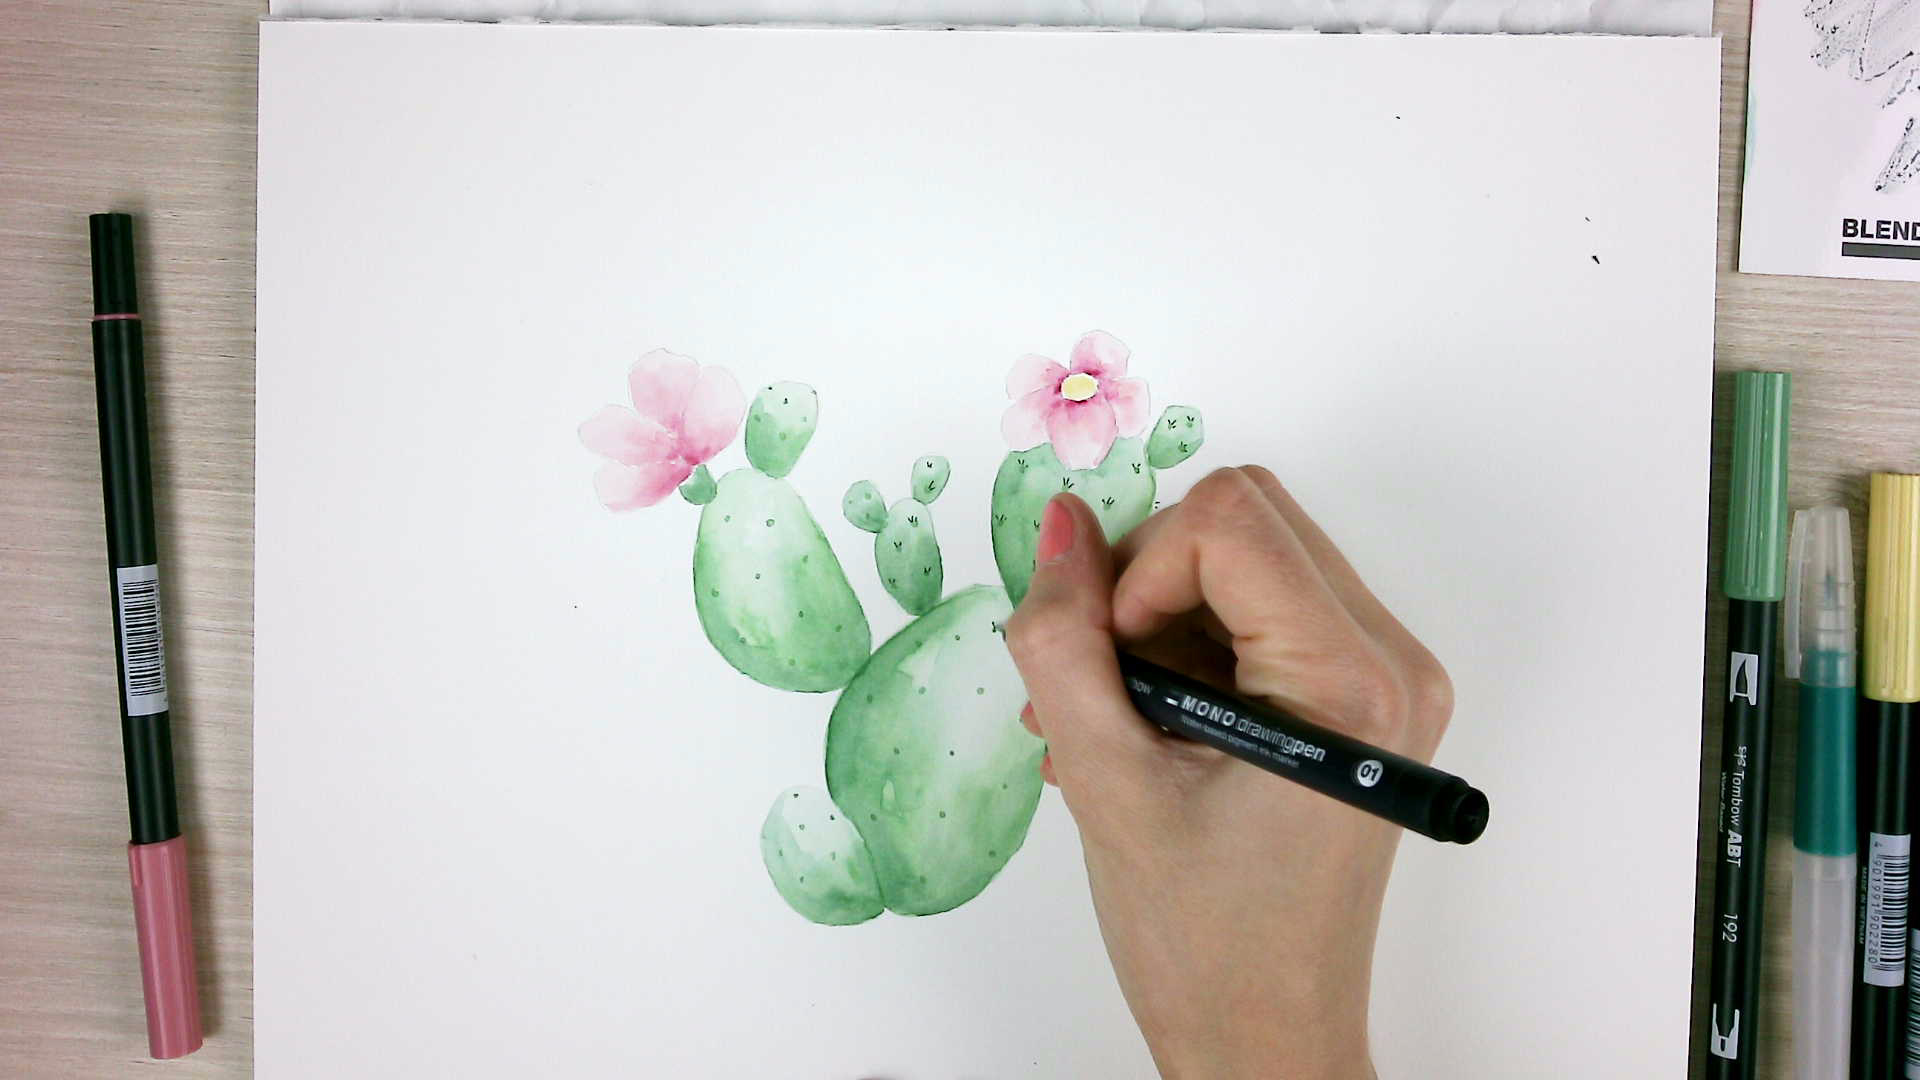
It was extremely important to us that all components in the set made sense and weren’t just superfluous extras.With the ABT Dual Brush Pens, we most appreciate the somewhat inconspicuous second tip.With the fine tip of the green ABT, which we have used for the cactus, we draw individual dots on the body of the cactus.

In order to lend additional contrast to the petals, arrange individual dots with the thin tip of the ABT-757 port red on the leaf base and the petals.You can then retrace the flower structure with the ABT-772 blush tip.The effect may not be immediately striking but will round out your illustration somewhat and make it more intriguing.

Step 6: MONO drawing pen
With the MONO drawing pen, you draw individual spines on the small dots. The cactus will therefore appear immediately more three-dimensional.
Step 7: The magic of the MONO dust CATCH
Last but not least, we remove the sketch with the MONO dust CATCH eraser. With this special composition, not only will the eraser fragments be collected on the eraser with circular eraser motions, but it will also erase the graphite under the color – without damaging the paper.

Done!
Please let us know how helpful this article was for you to copy. You are welcome to write us a message if you have any suggestions for improvement or other feedback for us. We read everything, we promise PS: We are of course also curious about your results. Feel free to show us your work on Instagram or Facebook and share it with the community.