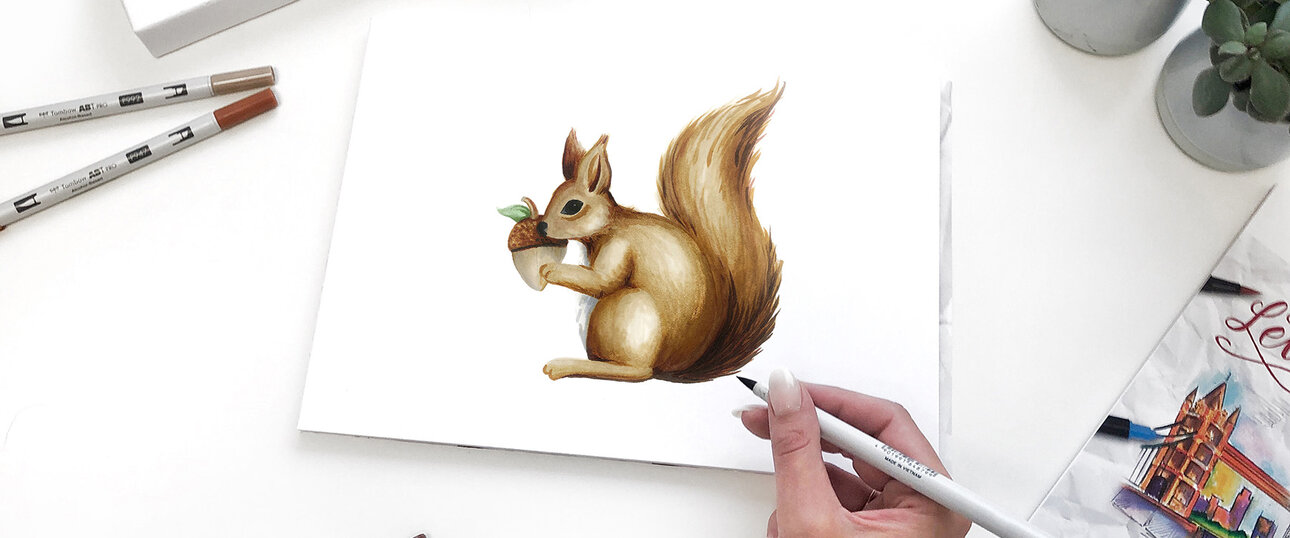
Learn to draw – squirrels
When the autumn weather comes, the squirrels begin to prepare themselves for winter. Illustrator Tanja Geier will show you step by step how to bring one of these sweet forest animals to life with alcohol-based markers on paper. You will learn how to create depths and shadows with different shades of color, so that the painted picture appears more vivid.

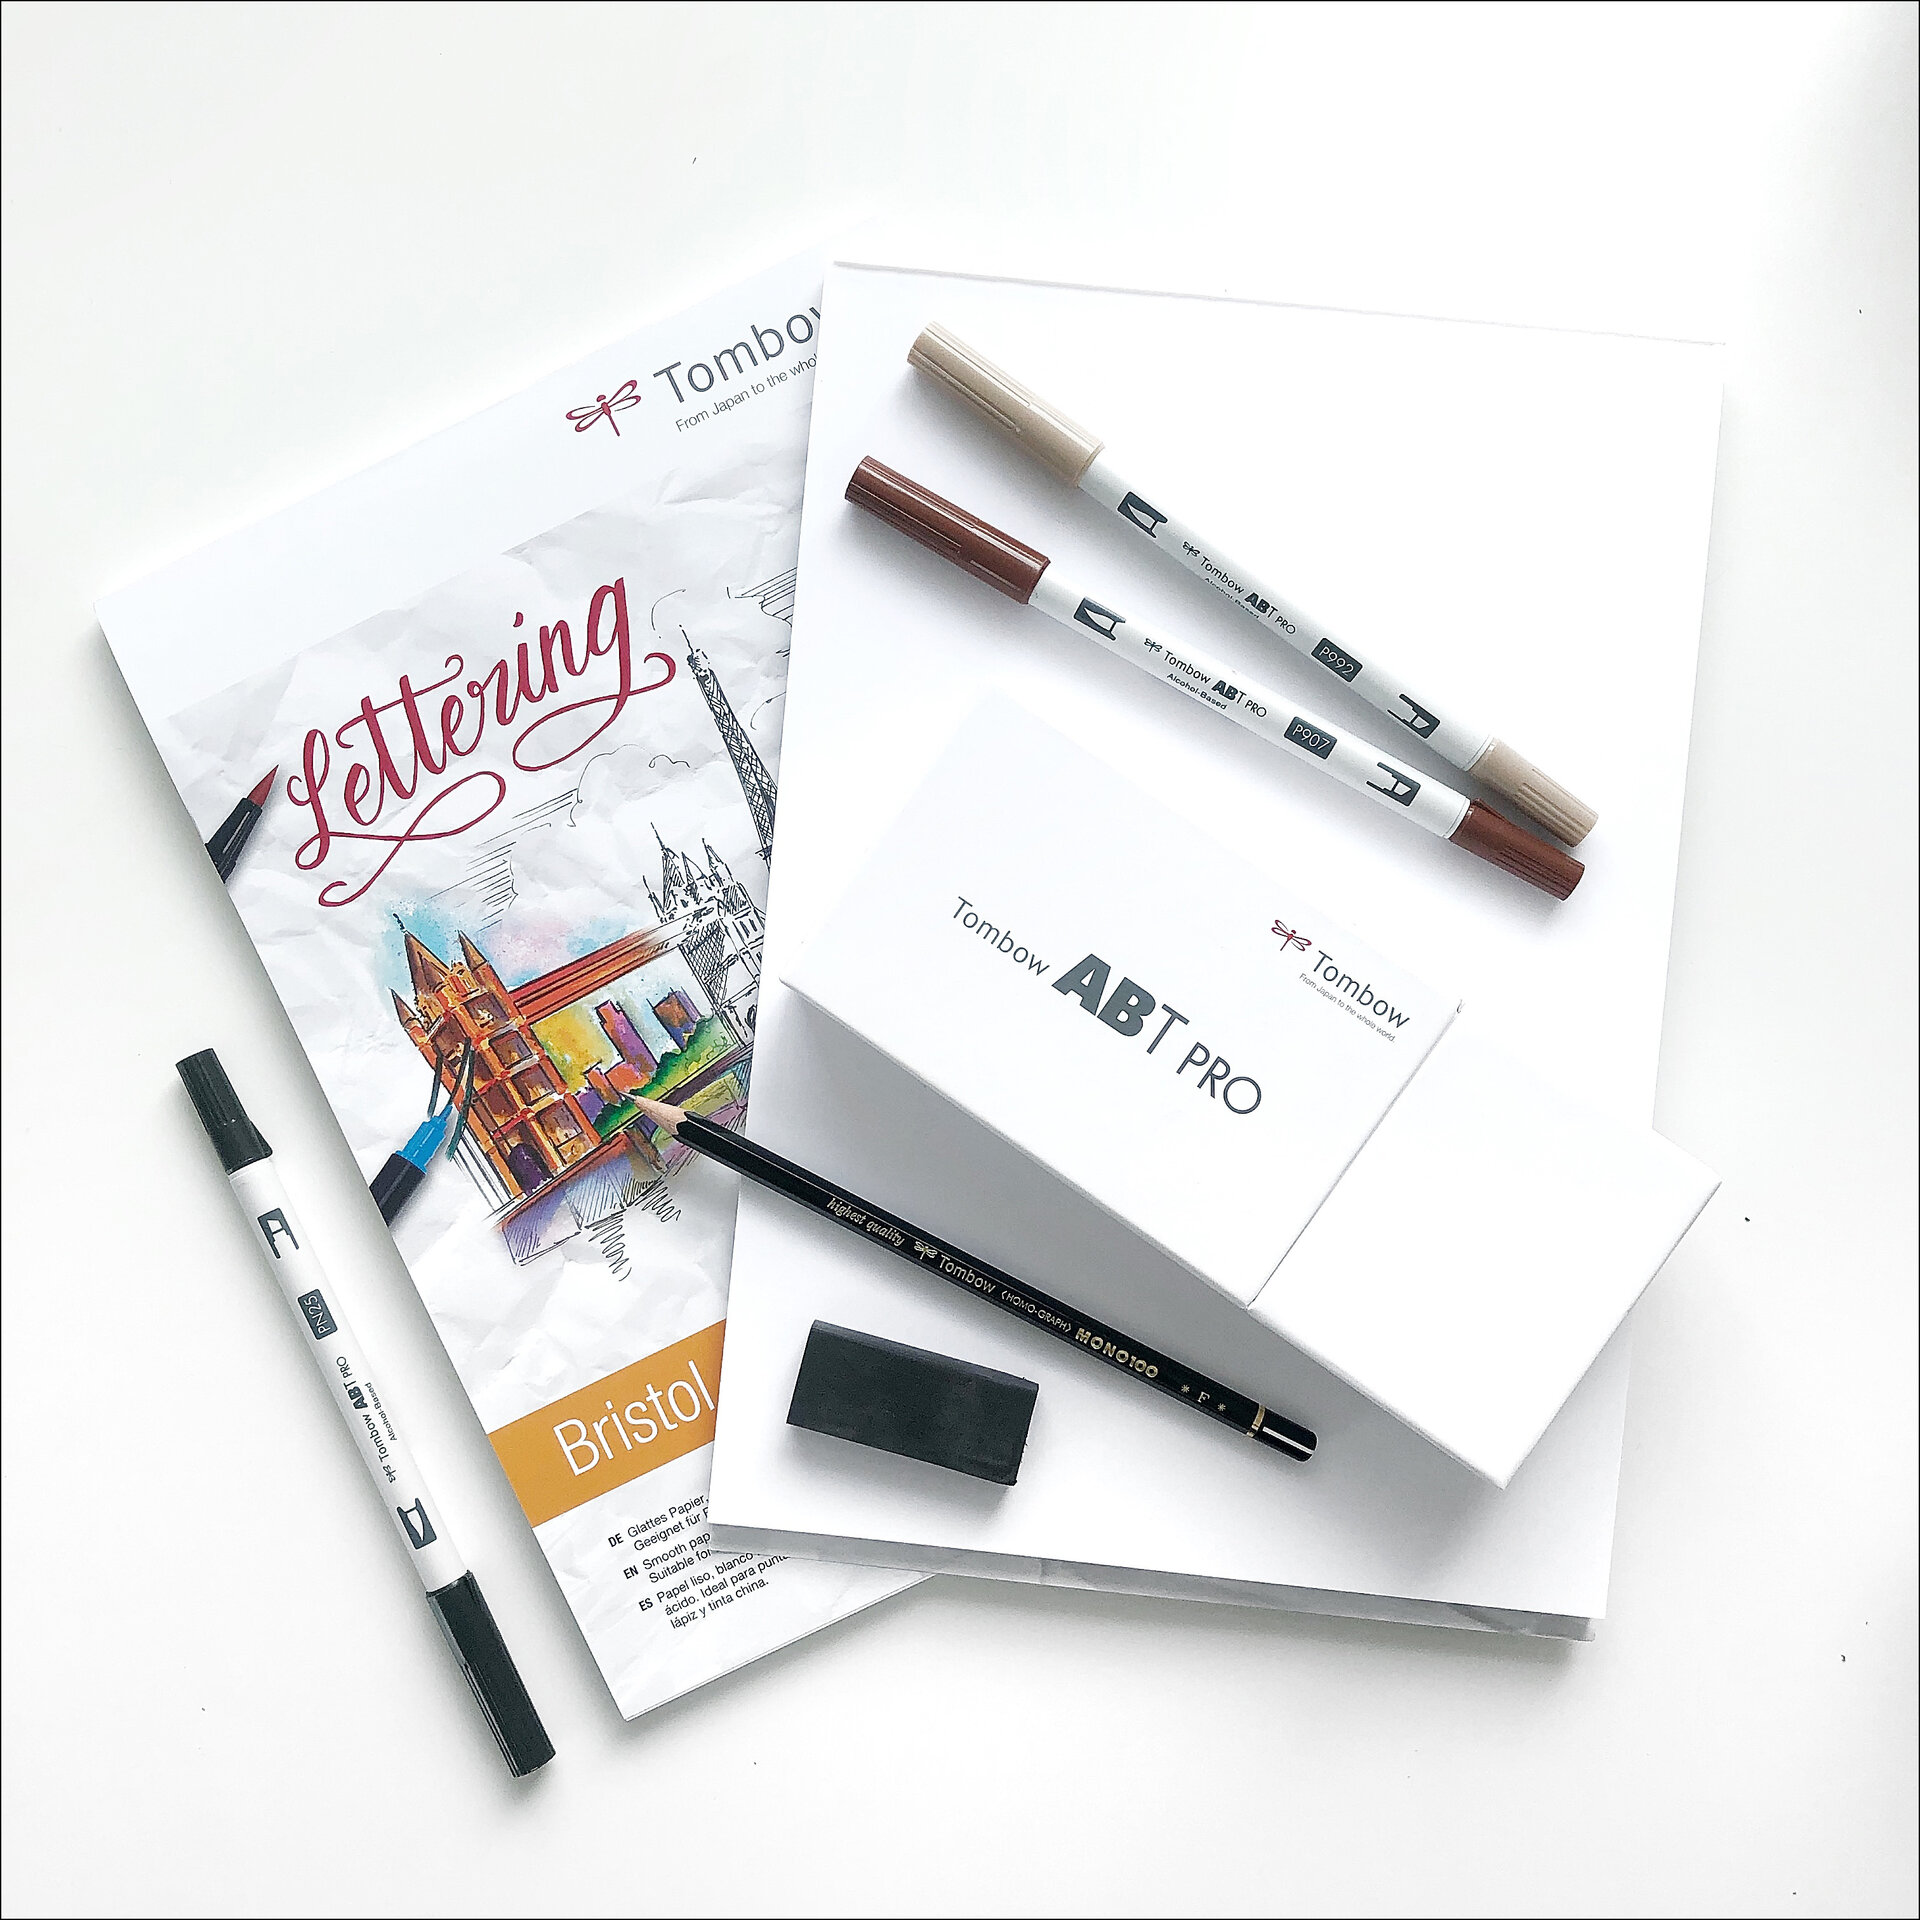
- Pencil such as the MONO 100 F for sketching
- Eraser such as the MONO dust CATCH
- Paper for alcohol markers such as the drawing paper Bristol
- Alcohol-based ABT PRO markers – colours used:
- ABTP-N25 lamp black
- ABTP-N55 cool grey 7
- ABTP-N95 cool grey 1
- ABTP-879 brown
- ABTP-907 spice
- ABTP-947 burnt sienna
- ABTP-992 sand
- ABTP-191 honey dew
- ABTP-158 dark olive
- ABTP-177 dark jade
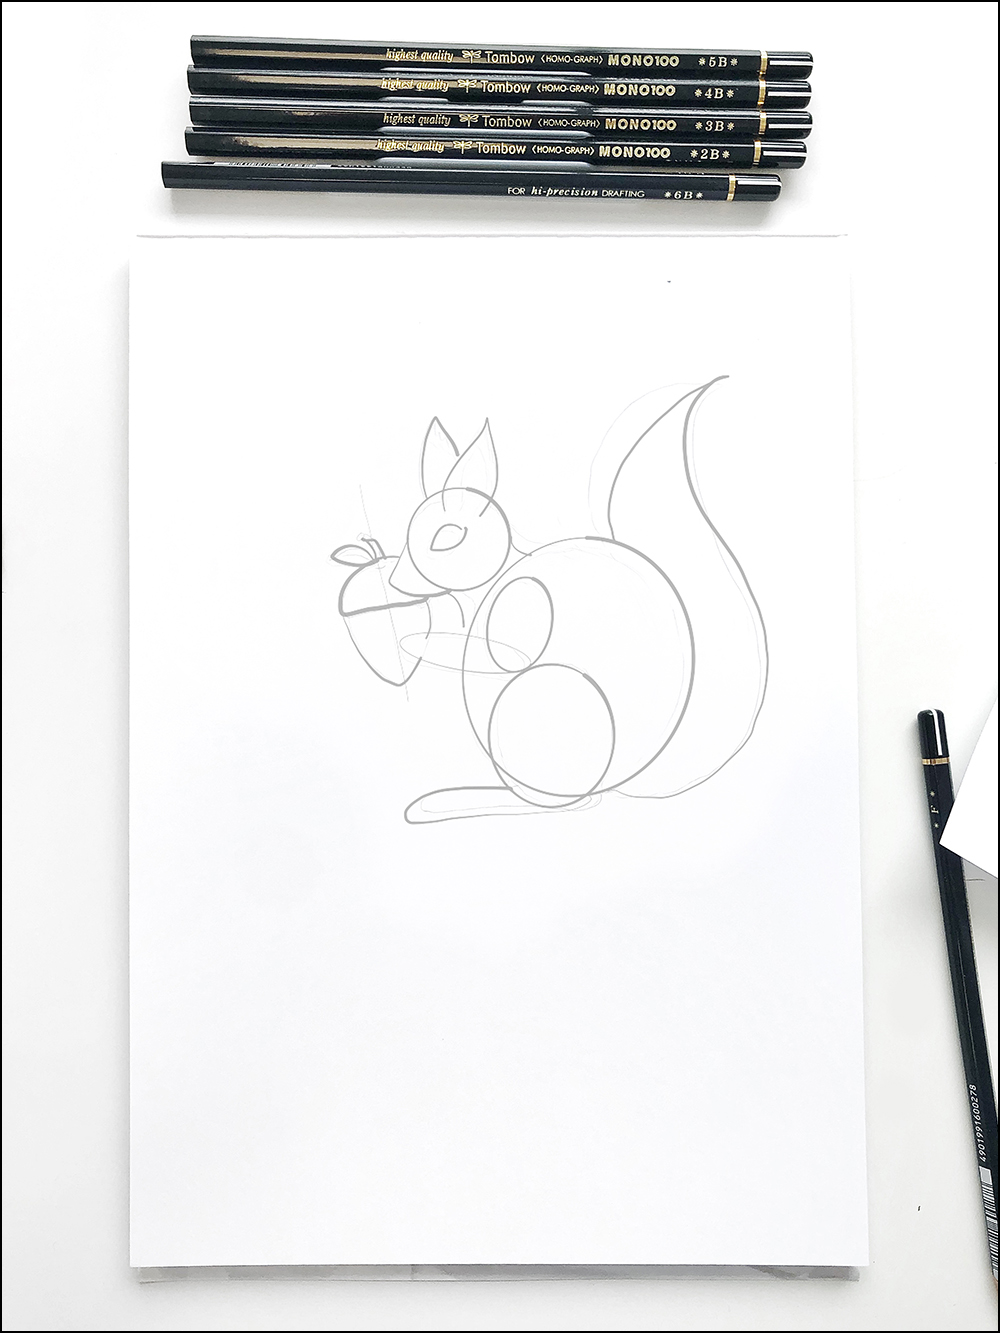
How to create the sketch of the squirrel:
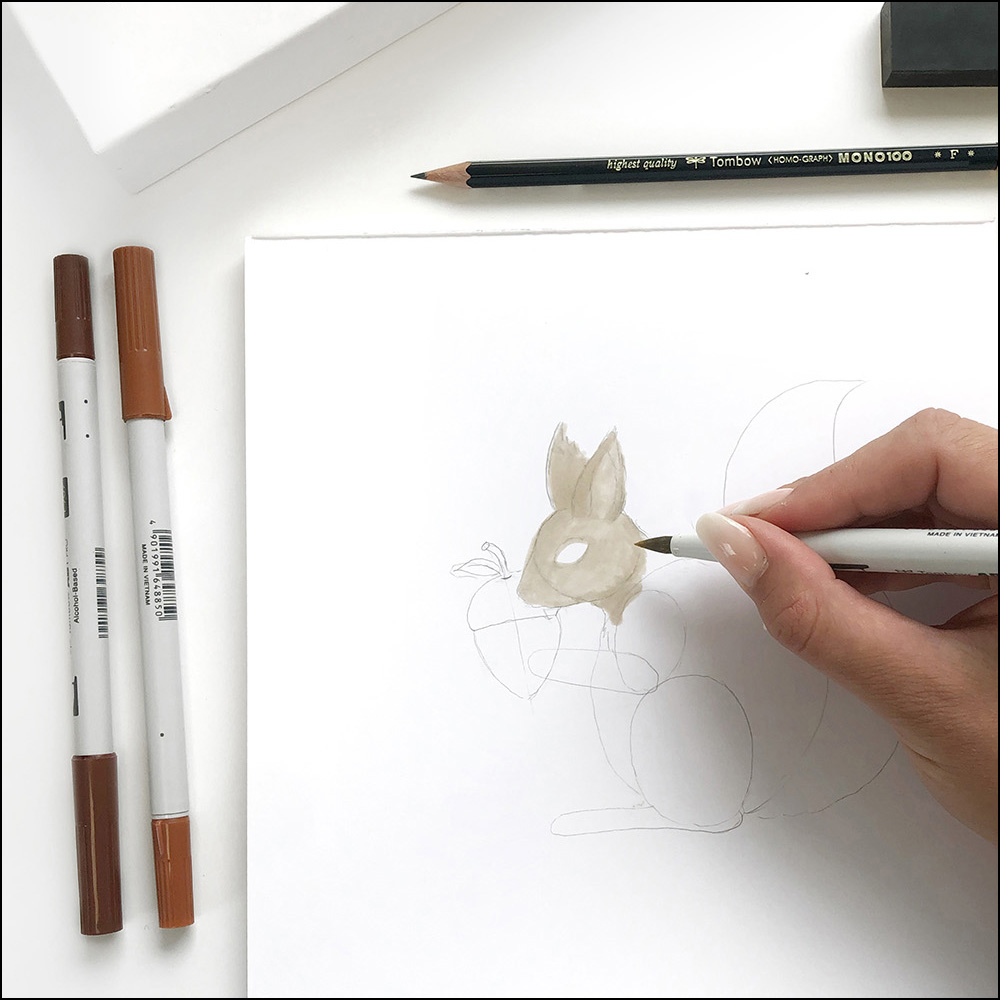
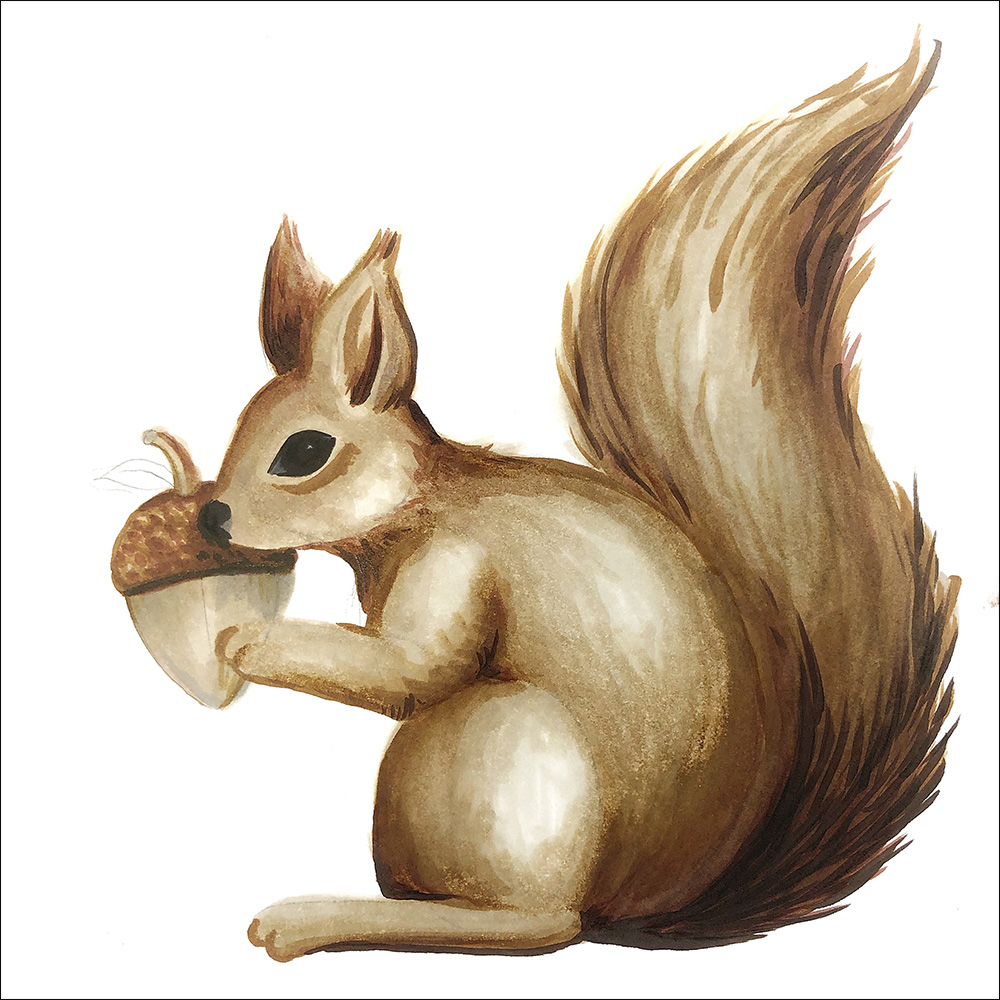
Use your pencil to draw the squirrel with circles like in the example picture. Start with the head and only fill in the details such as the eyes, nose and ears at the end. By connecting the circles, you’re laying the groundwork for sections such as the neck, knee and elbow.
Be careful when you sketch that you only lightly sketch to make sure that you can’t see the lines once the picture is finished.
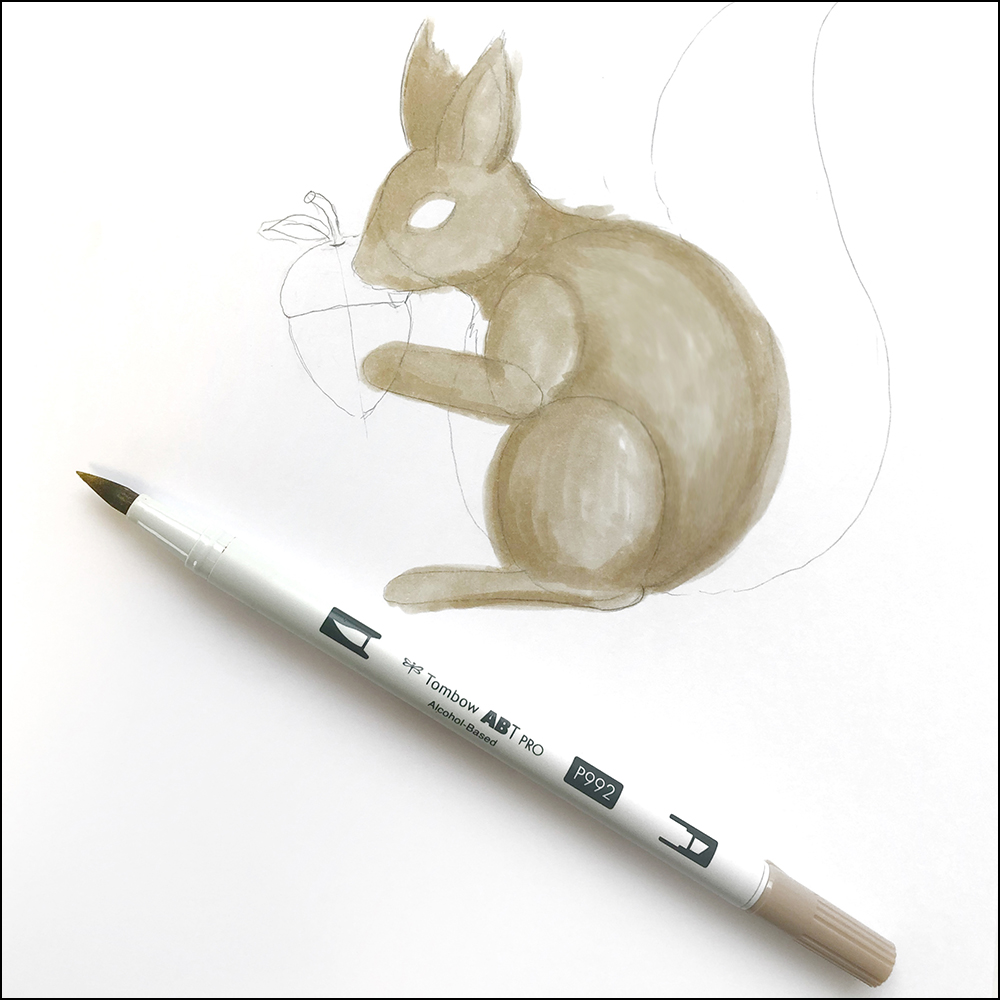
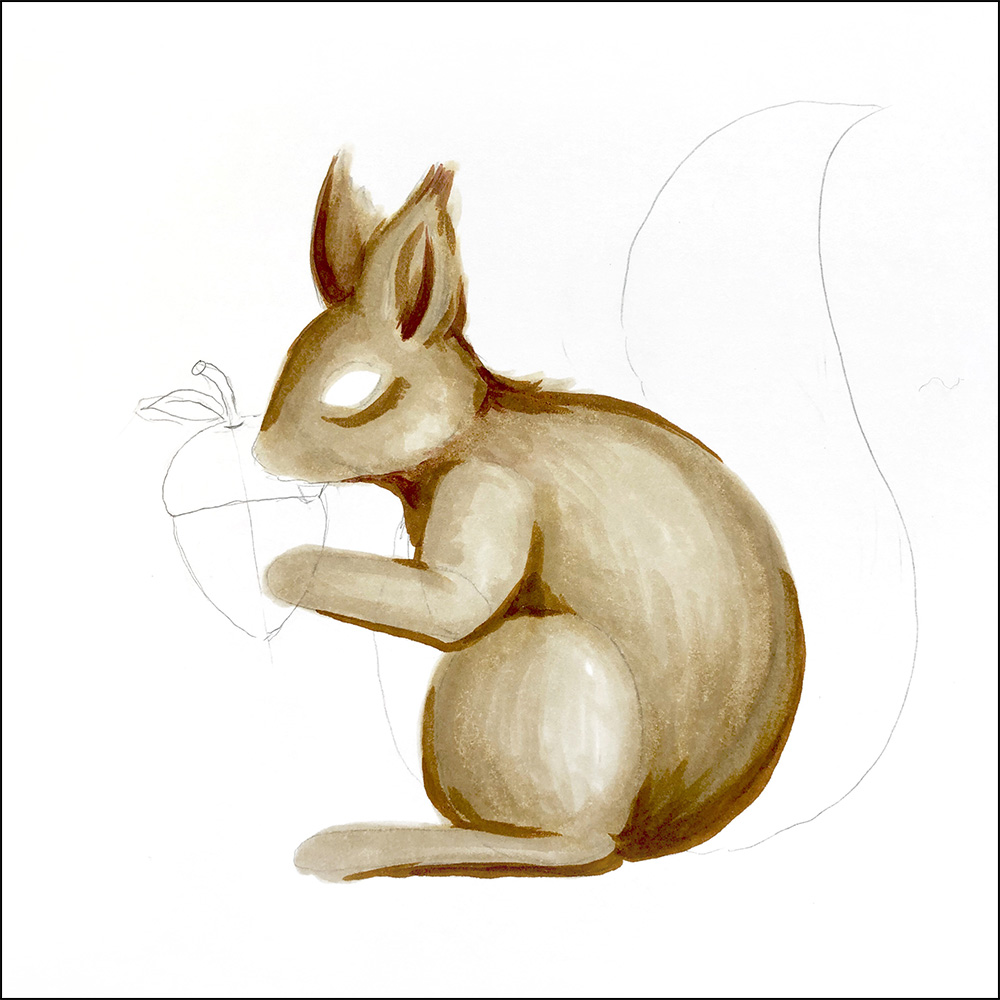
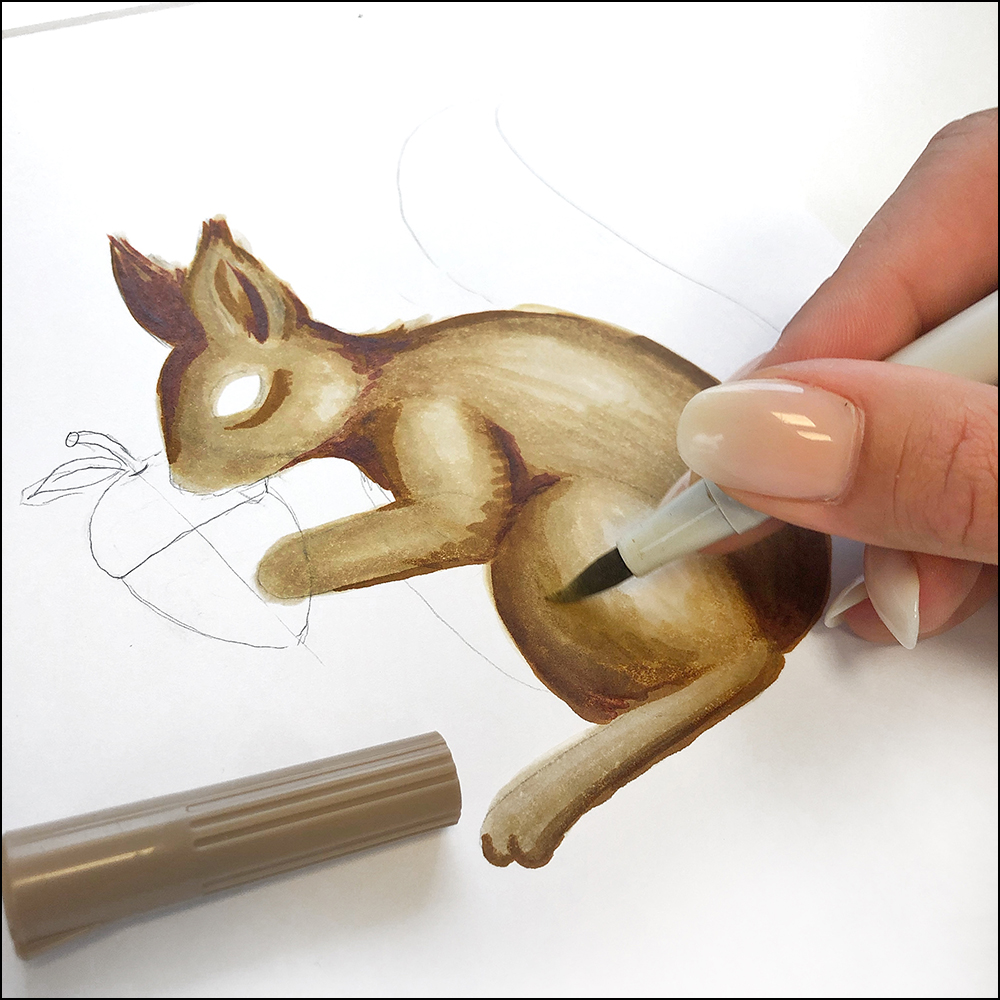
The mix of light and dark colors means that you can easily blend by applying multiple layers in these areas and this will create soft transitions.
Tip: If you paint a bright shade over the dark shade, you might find that the brush tip gets discoloured – just draw a few strokes on white paper and the colour will disappear.
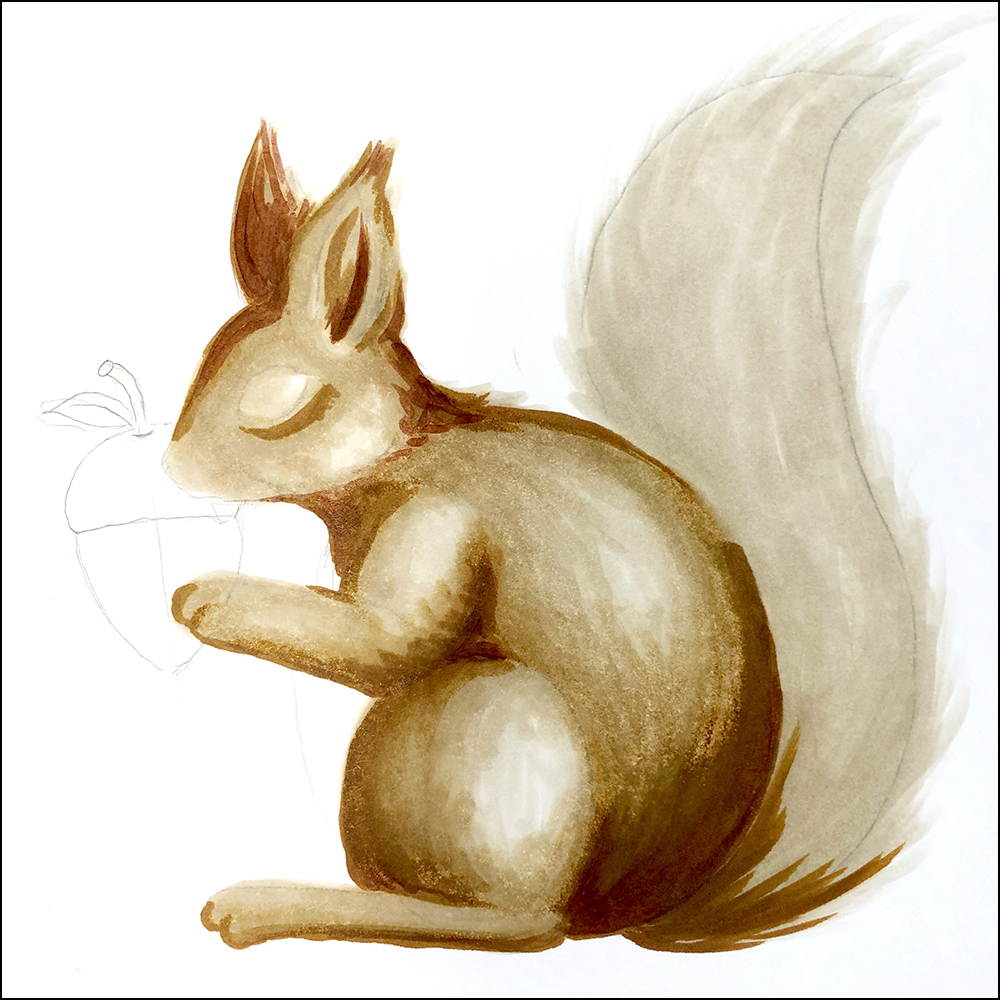
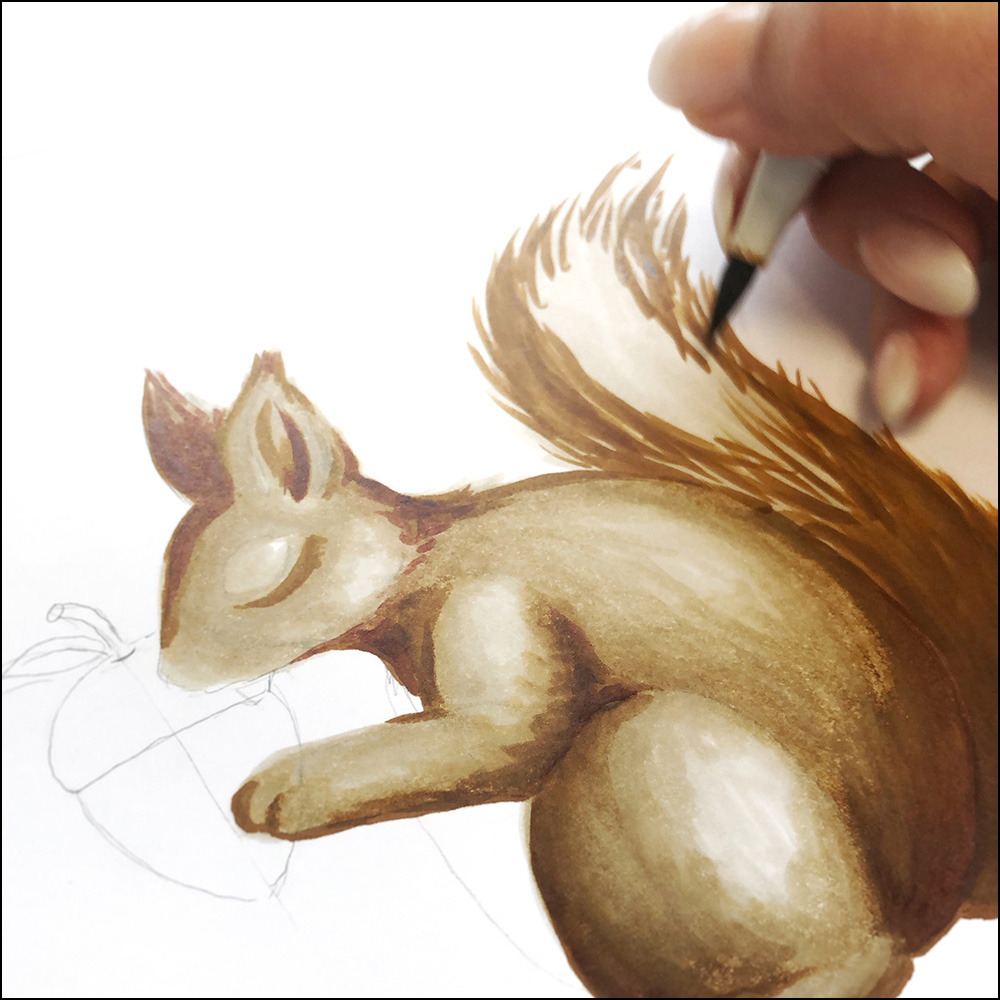
Press down harder at the start of the stroke and ease the pressure towards the end – this will give you a wonderfully hairy look stroke by stroke.
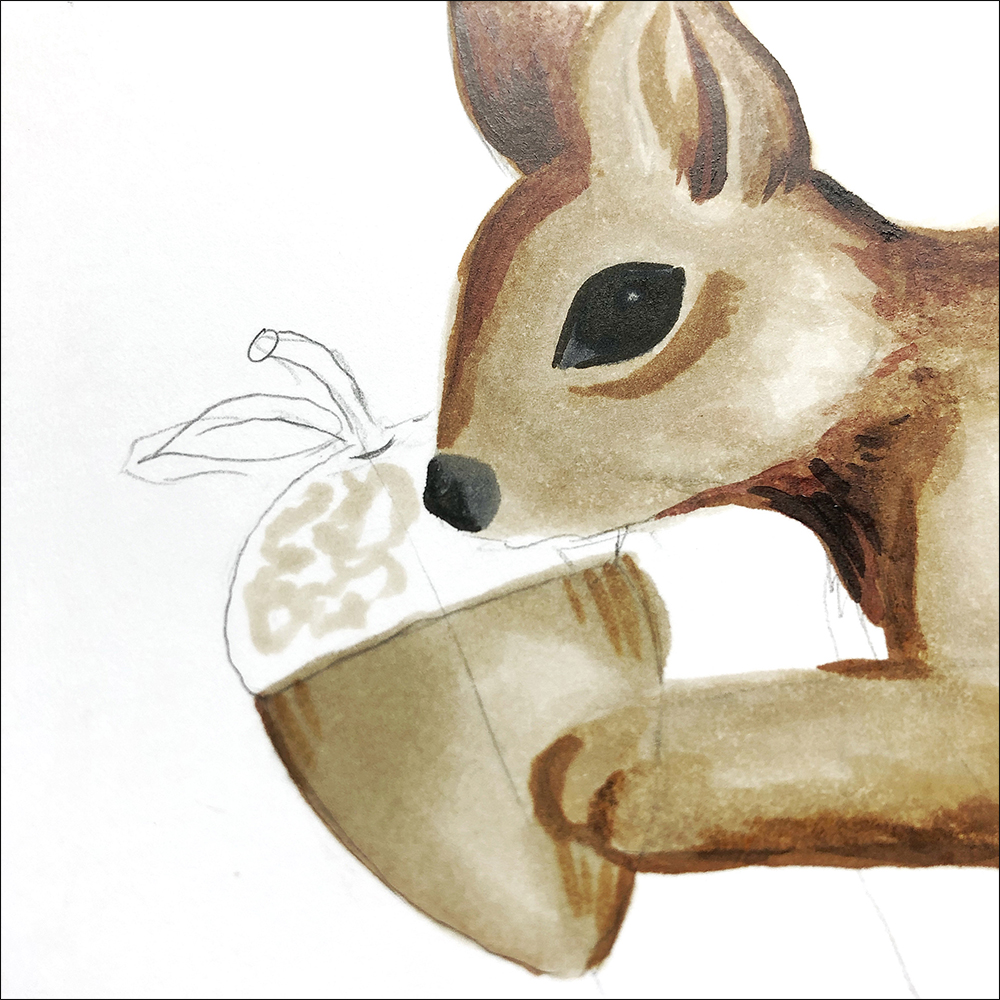
Start by using the same light shade (ABTP-992 sand) that you used for the body of the squirrel earlier.
Beginne auch hier wieder zuerst mit dem gleichen hellen Farbton (ABTP-992 sand) den du auch für den Körper des Eichhörnchens verwendet hast.
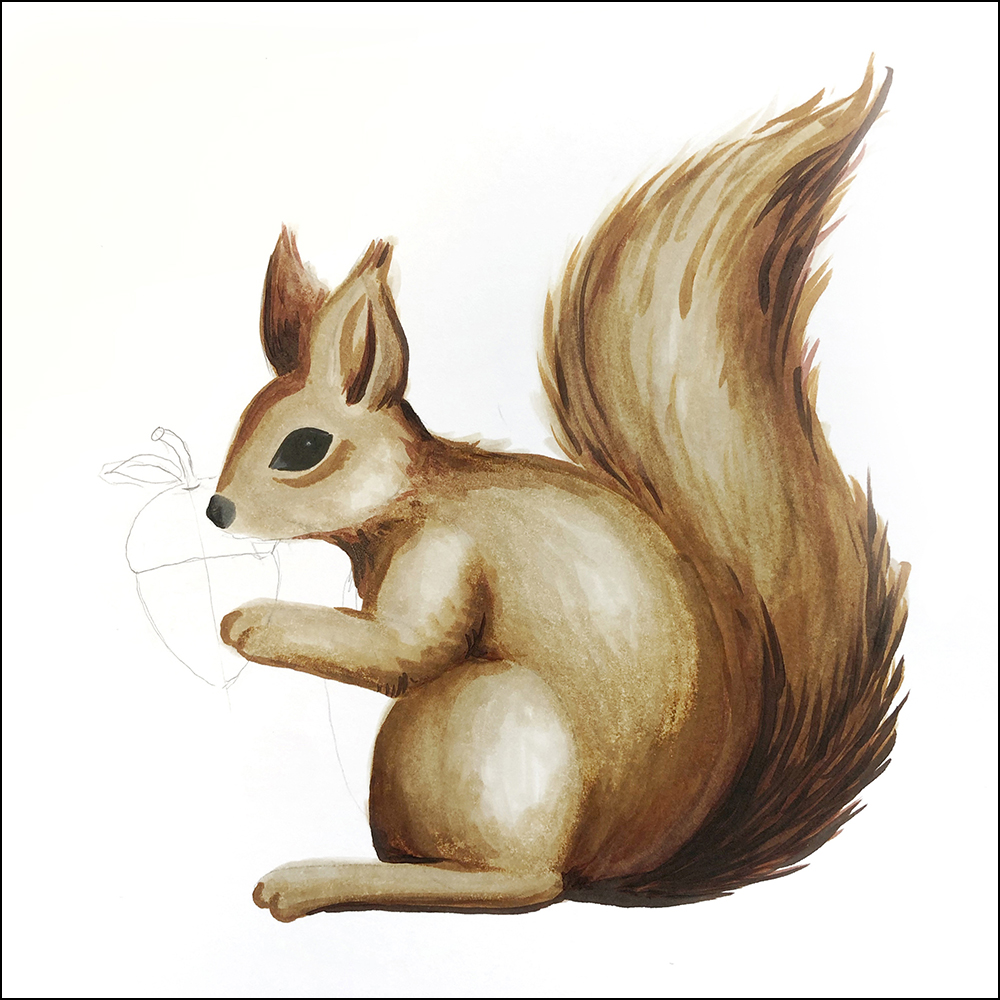

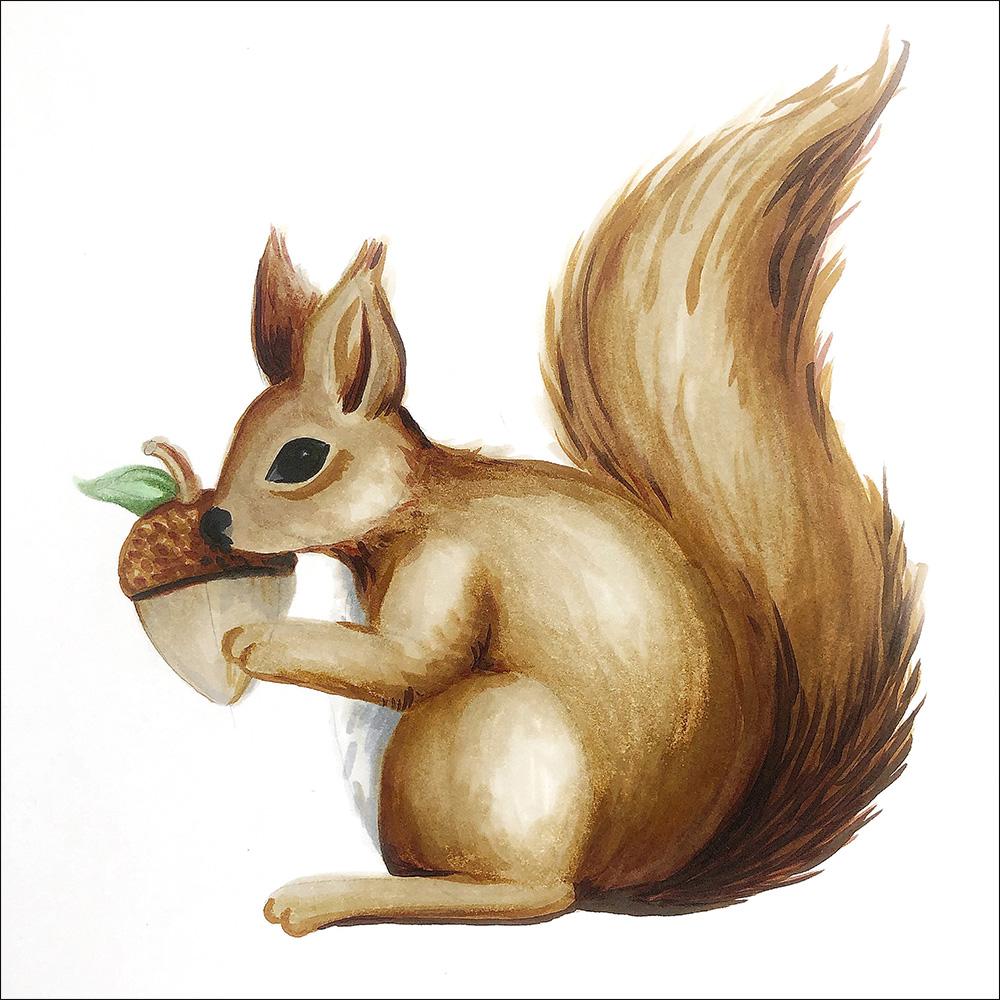
In the final step, you can draw a green leaf to go with your acorn using ABTP-158 and ABTP-177 and add the white fur from the neck to the stomach using a light grey.
Right at the end, you can blend in all the areas that you're not so happy about using your light shades and hey presto, your magical and cute little squirrel is finished!
Tip: You can draw streak-free using the ABT PRO alcohol marker. You’ll need a bit of patience to achieve the desired effect. The stripes will be visible at the start – however, you’ll see the desired result after just a few seconds once the colour dries.
Tip: You can draw streak-free using the ABT PRO alcohol marker. You’ll need a bit of patience to achieve the desired effect. The stripes will be visible at the start – however, you’ll see the desired result after just a few seconds once the colour dries.

Mrs niceday
- Tanja Geier
Tanja has a passion for pretty stationery and beautiful things for the office. After studying communication design and spending a few years working in an advertising agency, she has fulfilled a long-cherished dream: her own stationery collection. Her creative focus is still on illustrating, using both watercolours and alcohol markers. Ever since she tested our ABT PRO markers, she’s been a great fan of the pens and uses them in her everyday work.