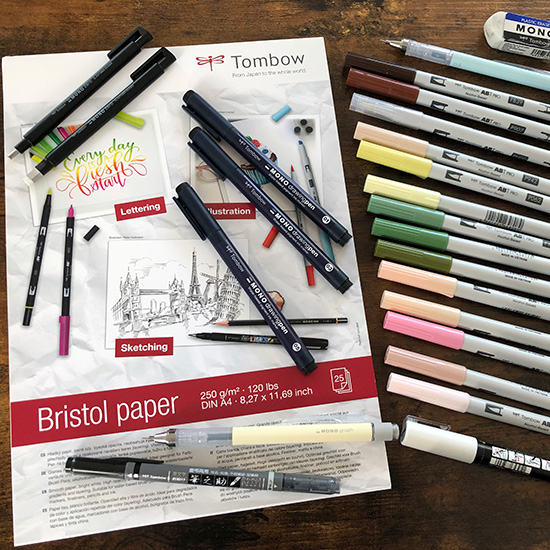
- Tombow MONO Ereaser
- MONO zero metal
- Tombow MONO graph 0.5
- Blue lead 0.5 (for rough sketch) & pencil lead 0.5 (for final drawing) (in a hardness grade preferred by the artist)
- Tombow Bristol Paper
- Tombow MONO drawing Pen 01, 03, 05
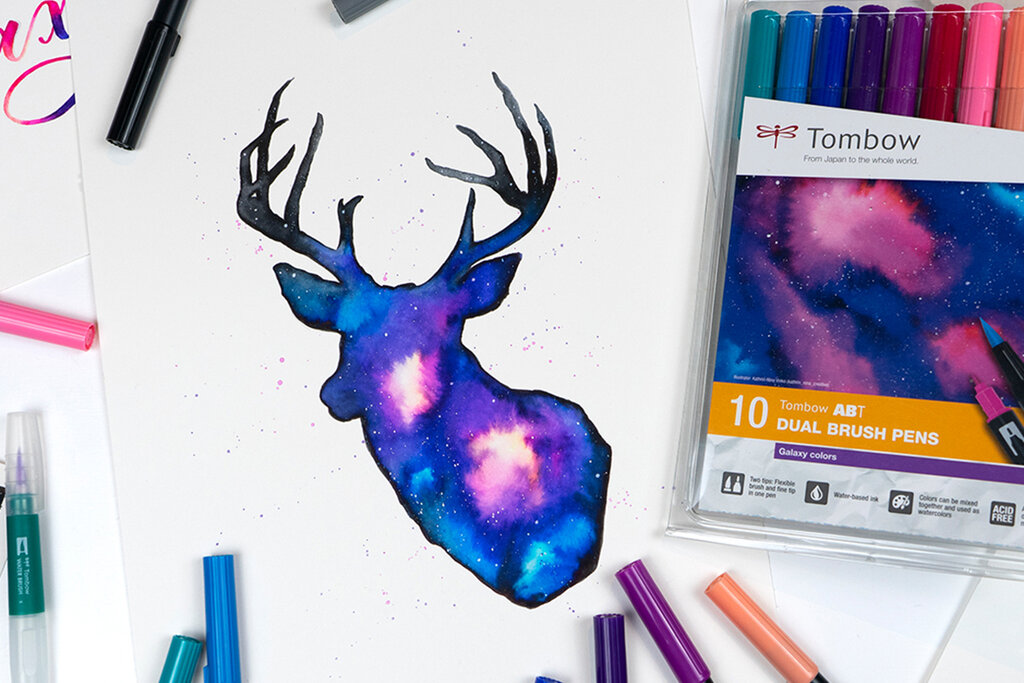
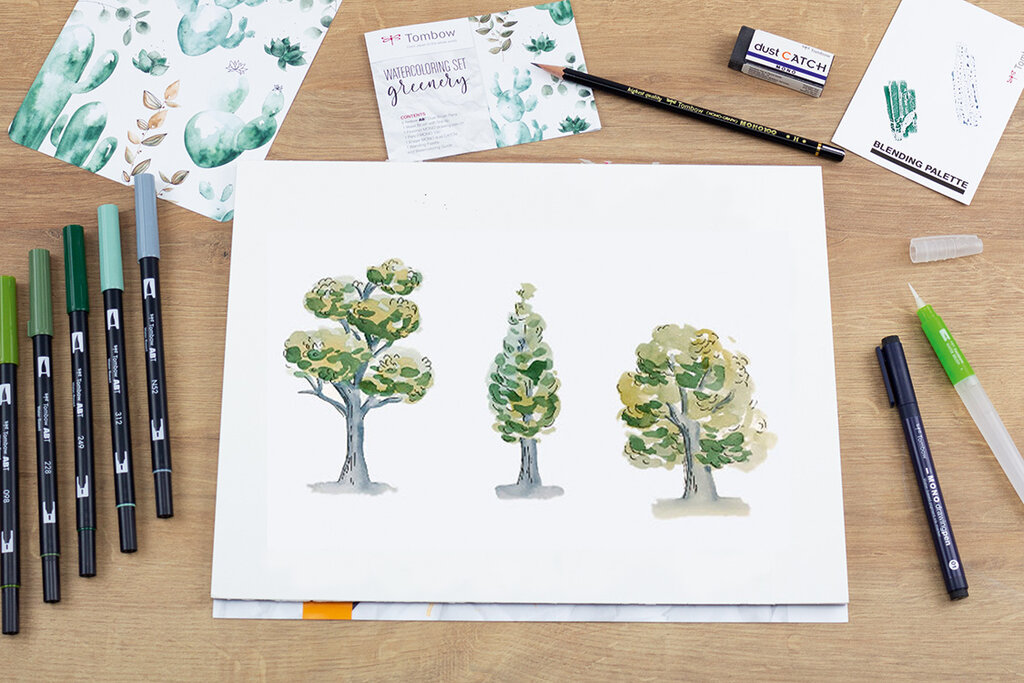
- Tombow ABT PRO Marker (in the preferred colors)
- Tombow Fudenosuke twin
- White acrylic marker
Step 1
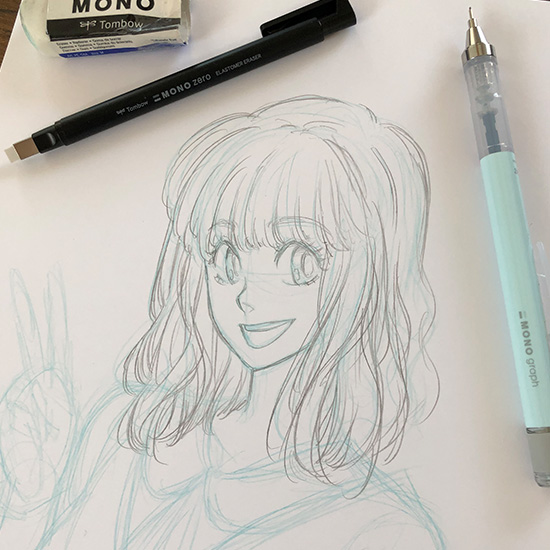
With every drawing, I start by making a rough sketch of my idea. For this I like to use a mechanical pencil of width 0.5, in this case the Tombow MONO graph, in combination with a blue lead. I use the blue lead because it is easier to erase later, but also so that I can later seperate the rough sketch from the final drawing. This gives me a better overview of the whole drawing. And the narrow tip of the lead helps me not to press too hard and to draw loosely. In this step, it's important to capture the character's composition and pose on paper and not get too fixated on details. Also, a smooth-textured paper type, like the Tombow Bristol paper I'm using here, can make sketching with a mechanical pencil with a very narrow tip easier.

Step 2
When I am satisfied with the composition of my idea and the pose of the character, I go to the artwork and gradually work out the details. For this, I use the Tombow MONO graph again, but this time with a normal pencil lead with the hardness HB. This is a personal preference of mine, but you can of course work with whatever pencil thickness you prefer. I start the final drawing with the character's face, then move into the hair and work my way up to the clothing. Again, of course, each artist has their own approach.
Step 3
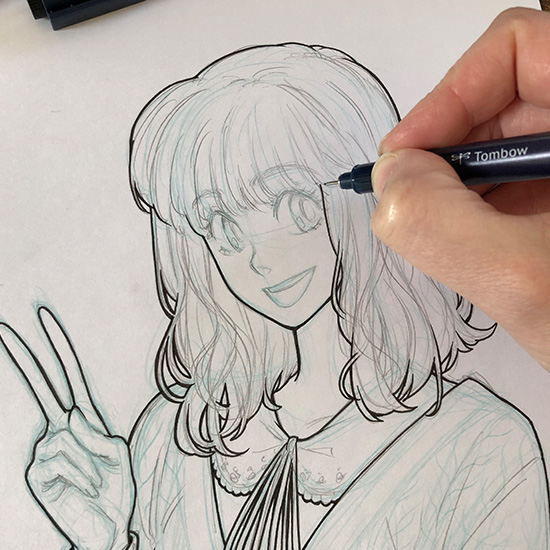
Once the final drawing is done, it's time to trace the contours of the drawing with fineliners. For this I use the Tombow MONO drawing pen in the line widths 01, 03 and 05. I use the wider tips to emphasize certain elements, such as the outlines of the face, the hair, or the character itself. The latter only applies if there are multiple characters on the drawing or if the character is to be highlighted from the background. With the finer tips I mostly work out details, such as the eyes and the fine lines in the hair. When I use fineliners, it's also especially important to me to work on paper with a smooth surface. I sometimes set the lines with more momentum and quick movements and don't want to be "slowed down" by the paper texture. The smooth surface structure of Tombow Bristol paper is perfect for this process.
Step 4
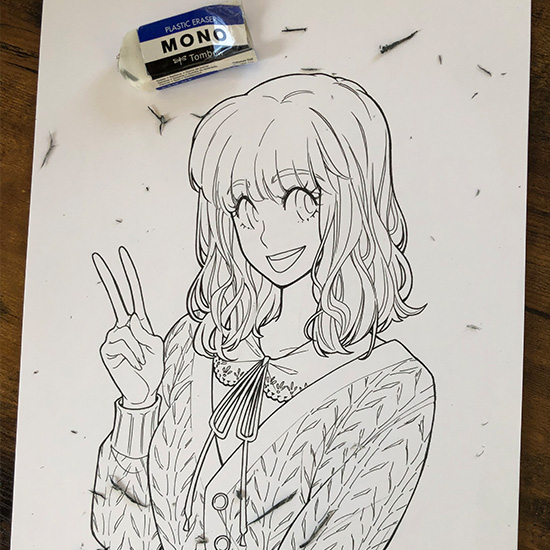
After all the contours have been traced, I erase the pencil drawing very carefully and without damaging the paper with too fast movements, so that I have a clean background for coloring with markers. In most cases, a pencil drawing smudges when you paint over it with markers. For this step I use the Tombow MONO erasers and that already for many years, because I have achieved the best results with them so far. The MONO erasers come in many different styles and one of my favorites is the MONO zero, a precision eraser that I use for fine work. For this step, however, I use a larger eraser that fits well in my hand and carefully remove the pencil drawing. In the end, only the outlines traced with the MONO drawing pen remain.
Step 5
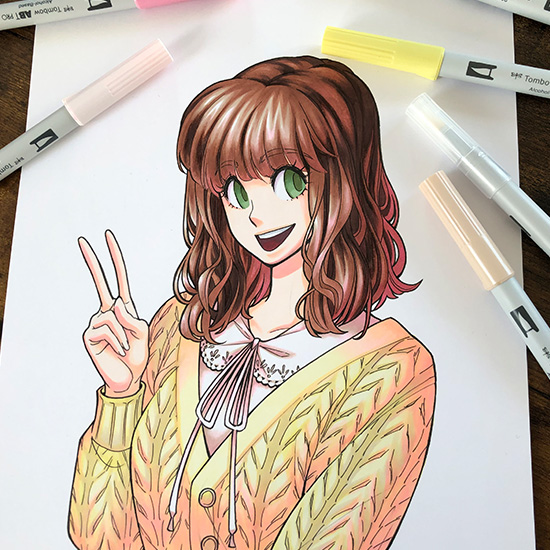
Now it's time to color with the Tombow ABT PRO markers! If you have just started working with markers, I recommend starting with the lightest color, as they can easily smudge, especially the darker colors. I always start with the skin color in most cases. Here, I fill in the entire area first with the lightest color, thus creating a base and gradually adding shadows with a darker skin tone. For the shading, I usually use two different darker tones, but only use the darkest color in a few places. I use this approach of working from color to color throughout the drawing because it helps me keep track of what I'm doing and I don't forget any areas or shading. With markers, you can also achieve an evenly colored area in which no spots or brush strokes are visible, which is usually only achieved with digital media. To achieve this effect, it is important to paint with the pen several times over the same area, because if you only put strokes next to each other, then you will see the brush strokes. With the ABT PRO markers it is also possible to work out small details due to the very fine and flexible tip. However, it is important to paint with the tip only lightly over the paper.
Step 6
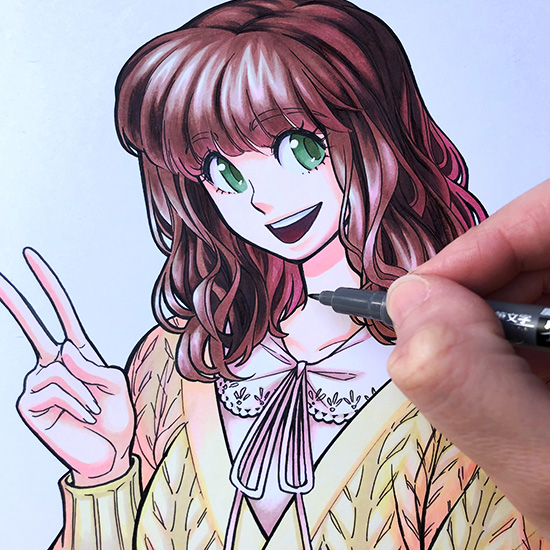
The last step is the fine tuning! In this last step, I look at the drawing again as a whole and decide whether I work out some more details. Sometimes I draw lines or shade here and there more places. In this case, I use the Tombow Fudenosuke twin to put some wider lines around the character and add a gloss effect to the eyes. I use white dots with a well-covering acrylic marker or opaque white as needed to breathe more life into the character's eyes and thus avoid a blank look. However, you should not overdo this, otherwise it will look too unnatural.
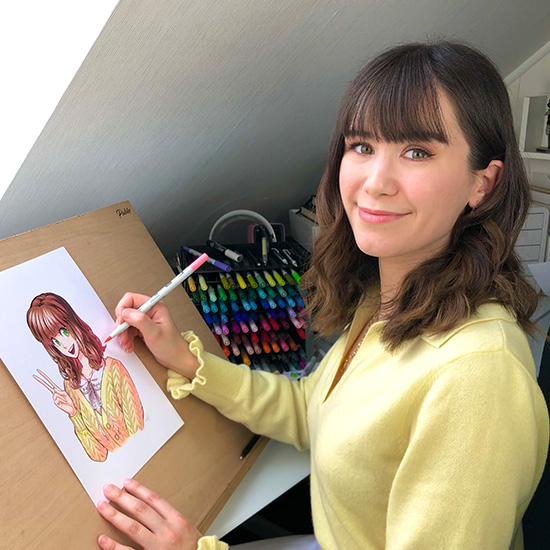
About Reyhan
- Reyhan Yildirim
Reyhan Yildirim has been drawing since she could hold a pencil in her hand. Even as a toddler, she drew her favorite characters from the Disney universe every day, and she worked even harder on her drawing skills when she discovered Japanese anime and manga. She knew very early on that she wanted to draw her own manga someday and was able to fulfill this dream as a teenager when the publisher TOKYOPOP published her two short stories ("The Manga Freaks" and "The Bremen Town Musicians") and a complete manga volume "TYLSIM". After these projects, Reyhan continued to work as a freelance artist, doing commissioned comic and illustration work for various companies, and in the meantime diligently posting her work on social media. This led to her building a large fanbase with her offbeat character designs, allowing her to start her own small business. In addition to several other short stories in manga form, she has also published her two artbooks "Nostalgia" and "Multiverse" in collaboration with PYRAMOND. Now she regularly exhibits her works and her merchandise at anime/manga events and fairs and runs her own online store.