Layout & composition of letterings
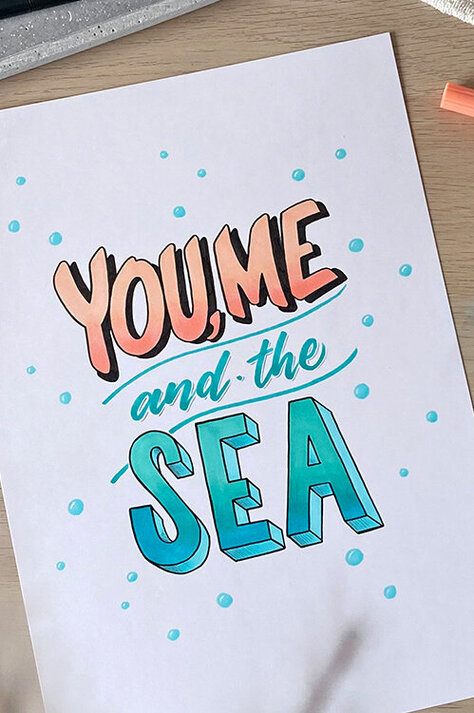
Strokes, letters, words, sentences – learn step-by-step how to become a lettering pro. When designing inspirational sayings, the layout and composition of the lettering play a crucial role. You can combine the fonts, sizes, colors, and decorative elements however you like and thus stage the same sentence again and again.
Learn more about composition and layout or simply let Kathrin-Nina Vinko show you how to design attractive Christmas cards yourself.

The theory
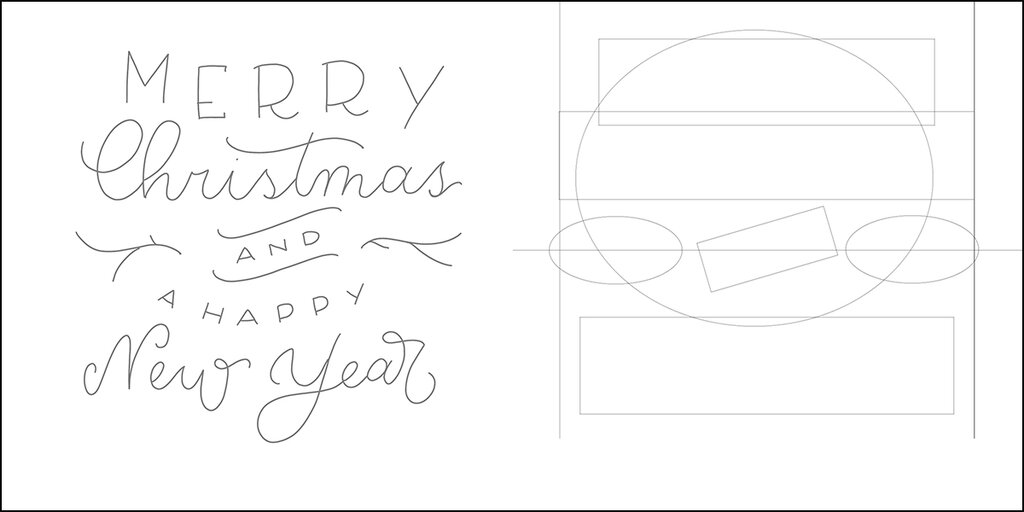
At the beginning, it helps to write down the sentence in order to identify the important words. This also gives you a sense of which words are next to each other and which ones are underneath each other. Guidelines and circles will then help you with the structure.
For your first layout, simply position rectangles underneath each other for the text.


You will need these materials:
Material
Materials needed for a homemade Christmas card:
- A pencil such as the MONO 100
- Eraser such as the MONO dustCATCH
- Bristol paper DIN A5 card stock (approx. 5.5" x 7.5")
- Various pens, such as
- A black fineliner MONO drawing pen
- Brush Pen Fudenosuke black with soft tip
- Optional:
- ABT Dual Brush Pens in Christmas colors (z.B.: 126, 249, 847, 856, 977)
- einen Waterbrush
Do you need more of this?
Step 1: Sketching
Create the sketch first. Make sure to keep an even balance. Mark the vertical center and place the elements such that they are aligned evenly on the left and right. In the beginning, you should limit yourself to no more than 3 different fonts. Of course, please feel free to use the template.

Step 2: Block letters
The block letters for the word “MERRY” are first sketched with simple strokes using the hard Fudenosuke brush pen.
In the second step, we add weight to the letter. Make sure to give all letters the same width. If you would like, you can add small lines, known as serifs, at the ends of the letters.

Step 3: Faux Calligraphy
The word “Christmas” is created using the so-called Faux Calligraphy technique. This means that we simulate the pressure-induced smear that results from writing with a pen or the tip of a flexible brush pen. To do this, write the word with a black fineliner.
Important: Leave additional room between the letters so that there is sufficient room for the second stroke.Die Buchstaben werden etwas weiter auseinandergezogen, damit der zweite Strich genug Platz hat.
Afterwards, a second stroke is added to all smears. This creates space within the letter. If you were to fill the space with black, it would look like a smear done with a flexible tip. For this card, we are going to leave the space unfilled so that the word is differentiated from the brush font at the end of the card.


Step 4: With Enthusiasm
With a black fineliner, color the banner and the words “AND,” “A,” and “HAPPY.”

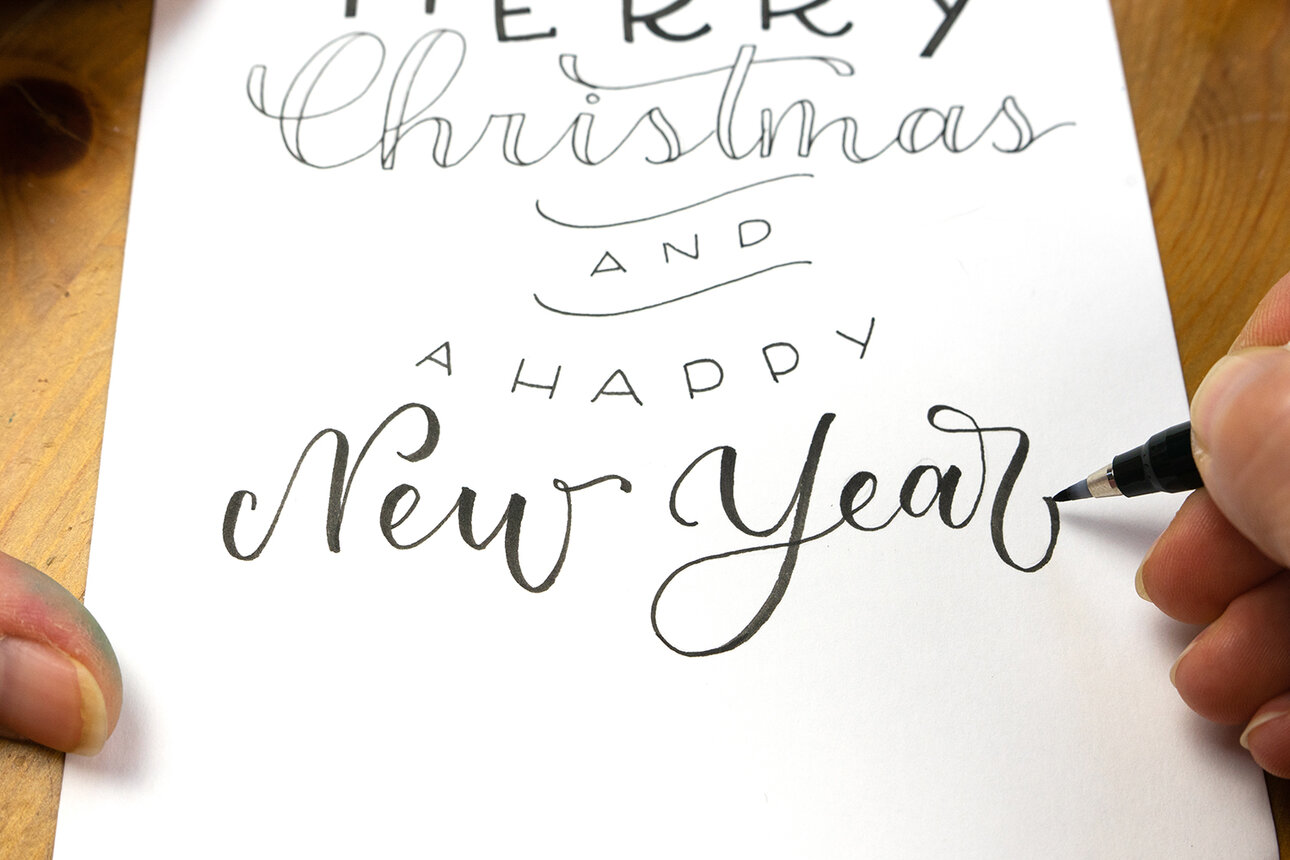
Schritt 5: Brush Lettering
Use the black Fudenosuke with the soft tip to write the lettering for “New Year.” For all downward strokes, increase the pressure on the brush tip; all upward strokes should be made by lightly guiding the pen across the paper. This way, strokes with different thicknesses create a dynamic typeface.
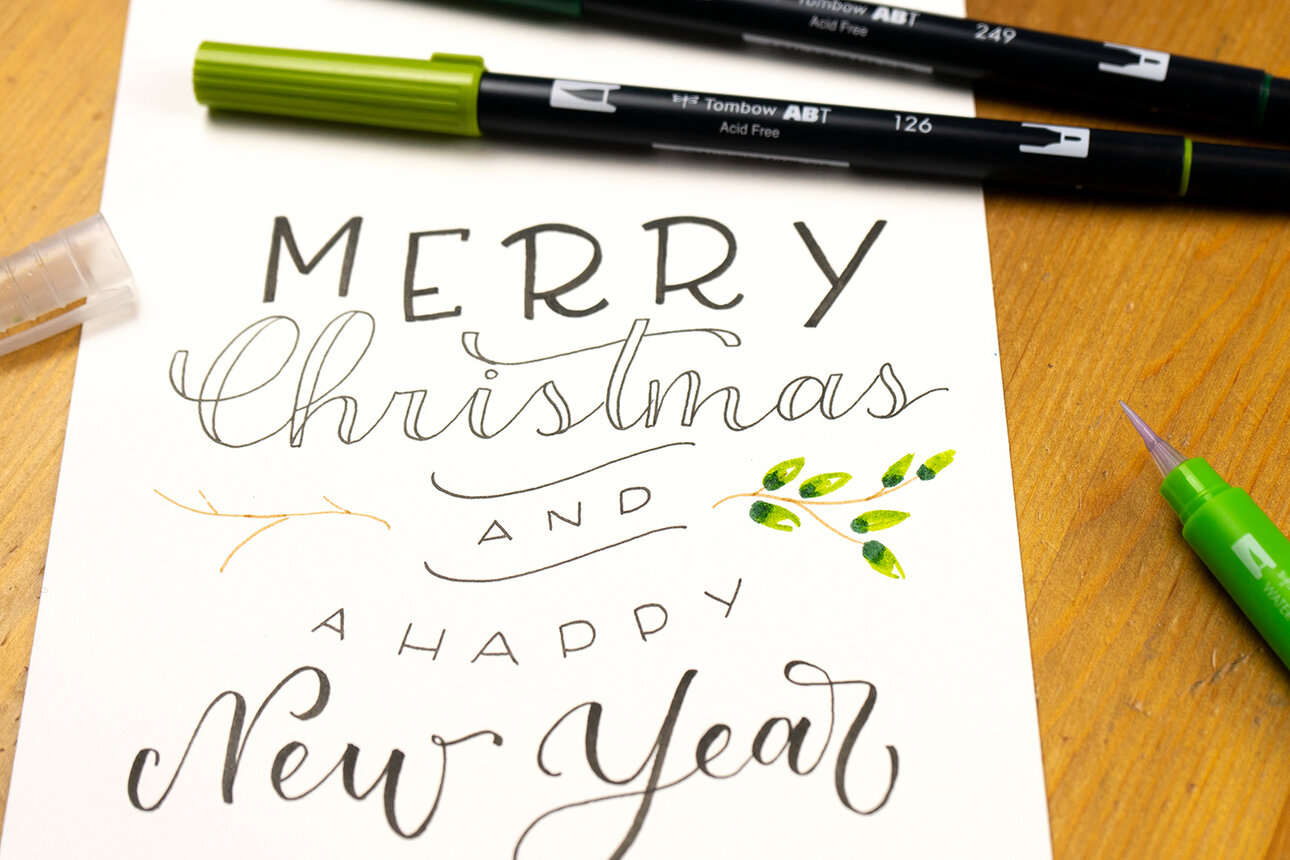
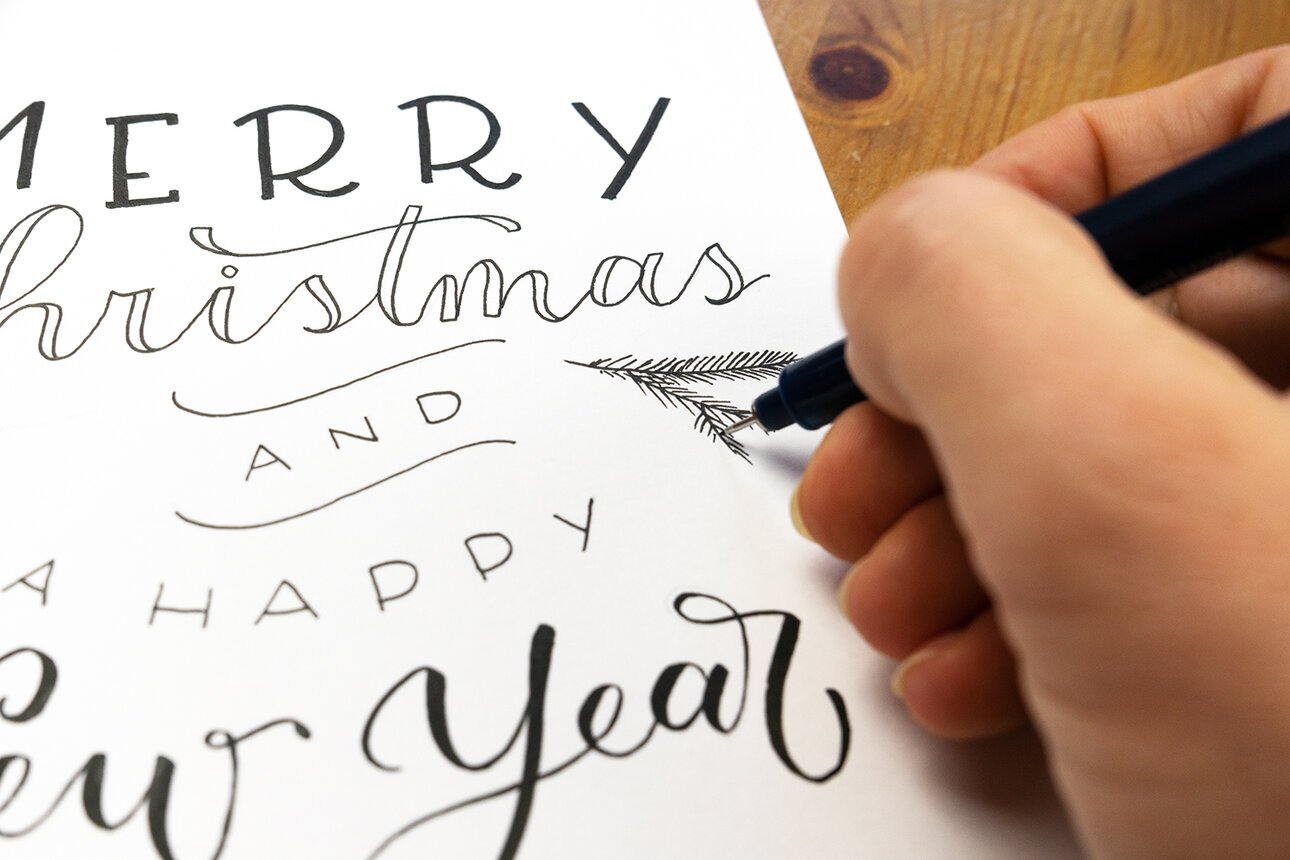
Step 6: The Decorative Elements
To put the final touches on the card, add some decorative elements. For this, I use the ABT Dual Brush Pens. For the twigs, first draw the branches in a light brown shade. Then arrange the leaves.
Draw the base of the leaves with the dark green tone and then use the bright green towards the tip of the leaf. Thanks to the water-based ink, you can use the pens like watercolors. Using the water brush, you can blend the two shades of green together. If you carefully paint over the branch with water, it will get a softer look.
At the end, place a few red berries between the leaves.
Alternative:
If you want to keep your card even simpler, you could also use a black fineliner to make the branches. Depending on how intricate the branch should be, you can select different weights of the MONO drawing pens. They are available in stroke width 01 (approx. 0.24 mm), stroke width 03 (approx. 0.35 mm), and stroke width 05 (approx. 0.46 mm).
Done!
Let us know how helpful this article was for you. If you have any suggestions for improvement or other feedback, we’d love to hear from you. We promise to read everything.
PS: We're also curious to see your results. Share your work with us on Instagram or Facebook and share it with the community.