Drawing Christmas ornaments

Light and shade – especially during the festive season, when it gets dark outside early, we love sparkling lights and enigmatic shade. You can find out how to capture this light show on paper in Christoph’s step-by-step guide for a classic Christmas tree ornament.

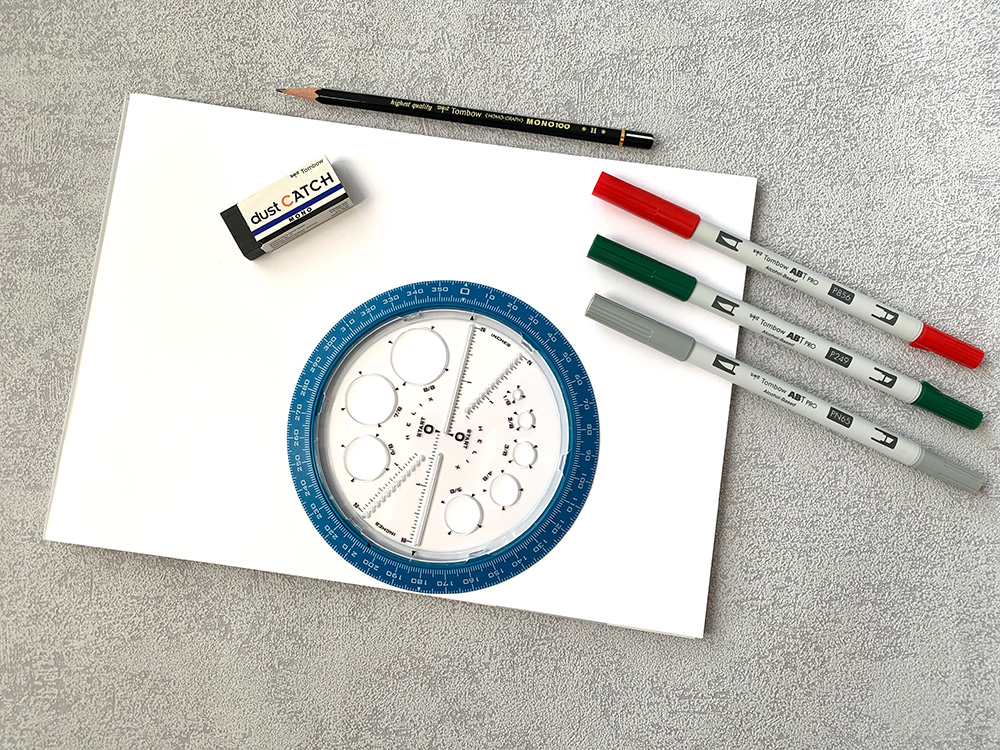
You need these materials to draw a Christmas tree ornament with the alcohol-based ABT PRO markers:

€2.40

€31.20

€4.90

€4.90

€4.90

€4.90

€4.90

€4.90

€4.90

€4.90

€4.90

€4.90

€4.90

€4.90

€10.70

Add set to cart

€103.10

Incl. Tax, excl. Shipping Cost

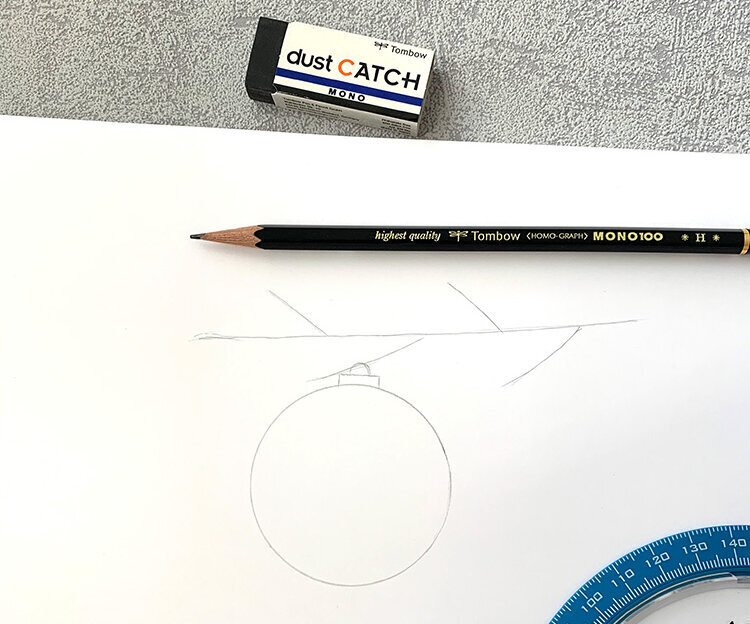
Here is how you create the sketch for the Christmas tree ornament:

Sketch a Christmas tree ball ornament with a fir branch. Begin with the Christmas tree ornament and then finish by suggesting the fir branch.

When sketching, try to draw only quite discreet lines so that they don’t disrupt the picture afterward. If your lines are too strong, erase them such that the image can still be seen slightly.

Step 1: prime the Christmas tree ornament

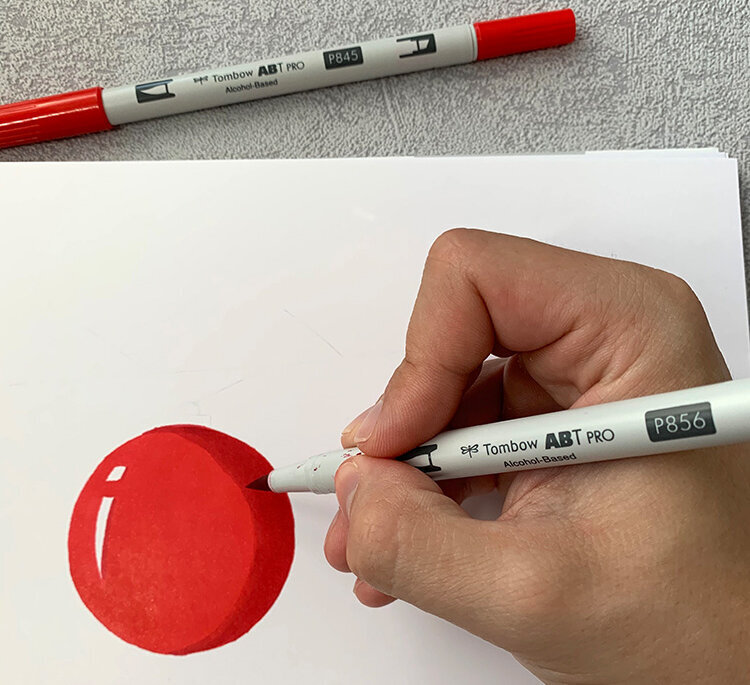
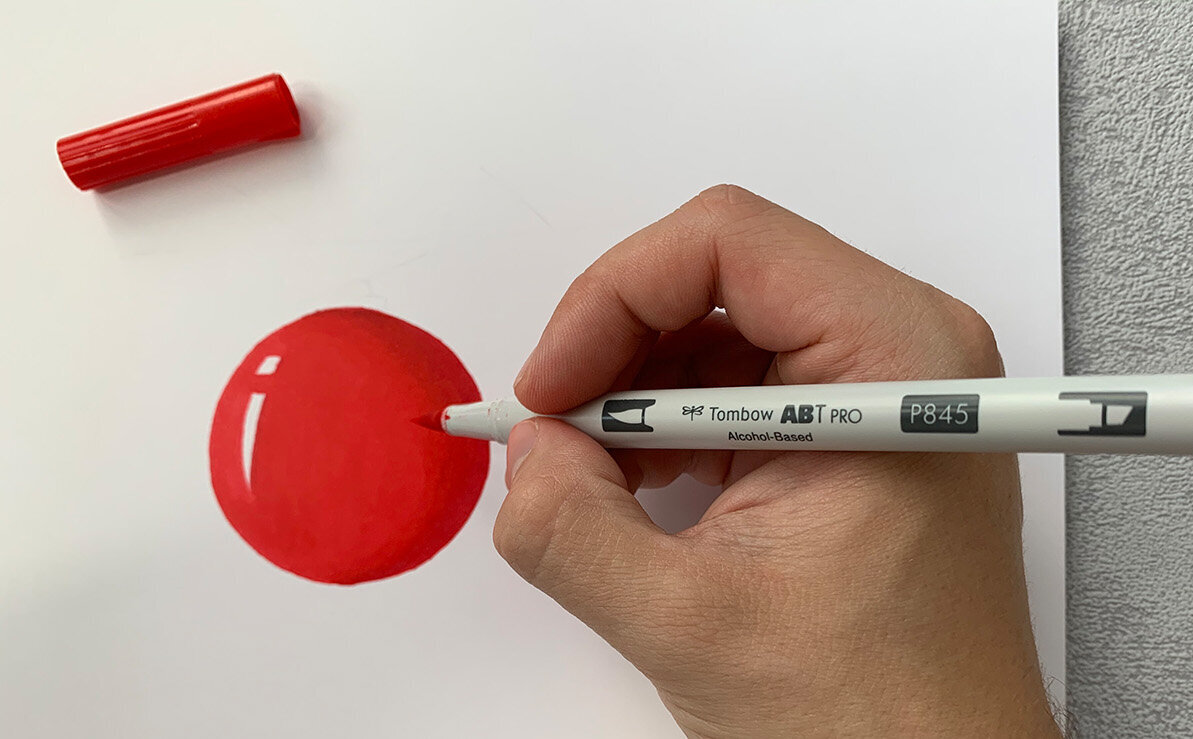
Begin with the color tone ABTP-845 to prime the Christmas tree ornament.

Step 2: add shade

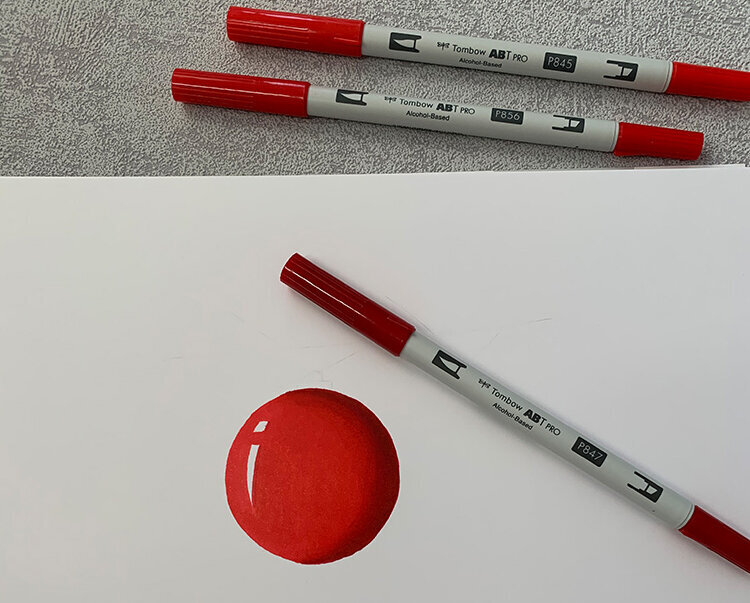
For step two, select a darker color tone (ABTP-856) to lend the Christmas tree ornament plasticity. Only paint with this color tone on the right-hand side of the ornament.

Step 3: blend shade

So as not to end up with hard edges in your drawing, blend the dark color tone with the lighter one (ABTP-845). To do so, paint along the hard edges of the dark color tone with the brush tip and blend into the middle.

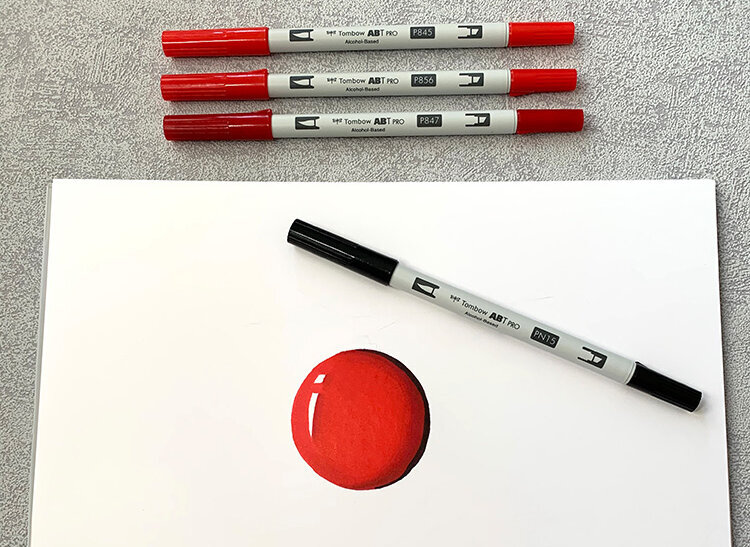
Repeat this step with an even darker color tone (ABTP-847). To blend, you then use both color tones ABTP-856 and ABTP-845 to create soft transitions.

With color tone ABTP-N15, paint along the right-hand side of the Christmas tree ornament to make it seem even more three-dimensional.

Tip: If the transitions seem too harsh, repeat the instructions in step three.

Step 4: the head of the Christmas tree ornament

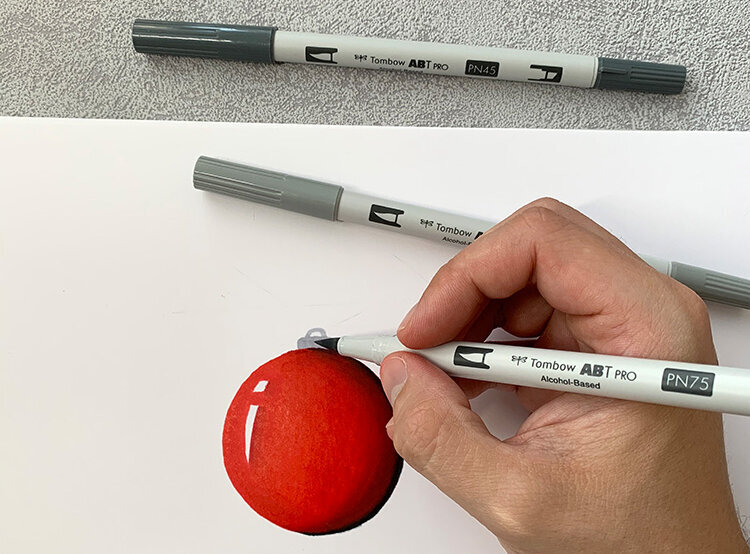
With color tones ABTP-N45, ABTP-N65, and ABTP-N75, you will create the “head” of the Christmas tree ornament.

Tip: Begin here with the lighter color tone ABTP-N45, too.

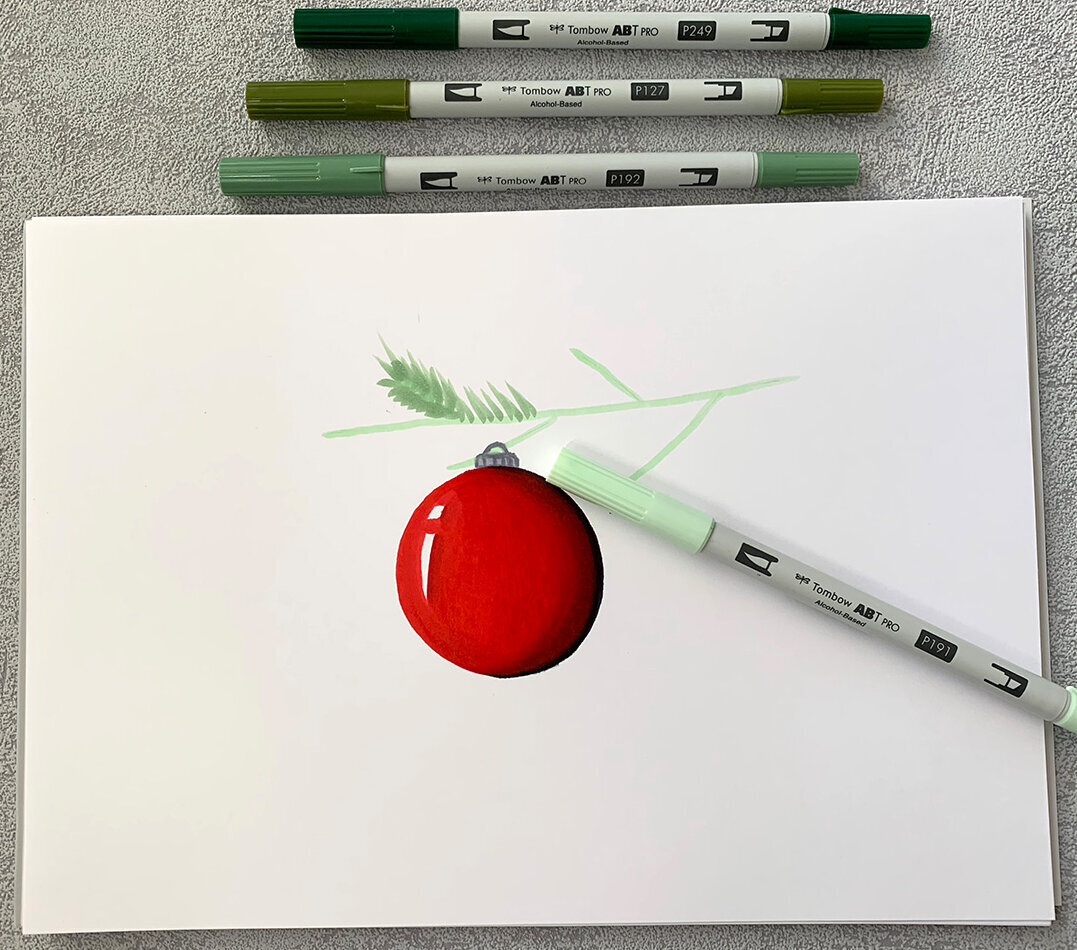
Step 5: Draw the fir branch

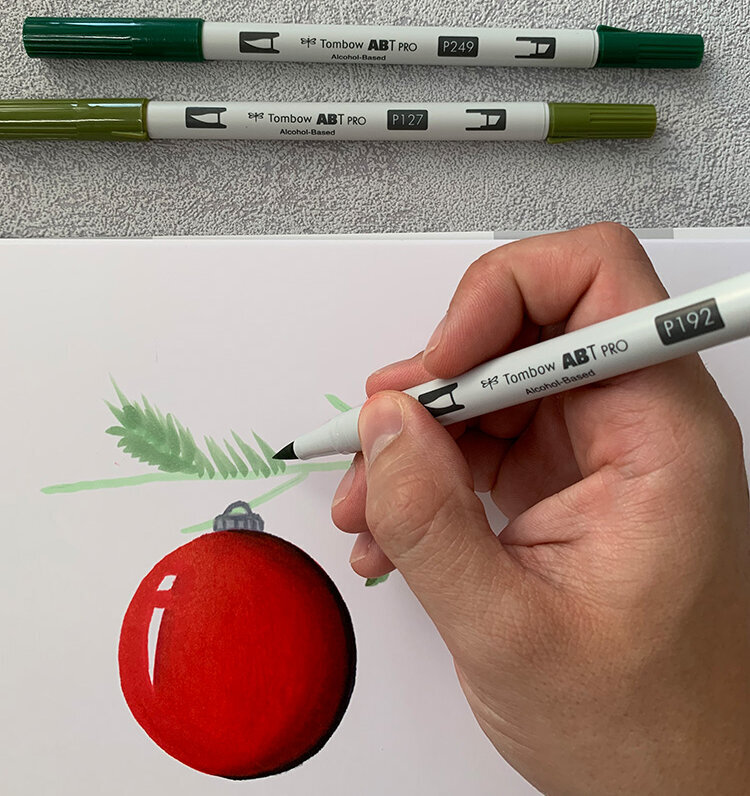
With color tone ABTP-191, sketch your fir branch.

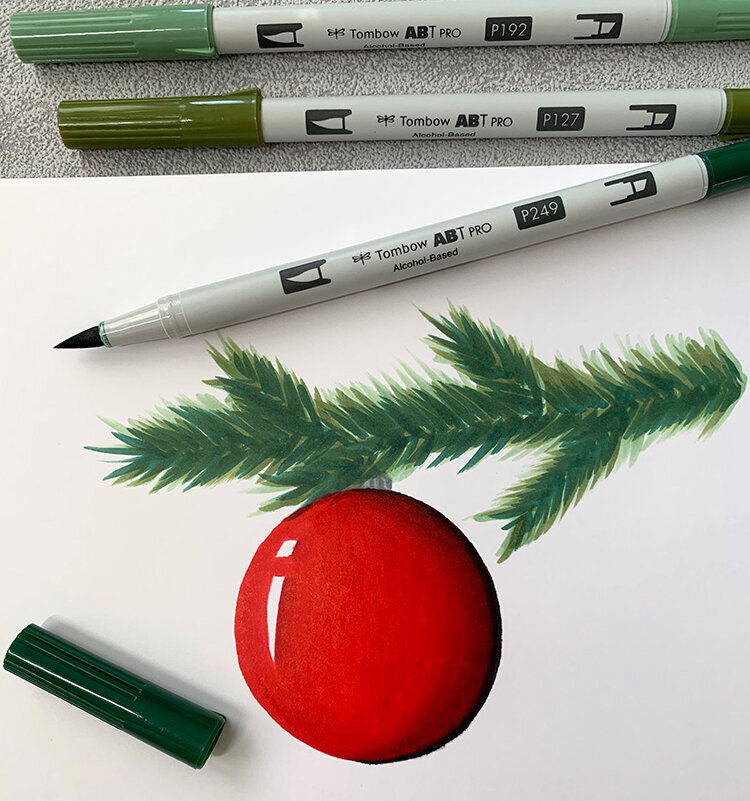
Tip: The brush tip is ideally suited to creating the individual branches. For this, use a darker color such as ABTP-192. Begin with a broad line on the branch by exerting more pressure with the brush tip and allow this to get thinner at the end by releasing the pressure.

Repeat this step with the colors ABTP-127 and ABTP-249 to give the branch an element of authenticity and depth.

Tombow Tip:

Test different colors for your Christmas ornaments and create Christmas cards in a short time. Christmas twigs or a lettering add the finishing touches to your card. Try it yourself and share your picture with the Tombow family under #tombowinspiration.

About the author

chrischography

- Christoph Wittbrodt

Christoph Wittbrodt lovers lettering, illustration, and creative projects. He sees this creativity as lending balance to his daily work. He publishes many of his works on his Instagram account. Most are illustrated with watercolors. In the case of lettering, though, his favorite is the Tombow Fudenosuke.


Discover more inspirations in our magazine!