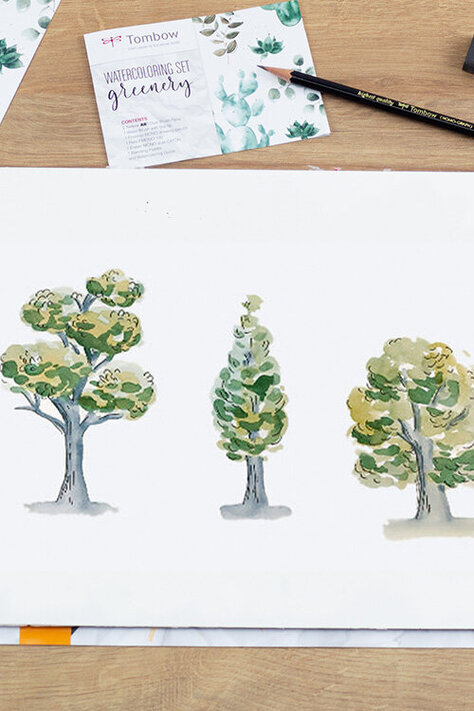
You will need this material:
- IROJITEN coloured pencils in the colours
- Paper of your choice - With a rough surface, you can lay more layers of colour on top of each other and thus achieve more beautiful transitions.
- Optional: MONO graph mechanical pencil for preliminary drawing
You still need some of it?


Excursus: Blending coloured pencils
First, apply a layer of colour to your paper. Build up several layers on one side of your colour layer. You will also need a little more pressure to do this.


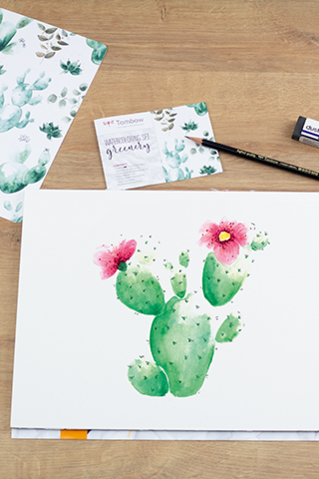
Leaves and stem
To make the leaf structure more interesting, you can lightly score the paper with a pointed object. The retractable tip of the MONO graph is ideal for this.
Now apply a thin layer of colour (P-4).
Now apply a light shade of green (LG-5) to the outer lines of the leaves and the branch using a little pressure. Blend the colours as explained above.
Now use the dark shade of green (D-17). Again, go along the outer lines and all the places where you want to create a shadow. The fact that we scored the paper slightly earlier means that fine white lines remain even though we are drawing over them with the coloured pencils.


Next, use a dark pink (EX-1). You will need this to create folds and lines in the flowers and to darken the inside of the petals.

You can intensify your shadows with a reddish brown (D-12).
To make your colour palette more exciting, for example, you can use a sky blue to create isolated effects on your flowers.
Finally, you will need a darker yellow colour (V-3) to shade the pistil. Also use this colour to paint small yellow circles around the upper part of the pistil. Use the previously used colour (D-12) to draw five larger circles at the top of the pistil. These details characterise the hibiscus flower. Done!

Done!
Please let us know how helpful this article was for you to copy. Feel free to send us a message if you have any suggestions for improvement or other feedback for us. We read everything, we promise.
PS: We are of course also curious about your result. Feel free to show us your work on Instagram or Facebook and share it with the community.