L.E.F.T.Y. – Handlettering for lefties
Lauren Fitzmaurice is a left-handed calligrapher from Owensboro, Kentucky. She believes that lettering makes life more fun and also loves to encourage and learn from other creatives. For all left-handers among you she shared valuable tips and tricks to letter with us:

Dear Lefty Friends, the first time that I ever picked up a brush pen, my left hand and brain had no idea what they were doing. I was totally discouraged and wanted to put it down and never come back… but I didn’t! After lots of practicing and trial and error, I was able to see that lefties can definitely “Tombow” like our righty counterparts! The key is to stick with it and understand how to use being a lefty as a strength, rather than a weakness. I am excited to share 5 ways that you can #tombowlikealefty … yes, I’m talking in hashtags. The teacher inside of me just had to use an acronym with the word “LEFTY” to illustrate these 5 things that lefties can do to feel comfortable with the brush pen, and lettering in general, and let their strengths and uniqueness shine through.

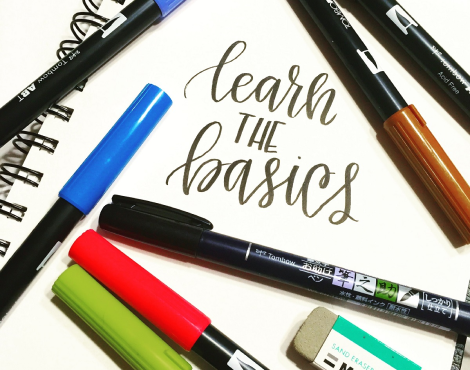
„L“ is for „LEARN THE BASICS“
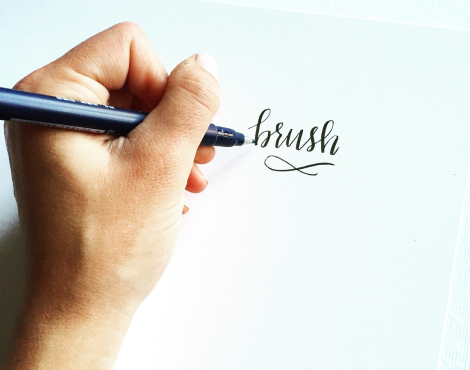
The first step to feel confident as a lefty letterer is understanding how you grip the pen and write. There are two different kinds of lefty grips. Left-handed letterers are either underwriters, who write with their wrist straight, or overwriters, who curl their wrist. There is no right or wrong grip for calligraphy, however, its important for you to understand what kind of lefty you are so that you can have the best results with your pen. I am an underwriter for pointed pen and a slight overwriter with the brush pen. My wrist stays mostly straight but curls a little as I apply pressure to write my down strokes. One weakness of overwriting is that your hand can go through what you are writing, smearing and smudging your creations. To fix this, turn your paper to the right about 45 degrees and only curl your wrist enough to apply the pressure needed for thin upstrokes and thick downstrokes, comparable to a those of a right-handed letterer. This definitely takes practice, but seems to help!
Once you understand grip, take baby steps! Start with strokes, then work on letters, words, and eventually sentences. It takes a lot of time and tons of practice. I found great success with the brush pen after taking a modern calligraphy class with the pointed pen. Learning the strokes of copperplate calligraphy helped me understand how to apply pressure on down strokes, release pressure on upstrokes, and how each letter feels when written correctly. Though the grip is completely different from the brush pen, my pointed pen base really helped me carry over the skill to the brush pen. There are many great resources online to learn calligraphy, and I recommend learning as much as you can!


„E“ is for „EVEN WHEN IT DOESN’T WORK, DO WHAT WORKS“
At the beginning, at least for me, it felt like there was only one way to write, and I couldn’t do it. Almost every letter didn’t look like I thought it should or the copperplate version. It was incredibly frustrating! The best advice I ever got was to write and form letters in the way that works best for me. When you get to a letter that is difficult, write it out several times and tryto find a way that feels comfortable and still looks right. I’ve always heard that left-handed people are creative because they are “right-brained” (don’t worry I’m not going into a long speech about brain research), however, lefties can totally use this to make a style all of their own. Be creative. If it doesn’t work, stick with it, think out of the box, and don’t give up. It willwork eventually, and when it does, you will truly start tapping into a style all your own!

„F“ ist for „FIND YOUR STYLE“
Finding your style is not an overnight thing… it can take months and even years to ultimately find who you truly are as a letterer. Trust me, I’m still in the process. The best way to do this is to practice, practice, and practice some more. As you practice and find what works best for you, your style as an awesome lefty will start shining through! Turn to Instagram and blogs to find inspiration. Engage in conversation with other calligraphers and learn as much as you can about the craft of lettering. Find what you like and what you don’t like and let your style emerge! Don’t be afraid to be different or think outside of the box. Leverage your leftiness and find a style all your own.
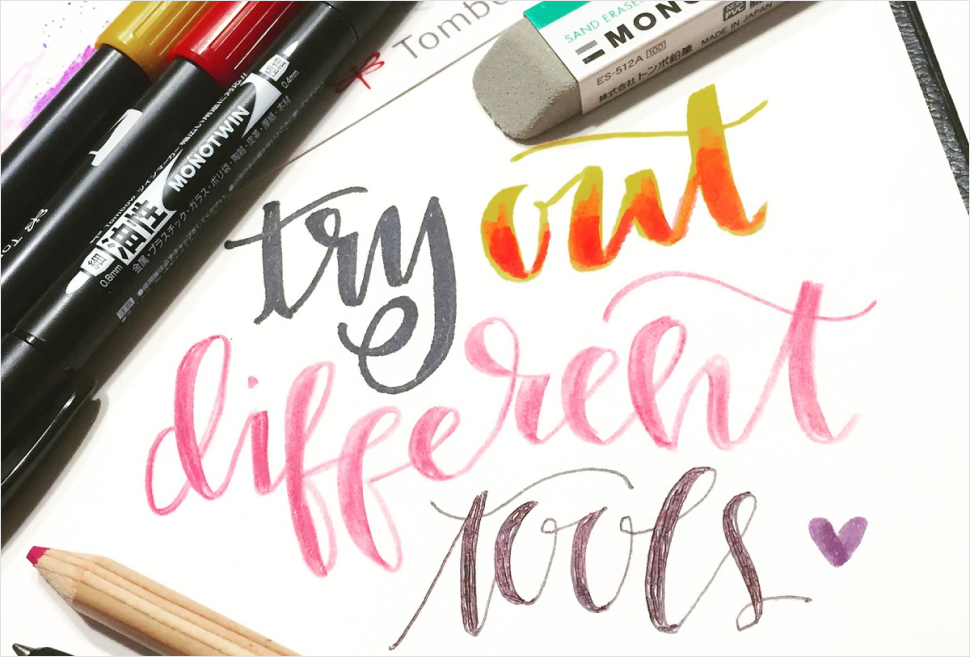

„T“ is for „TRY DIFFERENT TOOLS“
It is so much fun to add variety to your creations by utilizing different tools. There are so many great Tombow products to use for lettering. The cool part is, if the ABT Dual Brush Pen isn’t working well, you can always try out some faux calligraphy using the AirPress pen, colored pencils IROJITEN, or MONO twin permanent marker. Write out a letter or word with the tool of your choice and thicken the downstrokes. To do this, trace over the word again and when you get to a downstroke, thicken the downstroke portions of the letter.
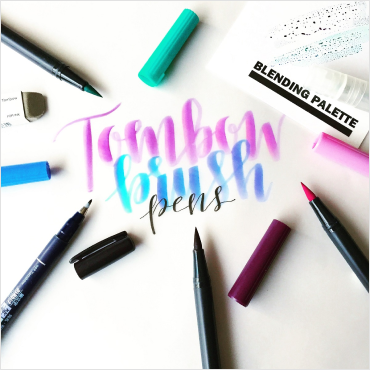
My absolute FAVORITE tools to use are ABT Dual Brush Pens. The dual brush pens and the Fudenosuke Brush Pens are absolutely great for lefties, because the ink dries very quickly and the pens are very easy to control. The ABT Dual Brush Pens are also super fun to mix with the Blending palette! In many of my pieces, I layer the different brush pens and they complement each other very well.

„Y“ is for „YOU CAN DO THIS“
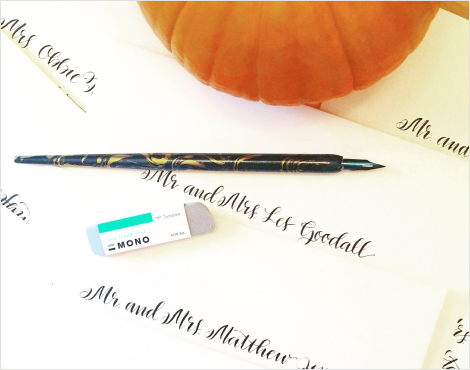
I am here telling you (and myself) that we totally can do this. Is it always easy being a lefty? NO. It often seems like it’s a righty world and we are living in it, but this isn’t true! Being a lefty can be a gift if you learn to use it to make your work unique. And when you fail, have a back up! What is it they say, “You cannot have success without failure?” Let’s face it, we are all going to fail every now and then. Sometimes things go very smoothly when lettering and other times, it can be a struggle. Start out by using a pencil. Sketch out designs and make sure that they are exactly how you like them before you start “inking up” the final page. Many of my pieces are created by using a light pad. I create several rough drafts on grid paper. When I find the design I like, I do it in ink on the grid paper. Then I use the light table to complete the final copy of my piece on the paper I choose, whether it be mixed media, vellum, or watercolor paper.I love them all!
What happens when you mess up? Well, if you are working on a piece and mess up, the Tombow Sand Eraser is totally going to save the day. It erases color pencil and ink. I also use it often fix mistakes on envelopes when using the pointed pen! It is so great!

And that is how you “Tombow” like a lefty! I hope you finish this post encouraged and with the realization that no one is perfect and we all have to start somewhere. If you aren’t a beginner lefty, I hope I did our “little club” justice in this post and maybe gave you a new perspective about some aspect of our super awesome hobby! The cool thing about being a lefty is that it is unique, but you are never alone! There are so many lefty letterers out there. So, are you ready to start? Join me in using the hashtag #tombowlikealefty . When you use any tools from Tombow use this hashtag.
Learn from other brush lettering lefties and help create a collection in the Instagram lettering world that left-handed newbies can turn to for inspiration and support!